Another new baby is on the way
& you know what that means, right?
Time to pull this out again:

Usually I beat myself up because I think of things after the fact… a bit too late… hindsight is 20/20…
but not this time!
I’m so proud of myself for having the insight to predict this next generation of babies coming close together & me not having the time & energy to decide on a quilt much less make it.
Remember Lucy’s quilt & Hadleigh’s quilt?
I’m sure you’ve heard the story time & again too of that baby quilt someone is still trying to finish by the child’s 3rd birthday!
Well, not me, at least not yet.
Anabelle’s mom (my niece) gave me fabric colors way back in January at my birthday party
& sent me this image of the nursery items they had decided on.
 Sweet, huh?
Their furniture is dark not like all the white shown in this Babies r Us image.
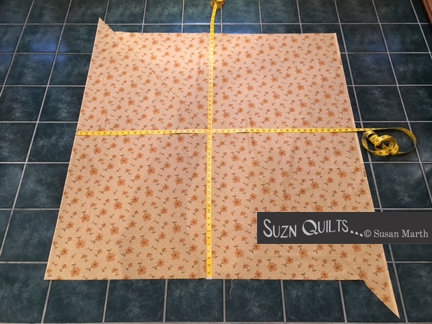
I chose these fabrics:

I thought they were extra girly & had the same feel as the nursery set.
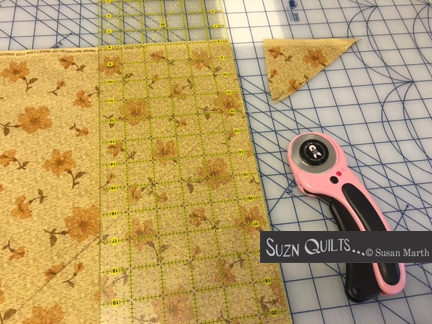
The hardest part of this quilt (& nothing is hard about it)
is centering the letters in a fun way.
AND double, triple, quadruple checking the spelling!

By the way,
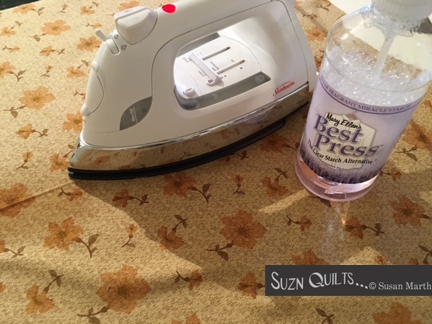
I discovered the “Big Board” & I love it.
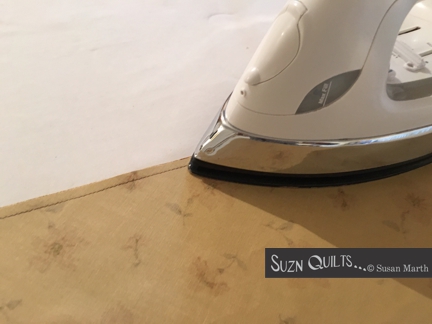
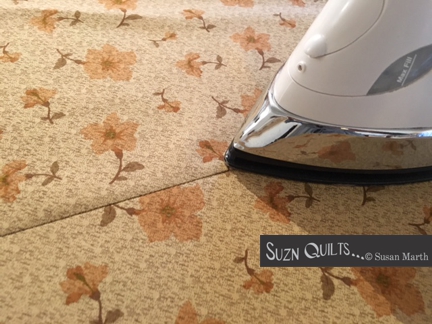
If you remember, here for instance I show you how I use layers of towels to press the whole width of quilt at once?
Well, the big board is big enough to press the whole width of quilt at once too & since I had it out anyway…
While on our retreat at Rosemary’s this year we used one. More than one of us could press at once.

I love the height & the way she incorporated storage into her base.
I need to buy some of the silicone coated fabric for mine.
It will be more durable than the muslin it came wrapped in.
It has gotten really scorched with the heavy usage the last couple of months.
Anyway,
We had the baby shower Saturday & I’m happy to say, Heather LOVED the quilt!

She was too funny.
When she read the card from me she knew what was inside the package.
She had been anticipating the quilt & was very curious what I’d done with her suggested colors.
I’m was touched that it meant so much to her.
She is going to use the quilt so I gave her washing instructions.
It’s all cotton & very durable so machine washing & drying will be just fine.
I made Clare nervous Wednesday when I asked her to help me spray baste the foundation.
She couldn’t believe I hadn’t made the quilt yet!
Ha! It only takes a few hours.
Any babies in your future?
You can buy your own book here.
It comes with instructions for both the baby & lap size quilts
along with the whole alphabet which is reversed & ready to trace.
Now, we get to wait for Anabelle.
Just keep sewing!
Susan