Hot Tips, My Life

Hot Tip Tuesday #20, Fabric Shadows

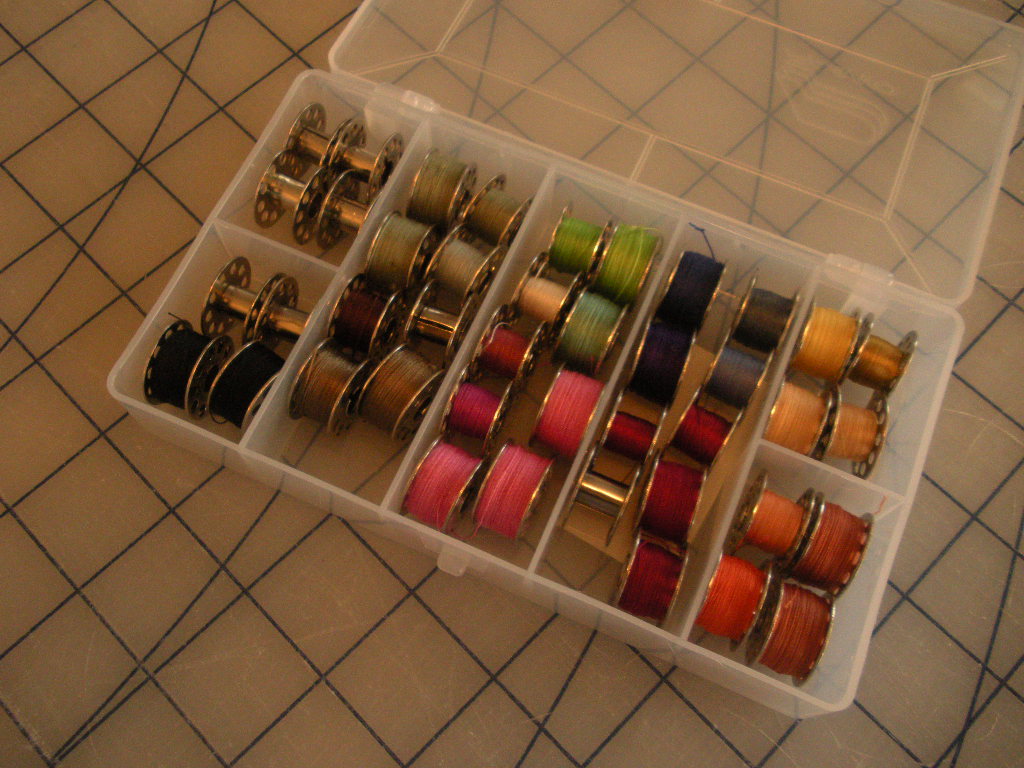
I was working on something pretty darn cute last night and today.  If you know me, you know I can hardly make a quilt project start to finish without at least a bit of applique.  Well, this morning I decided to use a bit of fused applique with some pre-fused gold lame’ fabric.  I dug into my basket that you may remember from this post.

Anyway, after cutting out, tracing my words and fusing the piece down (in a bit of a hurry to have some relevant hand work to work on at my guild meeting this morning) to my annoyance I noticed the lame was very thin and the layer below was very obvious, ugh!!!

It’s was so obvious, even the stitching showed.  This is actually a reenactment, the original problem child has already been disciplined!

What did I do to remedy this you ask?

Well, like I said I was in a bit of a hurry and I’d already fused the piece of lame’ down tight and stitched it too!  So, I took the pre-fused lame’ from the basket again and cut yet another piece.  I then pulled my light box back out and quickly traced my design again, and fused the new piece right over the unsightly one.

 See how nicely it turned out?  Isn’t the lame perfect for a Christmas tag? I did the stitching of the words during our meeting this morning. You can’t even tell that it’s actually two layers where the gift tag is, not even in real life where I sit, and I’m very particular.  You might even say I’m a bit determined!?!

This will be a new pattern for market soon and when I go to write the instructions for “Clare’s Christmas Puppy” (my daughter drew the dog a couple of years ago) I will write in the pattern to fuse two layers of fabric together if using thin lame like this so you don’t have the same issue that I faced this morning.  This is not an isolated case really.  I remember the first time I was faced with this scenario, it was when I created my “Bunnies in the Grass” pattern that is showing in my header above right now.  I used a white on white print originally for the bunnies and where the same fabric was layered over itself it was very unsightly!  I’ve steered away from very light applique shapes ever since.  Now you can be aware of this too. 

I just remembered the black fabric was just purchased yesterday, isn’t it cool?  It’s part of a new collection by Quilting Treasures and you know what I didn’t do?  Here’s a clue.  I gotta go, work to do…

Until next time,

Susan

Hot Tips

Hot Tip Tuesday #19, Listening to music

This past week I’ve had the inconvenience of having a scratchy throat that turned into laryngitis that has evolved into a cold and just really a blah existence. I’m feeling better with each passing day, but I need a boost.  Know what gives me a boost?

Steve Cole

Sade

Chris Botti

 plus many more, compliments of internet radio.

I’m fortunate enough to have the computer in my sewing room and when we upgraded to a new computer last fall my DH bought an awesome sound system to go with it.  He knows how much I love to listen to smooth jazz as I work, so I now have awesome equipment to serve up my favorite smooth jazz songs all day as I design and create.  Besides the fact that it’s upbeat mostly, I don’t have lyrics that spin ’round and ’round in my head, just a peppy beat.

Do you listen while you work? Perhaps something else to keep you company?

Until next time,

Susan 

Hot Tips

Hot Tip Tuesday #18, Mouse Pad for Foot Pedal

My sewing room has a wood floor and for forever I was chasing my sewing machine’s foot pedal as I sewed.  Eventually it would dawn on me that I was stretching to keep up with my foot pedal.  I learned a trick from fellow quilt guild member, Bobbie, to keep it where I wanted it.  Just set the foot pedal on a mouse pad.  She supplied a bunch of us members with the freebies.  Notice the advertising?  Go Cards!


The mousepad has a rubber backing so it doesn’t slide across the slick surface of the wood flooring.  If you have a tile or vinyl floor where you sew and it is slick I bet this would work for you too.

Until next time,

Susan

Hot Tips

Hot Tip Tuesday #17, Love my applique pressing sheet

I’m reminded these days, as I busily work on new samples for spring market, that I really LOVE my applique pressing sheet.  Do you own one?

Do you know what they’re for?

Well, let me explain then you’ll want one of your very own!

You start with a bunch of these (pre-fused applique pieces).

Lay applique sheet over pattern template.  Can you see Santa?  I’m sure it’s clearer from my viewpoint.  Layer the fused applique pieces on the pressing sheet.

I usually do this on my ironing board, but my paper template is huge for this piece, so next I transfer the applique sheet with applique pieces on it (very carefully) to the ironing board.

Fuse it all together.

Peel him off the applique sheet and Santa is one piece instead of six.  And if you still don’t know why I love this, here’s what I can do with him:

I can put him here, or

here, or anywhere else I want to without juggling six pieces. 

I’m not sure where this guy will end up, but he’s all ready to fuse and stitch.

Now you know what I’ve been up to.  What have you been sewing?  Can’t wait to show you the finished product!

Until next time,

Susan

Hot Tips

Hot Tip Tuesday #16, Filling bobbins before starting a project

There are lots of things to like about sewing, but on my mind right now is something that isn’t fun.  I don’t like running out of bobbin thread when I’m in the middle of a project and then have to stop and wind a new one.  It’s especially bad when I’m using a different color of thread in the bobbin than I’m using on the top of my machine, ugh!  I have to unthread the machine and thread it with the bobbin thread, then unthread it again… When I’m machine quilting is when I find this most annoying. I’m moving at a fast pace and want to just get done. 

To make this not quite as annoying, I try to wind enough bobbins to complete my project before I even start.

And where have I found to best keep all my bobbins? 

 My favorite is a small Plano plastic box. It’s actually a fishing notion from my husband’s den.  He had an extra when I was looking for a change in my bobbbin storage. It’s see-through, durable (it’s bound to get dropped at least a few times), and it keeps the dust out since I keep it handy right next to my machine and not in a drawer.

I actually have a few more bobbins than will fit into just one box…  I’ve found that bobbins are relatively inexpensive and prefer to have full or partly full bobbins of lots of colors ready to sew.  Again, nothing more annoying that needing to rewind bobbins in the midddle of a project!

Until next time,

Susan