Dresden Plates, Finishing up a quilt project, Hot Tips, My Life, New Moda Fabric Collection, Quilt Retreats

Closing In On The New Hope, Tiny Dresden Petal Finish Line

Last we were together I was up to my eyeballs in these.

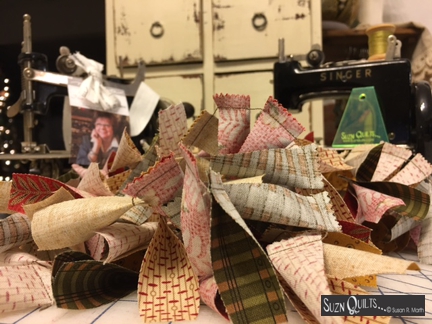
Aren’t the little piles of alligator teeth too cute?

(easily amused, yes I know…)

With a little help from my favorite vices…

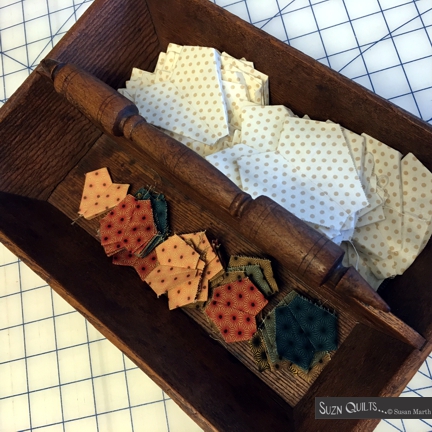
I was able to complete all of the half Tiny Dresden plates from the 1,600+ petals!

This is all of them sewn;

the extra petals set aside for another project down the road.

The little rows just make me smile!

(again, easily amused, yes I know…)

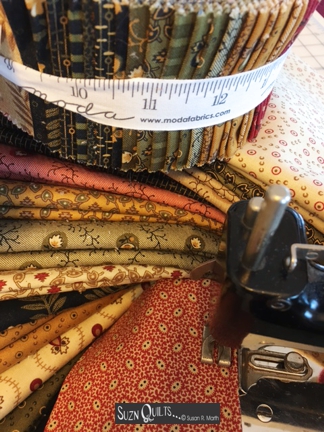
I was able to make 6 half Tiny Dresden plates from each of the 40 jelly roll strips

of Jo Morton’s New Hope by Moda Fabrics.

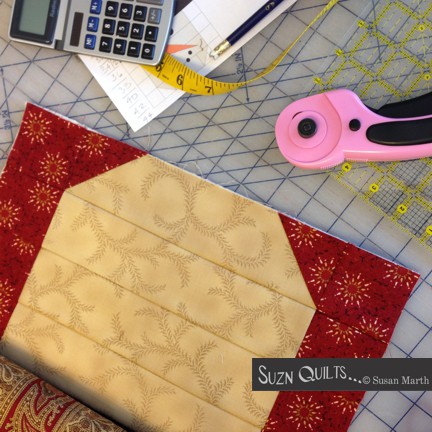
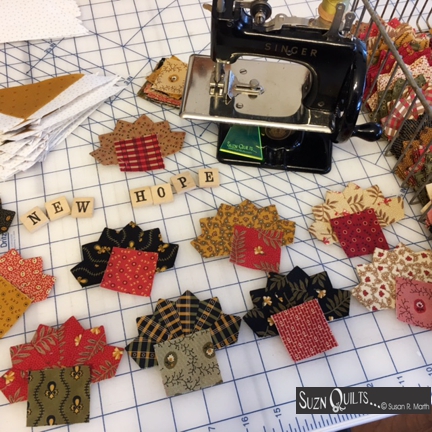
During our annual retreat to local quilt shop, Rosemary’s,

I got to work making blocks from the half Tiny Dresden plates for my next quilt.

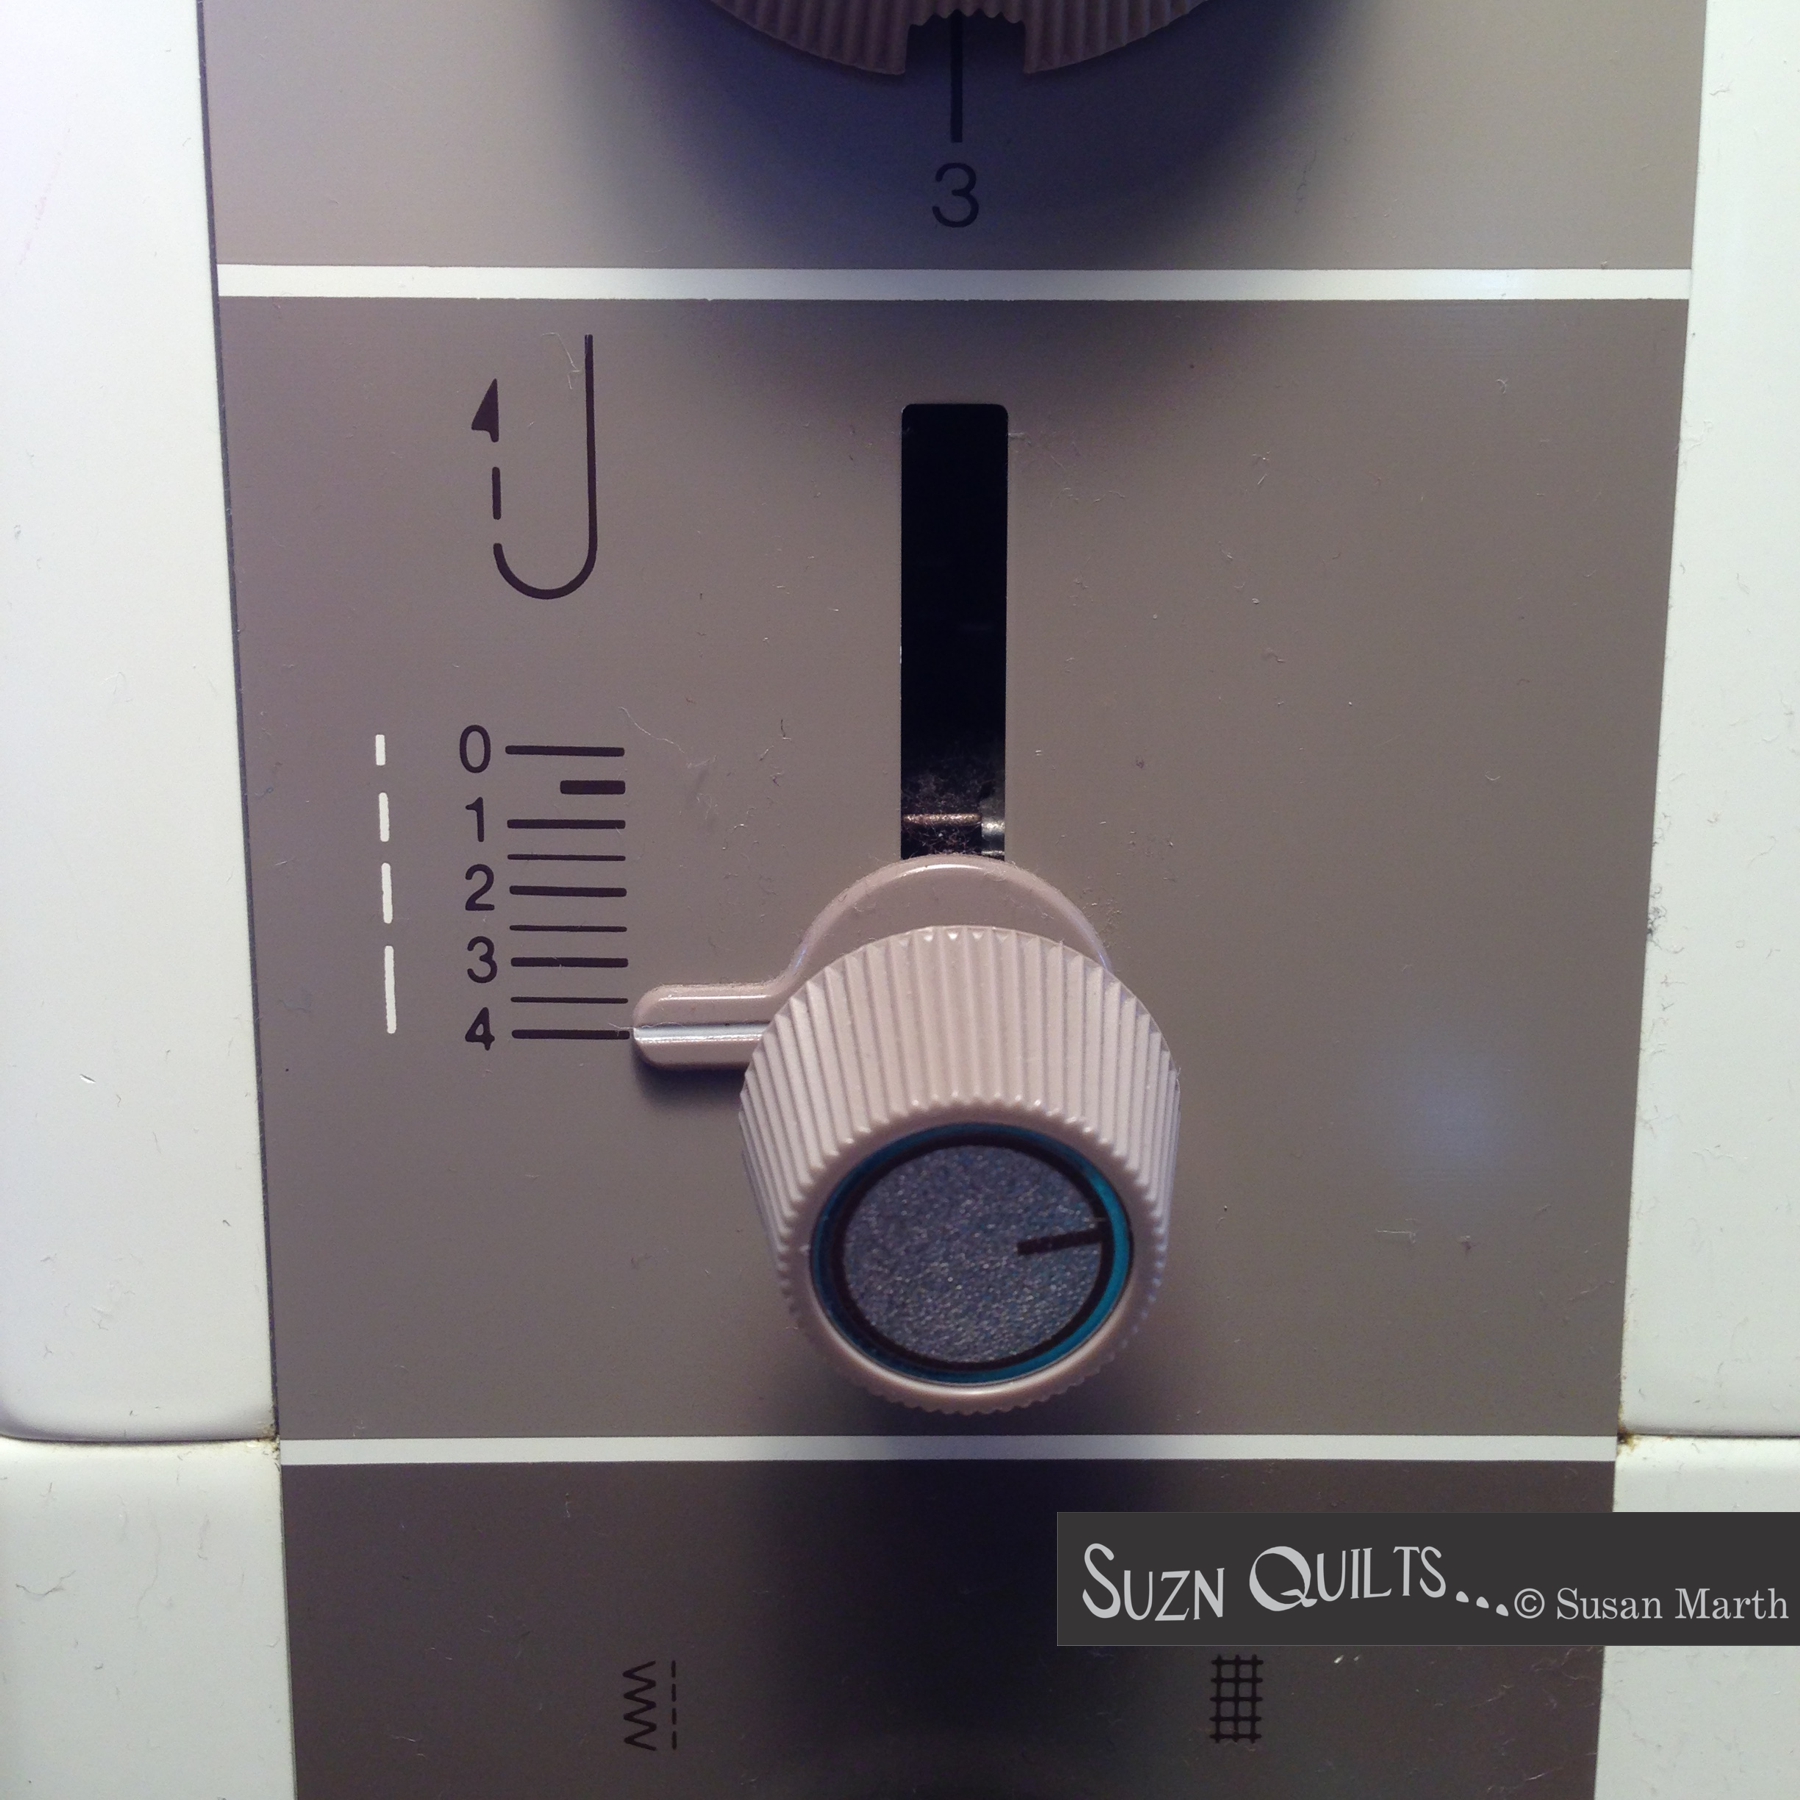
This is my work space all set up & ready to sew.

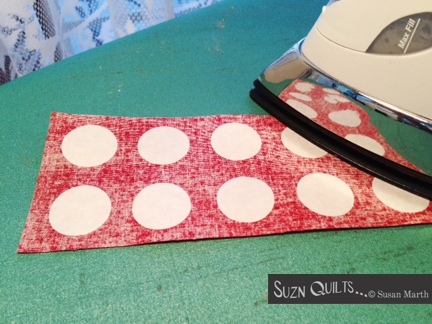
My cute little Dritz Mighty Steam Iron showed up just in time to travel with me.

What a great find!

It’s the perfect little Dresden plate iron!!!

It’s extremely light-weight & just the right size for pressing my little plates.

I wish I’d known about them sooner!

I was so impressed that I’m now carrying them on my website for you to purchase here.

Don’t let the small size fool you.

It gets super hot!

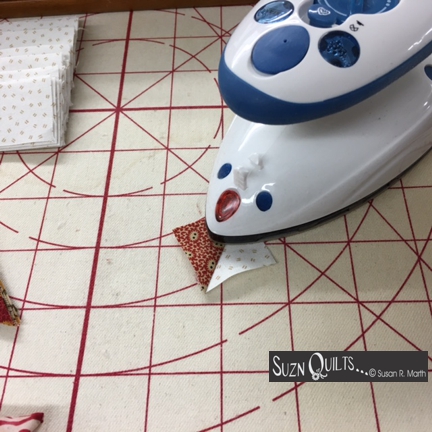
It’s great for pressing small half-square triangles too.

I also like it for pressing block parts.

Choosing the center circle fabrics is a bit like choosing which Barbie shoes should complete her ensemble, lol…

Love, love, love each step!

Can’t wait to show you the finished quilt,

but that will have to wait for another day.

Just Keep Sewing…

Susan


Dresden Plates, Hot Tips, My Life

Apliquick Tools are Here!

Are you familiar with the Apliquick tools?

apliquickbarpkg

They are one of the reasons that my Dresden centers are so round.

suznquiltscompleted1inchcircle

Practically perfect!

Let me show you.

First, cut the circle templates perfectly round.

I do this (and yes I claim perfection here) with the “ek success” 1/2″, 1” or 2” circle paper cutters depending on if I’m making my Tiny Dresden plates, Mini Dresden plates or my Tiny Dresden January snowflake.

 suznquiltscuttingmany1inchcirclespaper
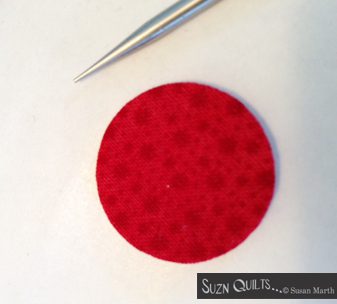
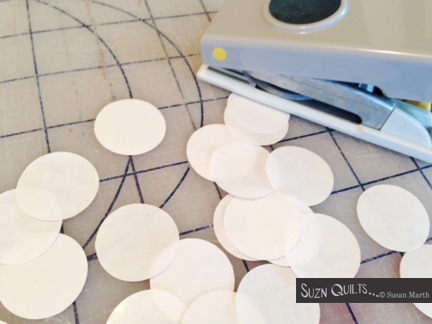
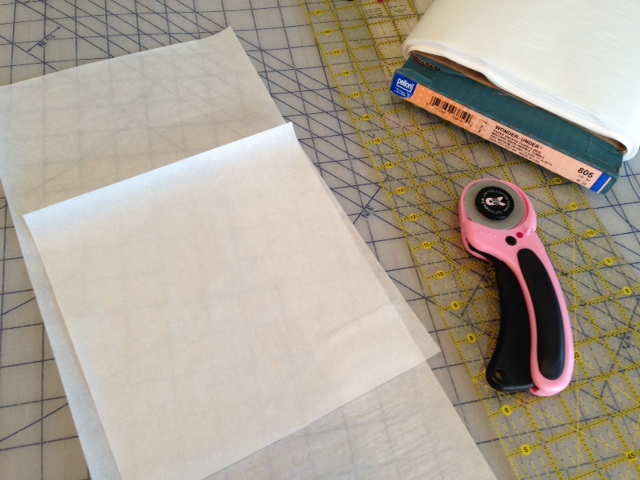
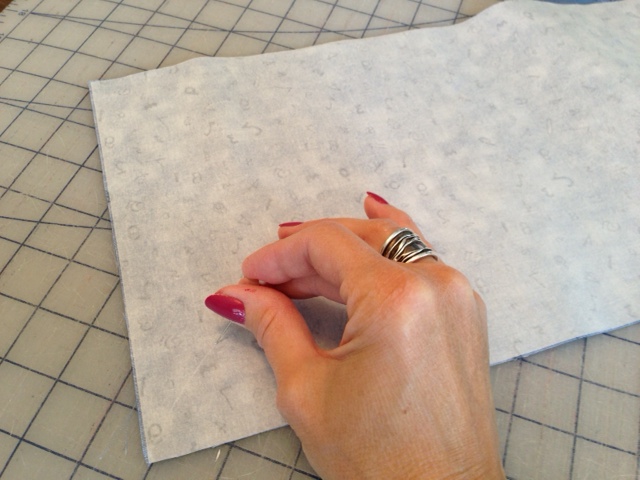
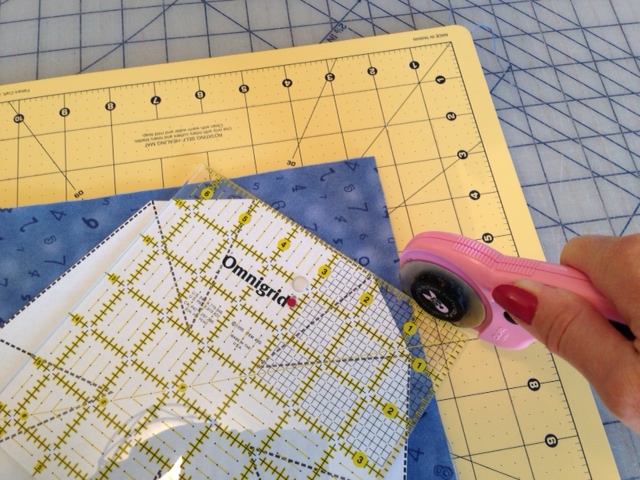
Stack 6 layers of freezer paper and cut out 6 perfect 1″ circles at a time.

These cutters actually cut 6 layers at a time better than just 1.

suznquiltscut1inchcirclepaper

I cut a lot of circles & keep them on hand.

suznquiltsfuse1inchcirclestofabric

Fuse the wax side of the freezer paper templates

to the wrong side of the fabric.

suznquiltscut1inchcirclefabric

Cut out the circles with 3/16″ seam allowance.

With Roxanne’s EZ Squeeze bottle,

apply a hairline amount of glue all the way around the circle.

I like this bottle because its design pulls the glue back out of the needle applicator so that it doesn’t dry in there and permanently clog it.

suznquiltsgluefabrictocircle

It doesn’t take a lot of glue.

You don’t want any extra because it will take longer to dry

and it will get all over your fingers.

suznquiltsappliquickworkingcircle

This is where the Apliquick rods help out.

I work my way around the circle pressing the fabric over the edge to the paper side of the template with the rods.

One of the rods is smaller and more pointed than the other.

This is the rod that I press the fabric over the edge of the paper template with

while holding and spinning the circle with the fork like end of the larger rod.

The Roxanne glue stays a bit tacky for a minute or two,

which allows me to go around the circle again

to smooth out any area along the edge that’s not perfectly round.

suznquiltscompleted1inchcircle

Can you see any imperfections?

I didn’t think so!

I can’t say the same for some of my earlier circles before I knew about these rods,

but if you can get close enough to tell me which of my centers aren’t perfectly round

you’re probably too close!

You can find the Apliquick Bars on my website now.

You may think they’re a bit pricey, BUT…

in my opinion, they’re worth every cent!!!

They’re durable metal & easy to clean.

I don’t just use them for the circles.

I use them every time I make freezer paper applique shapes.

The quilts I’ve made with them the past two years are prettier because of them.

Try them, I know you’ll love them too!

Just keep sewing…

Susan

Hot Tips, New ideas

Perfect Petals Every Time

Since I’ve never had a problem making precise little Dresden plates

and by now I’ve made thousands of of them,

I forget that some folks may not share my painless path.

I was reminded of that this week by Cheryl via email.

She & some friends are working on my Dresden Heaven pattern that I was just discussing with you a few days ago.

Suzn+Quilts+Dresden+Heaven#230+RGB

They were curious why their plates were not lying flat.

I told her that their seam allowances were not a true scant 1/4”.

If your seams are not exact & you sew 12 of them around the entire plate it adds up!

I noticed this phenomenon while teaching a workshop a while back.

Luckily I had with me a story board that I use to show how a plate goes together so my students were able to lay their sewn petals on my board to see if they were sewing accurately.

Suzn+Quilts+story+board+image

As I’ve mentioned before, the mindless chain piecing of Dresden petals

allows my mind to wander…

Suzn+Quilts+check+Dresden+plate+accuracy+petals

(OK, I admit it, my mind wanders during a lot of things that I do!)

Anyway, that gave me the idea to make a diagram so my Dresden-sewing-friends could easily measure their sewn petals.

Several hours & a ream of paper later…

Suzn+Quilts+check+Dresden+plate+accuracy+papers

Voila!

Suzn+Quilts+check+Dresden+plate+accuracy

 Not so easy going from the shape of the template to the shape the petal takes on after the first seam, then trying to put a seam allowance on just one side of each petal all with bias sides, ugh!

But I did it and each pair I made today (92 so far) all fit perfectly.

Suzn+Quilts+Dresden+plate+accurate

It’s not magic and I’m NOT Wiley Coyote Super Sewing Genius either!

It’s this:

1. Start with starched fabric (before you cut any strips).

2. Cut accurately.

3. Sew with a scant 1/4” seam allowance.

4. Trim each petal as indicated in my patterns.

5. Starch again when the plate is complete.

I plan to make these diagrams a part of each of my Dresden patterns from today forward.

I want everyone to enjoy making little Dresden plates as much as I do!

I will put this page on my website if I can but for now if you’re working on one of my patterns just send me an email and I will email you a copy of this sheet to print out.

A note about printing too:

When you go to print you need to be sure your printer is set to print “as in document” not “fit to page” or it will make everything a bit smaller. (this note is on the sheet as well.)

These diagrams will only work for you if you’re sewing one of my patterns because I made them based on the exact sizes of the templates that I designed which just so happen to be for sale on my website: SuznQuilts.com.

Suzn+Quilts+Tiny+Dresden+Template Suzn+Quilts+MiniDresdenTemplate

Now back to sewing for me.

Suzn+Quilts+check+Dresden+plate+accuracy+mini+tiny

I’m making wings (pairs of petals).

It’s the perfect exercise for today’s lesson on accurately sewing 2 petals together!

Suzn+Quilts+check+Dresden+plate+accuracy+pair

I’ve started with my new Pumpkin Pie fabric.

Recognize it?

Just keep sewing…

Susan

Hot Tips, New Quilt pattern sample, Quilting Accessories I Love, Suzn Quilts Patterns, tutorials

Quilt-as-you-go Table Quilt Tutorial & Tips

While making new Quilt-as-you-go pattern samples this week

I was reminded of a conversation I had last fall when a fellow quilter didn’t fill her foundation precisely with strips.

I personally don’t sew with perfection, but precision!

I’m not perfect, but I know how to make quilts with perfection; two different things.

From the beginning she didn’t find her scant 1/4″ seam allowance nor did she measure back as described & illustrated in every QAYG pattern of mine.

How many of us overlook those pesky instructions until we run into trouble…LOL!

So, I decided to take some photos & give some measuring tips.

I have a Quilt-as-you-go tutorial here,

so take at look at it

& this post will bring even more clarity.

First of all,

find your machine’s scant 1/4″ seam allowance with your walking foot!

QAYG+tutorial+needle+positionFor my older Bernina 930

(Lucky me, I know! My mom found the magic of Bernina while I was still in college.)

I just move the needle position one click to the right

& lead the fabric along one of the openings in the walking foot.

QAYG+tutorial+walking+footThis gives me a perfect scant 1/4″ seam allowance & I can see the fabric under the foot at precisely where the needle is going into the fabric.

When I sew through the strips & foundation with a long stitch

(I’m quilting here, not just sewing two layers of cotton together)

QAYG+tutorial+stitch+lengthI get precisely the measurement of the two strips minus 1/2″ for the seam.

Now that your machine is ready,

follow any of my Quilt-as-you-go patterns to

cut the strips & make the foundation.

Start sewing your strips by lining them up with the foundation & pinning several times.

QAYG+tutorial+first+strips

I ALWAYS use the very handy finger pincushion.

QAYG+tutorial+finger+pincushion

I pin the strips on at the table,

sew at my machine while removing pins, then press & pin the next strip back at the table.

The pins are always in my finger pincushion, not back at my machine.

It saves a LOT of time & AGGRAVATION!

Here is the next important step:

QAYG+tutorial+measure+backMeasure back!

& I don’t mean just after the first strip is added.

It’s in every one of my QAYG patterns.

QAYG+tutorial+measure+back+againAfter every strip is added,

measure across in three places & make sure the measurement is the same.

When you’ve sewn farther than 24″, get a longer ruler!

QAYG+tutorial+measure+back+again+again

If it’s not the same, you need to adjust it & make it the same

otherwise when you get to the last strip you may be out of foundation,

or you may be out of foundation before you’ve used all of your strips!

 QAYG+tutorial+last+stripMeasure, measure, measure…

This is all in the pattern instructions, but I thought a few photos would maybe make things even clearer.

See how the last strip meets the edge of the foundation precisely?

QAYG+tutorial+last+strip+fitsThat’s because I use a scant 1/4″ seam & check myself with every strip added.

Who wants a snowman without a chin?

QAYG+tutorial+snowmen+chins

Especially when all his friends have one!!!

(No faces yet, but chins!)

They all have faces now, but I still need to finish the binding hand-work so I can get them photographed & ready for spring market.

Any questions???

Boy I can sure find lots of ways to avoid work!

Just keep sewing…

Susan


Applique quilt projects, Hot Tips, My Life, New Pattern Sample, Suzn Quilts Patterns

Applique for the really lazy quilter…

I’m curious, when you make fusible applique and the pattern tells you to trace 3 or 6 or 15 of an applique shape, do you really do that???

Do you trace any shape more than once?

If so, my next question is “Why?”

It occurred to me several years ago that I’m lazy & I like to get things done quickly so I can move onto the next project.

What occurred to me later is that not everyone thinks like I do. (Thank goodness!!!)

I never, never, NEVER trace a shape more than once, and I really don’t like to trace it even once.

How slow, boring and a waste of time!

When I have more than one of the same shape to cut out,

I fetch my bolt of Wonder Under.

Wonder Under bolt

Next, I calculate what I need.

If the object is about 6″ square (I’ve added about 1/4″ all around the object) and I need 6 of them, I will cut a 6″ x 36″ piece(s) of fusible web.

Wonder under cut stripsSince Wonder Under is only about 17″ wide, I need more than 1.

I also cut a 6″ strip of the fabric I’m going to use.

Wonder under fuseNext, I fuse the Wonder Under to the back of the fabric aligning the edges.

If I need to piece the Wonder Under, I just butt the edges together.

Wonder under piece fuse

It doesn’t show if you have nice straight lines cut of the Wonder Under.

Let the piece cool,

Wonder under score back

then remove the paper backing by scoring it with a pin & pulling it off.

Wonder under cut rectangles

Next, cut the “fused slab” into however many of the size shapes you need.

Wonder under stack & cut

It is CRITICAL that you stack up the pieces all the same way, fabric to fusible web

NOT fusible web to fusible web.

If you cut out your shape that way,

you will have one nice double-sided object.

You will most probably NEVER get those two shapes apart again.

Ask me how I know!!!

On the other hand, if you need a right and a left (reversed) object,

I recommend leaving the paper on and stacking paper to paper

then cut out the shape and you’ll have mirror objects, both cut at once!

Wonder under cut 6 jacks

Voila!

6 jacks with one fast cutting with my rotary cutter and rotating mat!

One more tidbit of info…

If your pattern is already reversed for you as in my

Suzn Quilts’ Patterns,

you will need to pay attention to which side you lay the pattern on before you cut it.

You don’t want to accidentally cut out the shape in reverse.

When I’m working on a new pattern like this one,

I don’t reverse the shape until I put it into pattern form,

so I put the shape on the fabric side of the stack.

If the shape is reversed for you, just put the pattern on the fusible web side of the stack, then cut.

By the way, this new design that I’m working on also has 7 big circles.

You may say I can’t cut out circles with my rotary cutter…

but I just did!

The key,

Wonder under stack & cut circles hold tight

hold the ruler tightly down on the stack,

Wonder under stack & cut circles too

holding it right at the edge where you need to cut.

You’ll need to keep all the layers tightly held together and cut smoothly.

When you stop to re-grip, leave the cutter in place.

Yes, I have a circle cutter, but for this instance, this is quicker.

Steady hand and close to the ruler!

Any questions?

Until next time,

Susan

Hot Tips, Quilting Accessories I Love

The perfect scant 1/4″ seam

One of the most important tasks to conquer for quilting is finding and sewing the PERFECT scant 1/4″ seam.

The easiest way to get it exact EVERY time is this tool.

It’s the Perfect Piecing Seam Guide by Perkins Dry Goods.  (I’m lucky enough to have an autographed copy!!)

Here’s how it works,

The tool has a tiny hole just big enough for your needle to go through.  Put the tool under your presser foot and hand crank the needle down slowly until it goes through that hole.  Put the preser foot down.

Put a strip of masking tape along the side of the tool.

Remove the tool and you have the perfect guide to follow!

I set up my machine and I can follow the side of my applique foot by moving my needle position one click to the right of center and I’ve got it every time.

Unfortunately not every machine is the same.

Every once in a while I take out my Singer Featherweight to sew on and I use this tool to refresh my memory of where the scant 1/4″ is on that machine.  Since I don’t sew on it very often, I can’t remember if I can follow the edge of the foot or not…It’s a memory thing that this handy tool fixes too!

You can find the tool at your local quilt shop or Celine’s website.

Until next time,

Susan

Family Time, Hot Tips, My Life

New uses for old rotary cutter and blades

Do you have any rotary cutters that you no longer use because you got a newer and better one?

I do too, and finally decided to make that my paper cutting rotary cutter.  I used to change blades from fabric to paper on the same cutter, then I got smart and started using an older, smaller cutter to cut just paper.

I’ve used that cutter to cut apart lots of paper items.  If you don’t already know it, you can cut paper with a rotary cutter long after the blade is not sharp enough to cut through fabric.  This is why I have a separate cutter just for paper.

Just this morning I made tags to go on my donation for our guild’s Christmas auction.  I first made a sheet of tags and printed them on a piece of card stock, then sliced them apart.  It’s quicker than using scissors and more accurate too because I also use use my mat & rulers.

I’ll be making more of the chocolate pecan pretzel bark for our church’s bazaar this weekend so I made a sheet full of those tags.

Other things we’ve cut are school projects for science fairs, book reports, and I use them to cut apart our sheets of photos each time we order another portrait package from JC Penney!  The blades last a very long time.

More recently I retired my original 45 MM cutter and realized it’s big enough to cut through cardboard!  That’s right, now I have a cardboard cutting rotary cutter too.  School projects are quick to cut now.  I have a 2″ x 36″ ruler than can really make long, accurate cuts.

My rotary cutter has become at least as useful as my hot glue gun of years ago!

Any other uses for that rotary cutter that I’ve not thought of yet?

Until next time,

Susan

Hot Tips, My Life

Using tape to help remove un-stitching

I have to say one of my least favorite things to do while sewing is un-stitching, you know, making a mistake then having to make it right.  It’s not that I want to appear perfect by any means.  It’s one of those waste of time things.  I learned a way to speed up the process and I want to share it with you.

First I want to show you that I use little pointed scissors that I use.

Instead of a seam ripper I use these and snip every 4 stitch or so.

You can then pull the two pieces of fabric apart and this is what you’re left with.

If the seam was of any length, you’re left with a bunch of little threads that annoying to remove, say you sewed on your entire binding and realized you used the wrong needle position (sound familiar to anyone???).

So, take out your masking tape

and press it onto those pesky little pieces of thread.

Pull tape off and viola!

The pesky little threads are on the tape and no longer on your fabric.

I keep masking tape in my sewing room anyway for basting my quilt sandwich, so it’s always handy.

I hope you don’t need this tip any time soon, but if you do this will make your sewing life a little bit easier.

Until next time,

Susan

Hot Tips, New ideas

Hot Tip Tuesday #25, reinstated, at least for now!

It has indeed been a while since I posted a hot tip for Tuesday hasn’t it?

It’s not that I don’t have any more hot tips, it’s just that I got busy with market, then I just plain had no time to think about it much less work at it, so my apologies and I hope you can appreciate this hot tip.

While getting ready for my post for the new Quiltmaker’s 100 Blocks Vol. 4 blog hop I realized I’ve never shown you how I cut multiple applique pieces at once.  I’m sure many of you already do this, but I’m always amazed at those that it has never occurred to, so…

When I have an applique piece that is used several times in a project and the pattern says to cut 4, I NEVER trace that piece 4 times then cut it out 4 times, no, no,no!  I’m much too lazy for that!

Look at the repeated flowers.

I don’t want to trace that same pink flower 4 times…

I determine how big the item is,

I trace the item 1 time,

calculate how big 4 would be,

fuse that much fabric,

trim fabric

peel off the paper backing,

cut the rectangles,

stack them up***********  VERY IMPORTANT:  Layer fabric to fusible web.  If you layer fusible web to fusible web and cut out, you will fuse the two layers together and you will NEVER get them apart. (Ask me how I know! You won’t make that mistake twice!)

Also make sure you pin the pattern right side to your fabric so you don’t accidentally reverse it.  With these flowers it will not matter, but with some designs it’s important.

pin together with template,

cut ONCE!

Voila!!!

4 pink flowers with cutting once!

I can usually cut 4-6 applique pieces if the design isn’t too intricate.  If I needed 8 of these same flowers I would have fused twice as much fabric, cut 4 more rectangles and cut out another flower (x4).

Even if each peice is not cut from the same fabric I use this technique.  Trace once, cut once, have 4-6 applique shapes.

If you need a shape and the reverse of the shape, like the bunny on this pattern, layer fabric to fabric then cut out. If you need 4 bunnies, do that twice since you can’t lay fusible web to fusible web.  It’s still cutting your time in half!

Now if you decide to make my table runner from the 100 Blocks magazine coming up next, you’ll have a way to cut your cutting time in half!

Until next time,

Susan

Hot Tips, My Life, New Pattern Sample

In Season? No thank goodness!

This week I needed to make another sample to send out for a trunk show.  It’s a sample from my “In Season” series. When I booked the two trunk shows I thought I had two samples already, but as it turned out I started making two samples of each when I got to In Season for Christmas!  Darn!  I also need to go back now and make a second In Season for Fall before I forget I only have one of those again too! 

Maybe tomorrow, they’re quick!

In Season for Winter

No, I’m not at all ready to go back there!

These little quilts are actually fun for me.  A little bit of applique, a little bit of embroidery, a little bit of piecing, a little bit of quilting, a little bit of binding and you have a cute little quilt! You can purchase the pattern on my website if you’re not close to the two shops that are having trunk shows with my patterns and samples.  The first is at Pacific Fabrics & Crafts in Seattle, Washington (I’d like to hand deliver that one) and the other one will be at Byrne Sewing Center in New Britain, Pennsylvania, haven’t been here either.

I showed you a hot tip on how to do the stitching here last winter. 

So far I have 6 patterns in this series. I should have more soon.

I hope you’re getting some sewing time too.

Until next time,

Susan