
I hope you’re staying healthy during this crazy quarantine period.
It’s a strange time for sure.
What are you doing with all of your quarantine time?
Are you making masks?
I’ve made a few dozen by now.

Are you getting lots of quilting done?
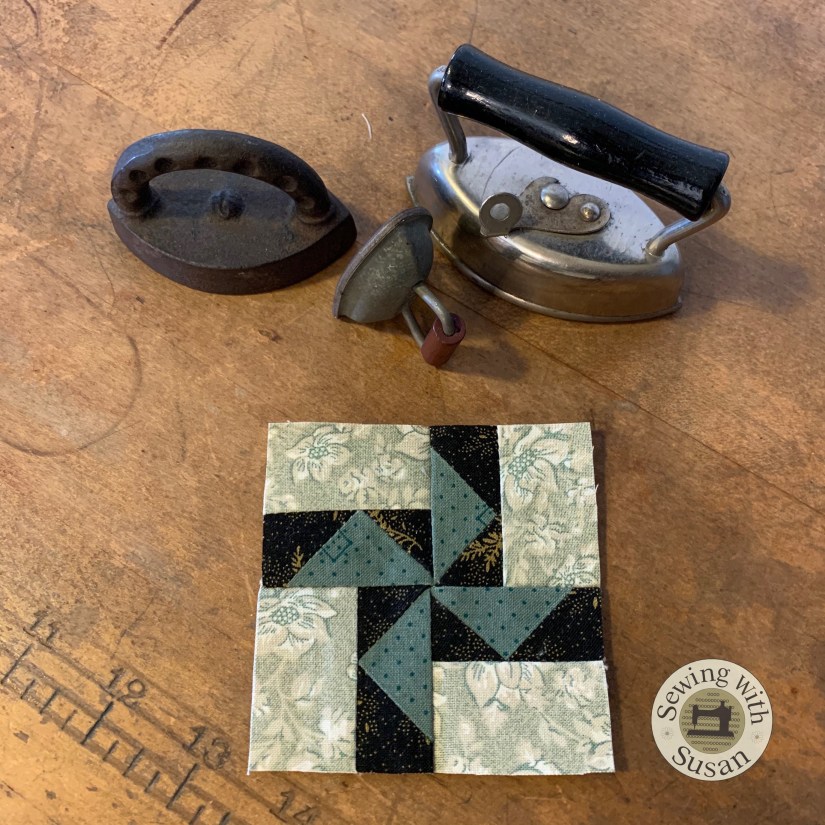
I’m actively working on our 3″ blocks…

My stack is considerably taller now.
I’ve also started a new project with our guild.
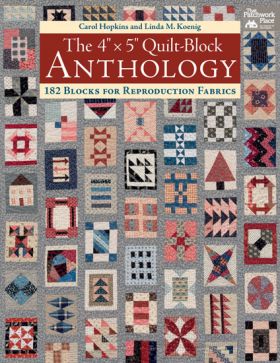
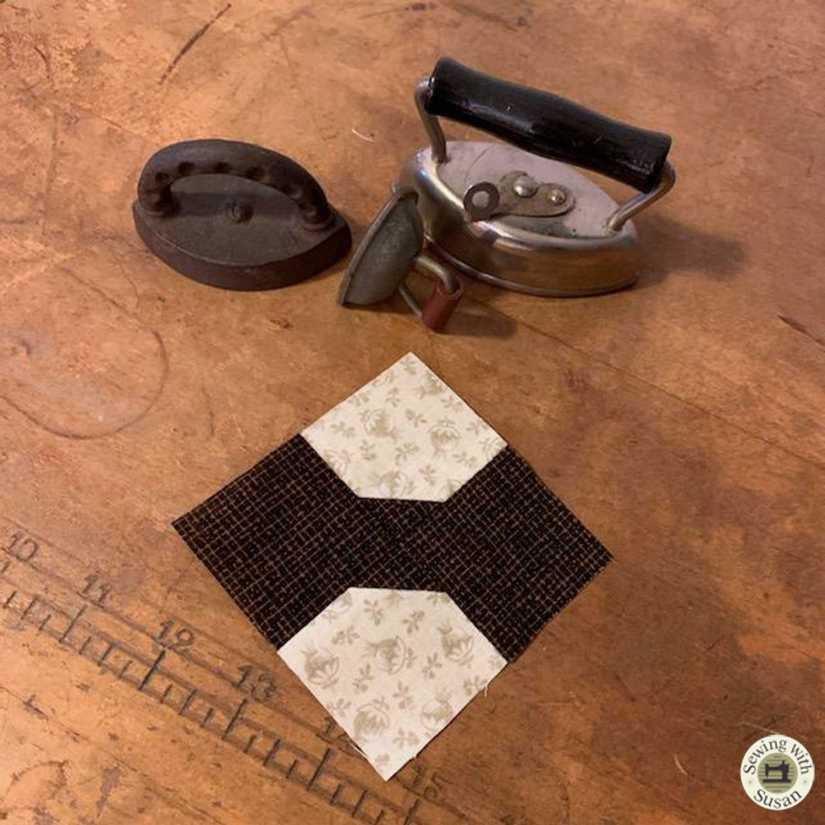
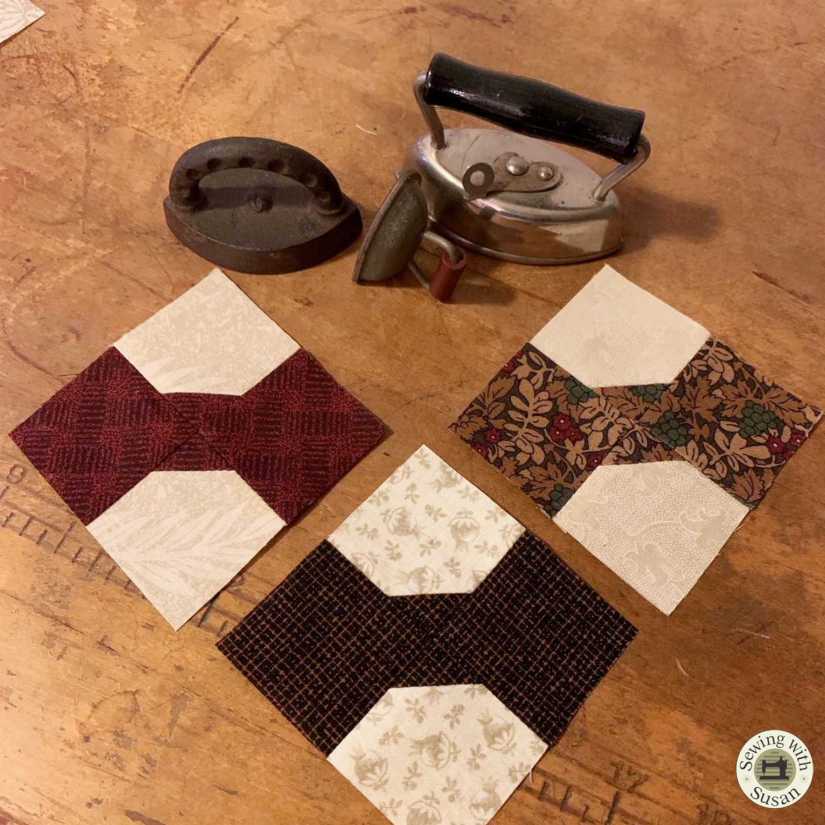
There are 182, 4″ x 5″ blocks in the book.
I’ve cut kits for each of them.
Yesterday I posted #1.

Just 181 to go!
Oh yes, I’ve also spent COUNTLESS hours trying to get our lousy internet to work properly…
(& my mom’s too. They live just down the street & also having issues).
I guess our crappy service just cannot take the overload.
It’s off, it’s on, it’s off… Welcome to rural America.
Anyone use Viasat?
It’s the only service that looks like it might work,
but I don’t know anyone who’s had success with it
so we’re leery to jump into a 2 year contract with them.
Perhaps you’re working on your flower beds getting them ready for the season?

Can’t really take credit here except
that I have dug some up to share
& to move closer to the house to better appreciate them.
Getting some exercise?
I’m walking 2.4 miles/day.

It was so windy one day last week that it blew this sign loose.
Love that it’s pointing up!
Here’s my sign!
Doing lots of praying, but that’s not new for me.
I realize many are out of work & I feel badly for them.
I’ve had all of my spring into summer shows & teaching opportunities disappear.
I also feel bad for our local quilt shops that have had to close during the quarantine.
If you can, please support them.
Many shops have websites that are open.
Some are offering curb-side pick-up.
It’s going to be hard for many to recover & we need them!
If you’re having problems finding notions
I have all the notions that I use on my website for sale.
If I don’t have something you need I may be able to order it.
Just send me an email SuznQuilts@aol.com.
Sorry, no 1/4″ elastic.
I’d like to see what you’re doing!
Post pics over at my Sewing With Susan Facebook page
so we can all enjoy your progress for some inspiration.
Just Keep Sewing…
Susan


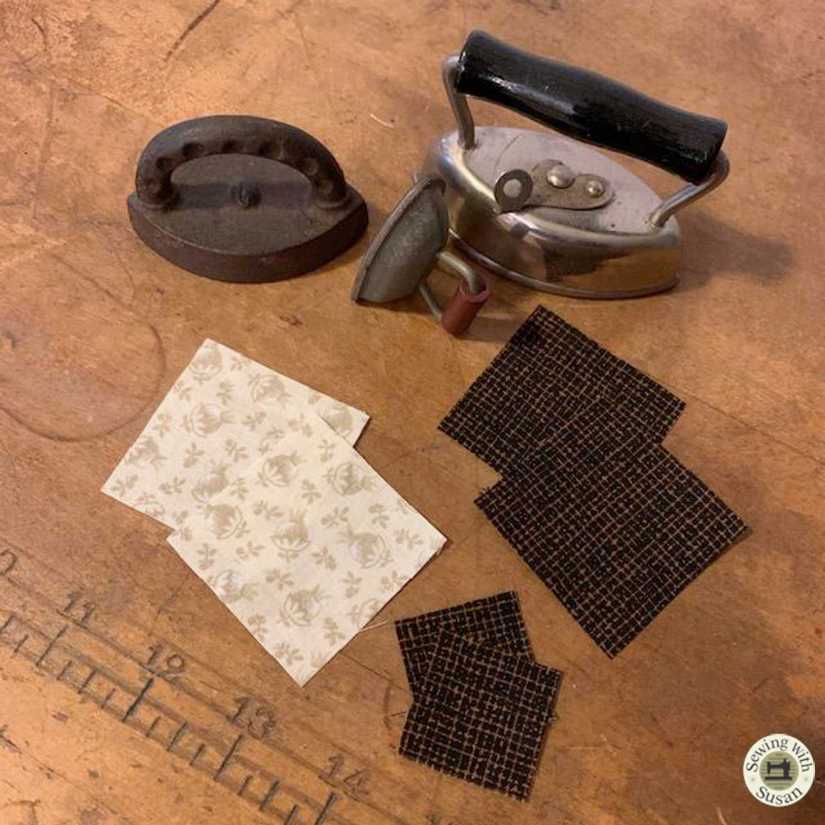


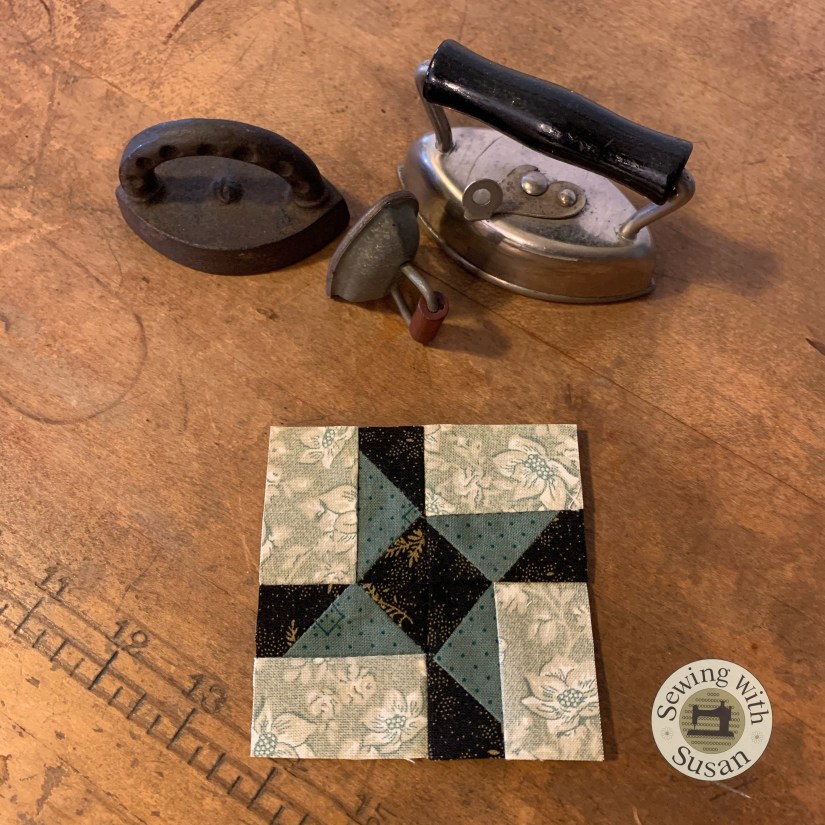
 I used


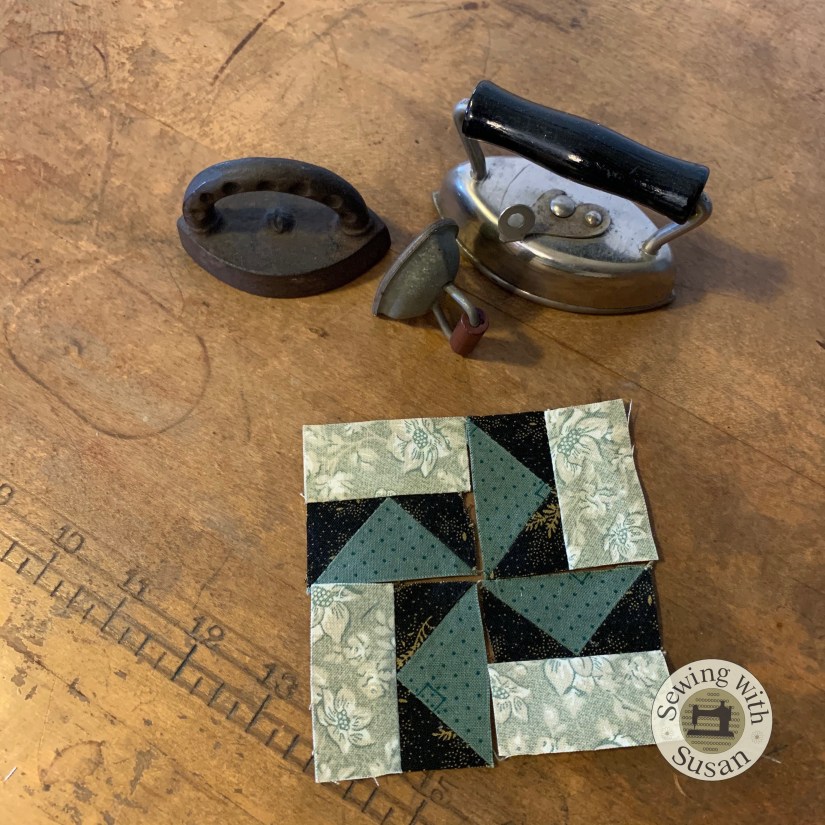


 fortunately these seams are short!!!


