Happy New Year!
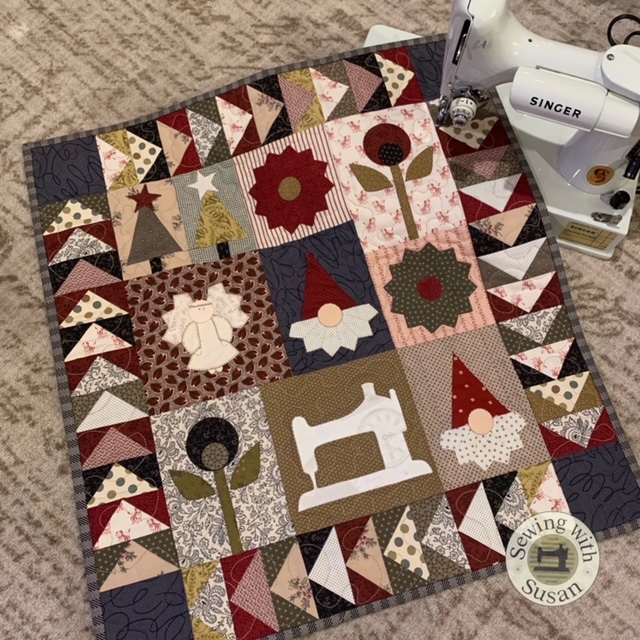
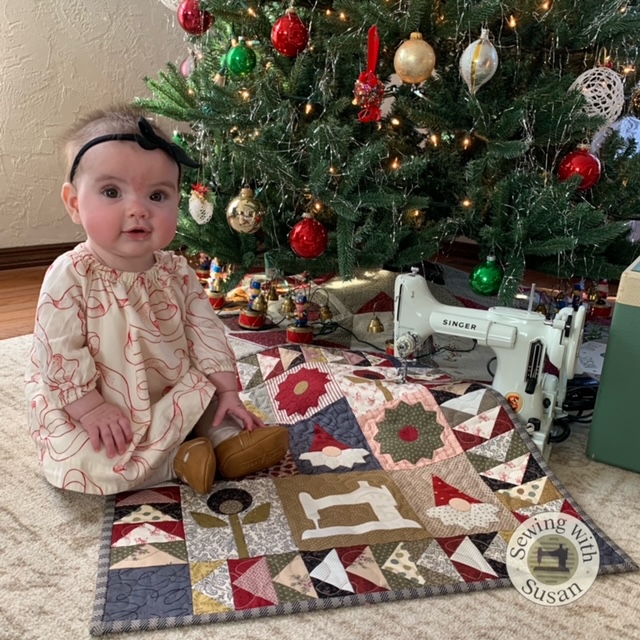
I hope you’re enjoying this 12 Days of Christmas 2022 quilt.
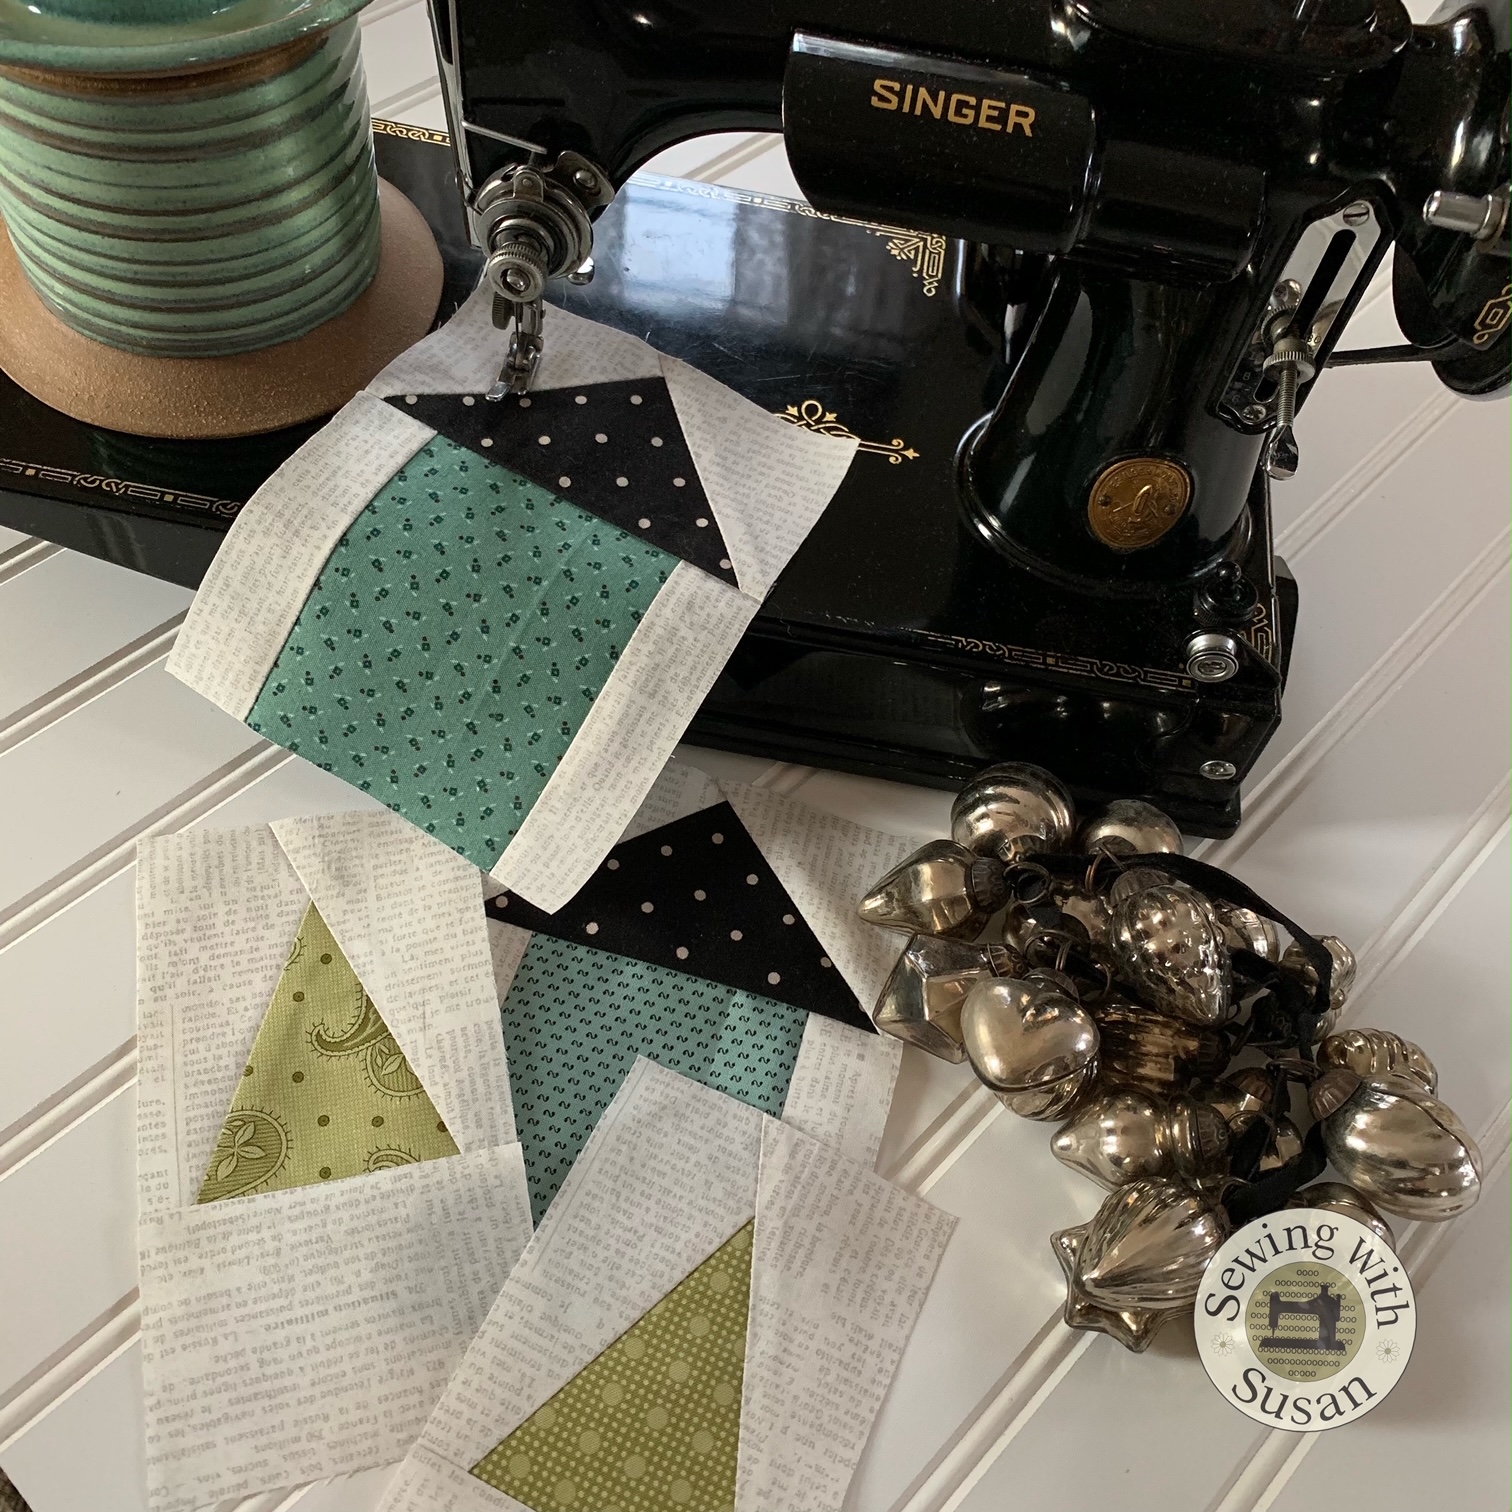
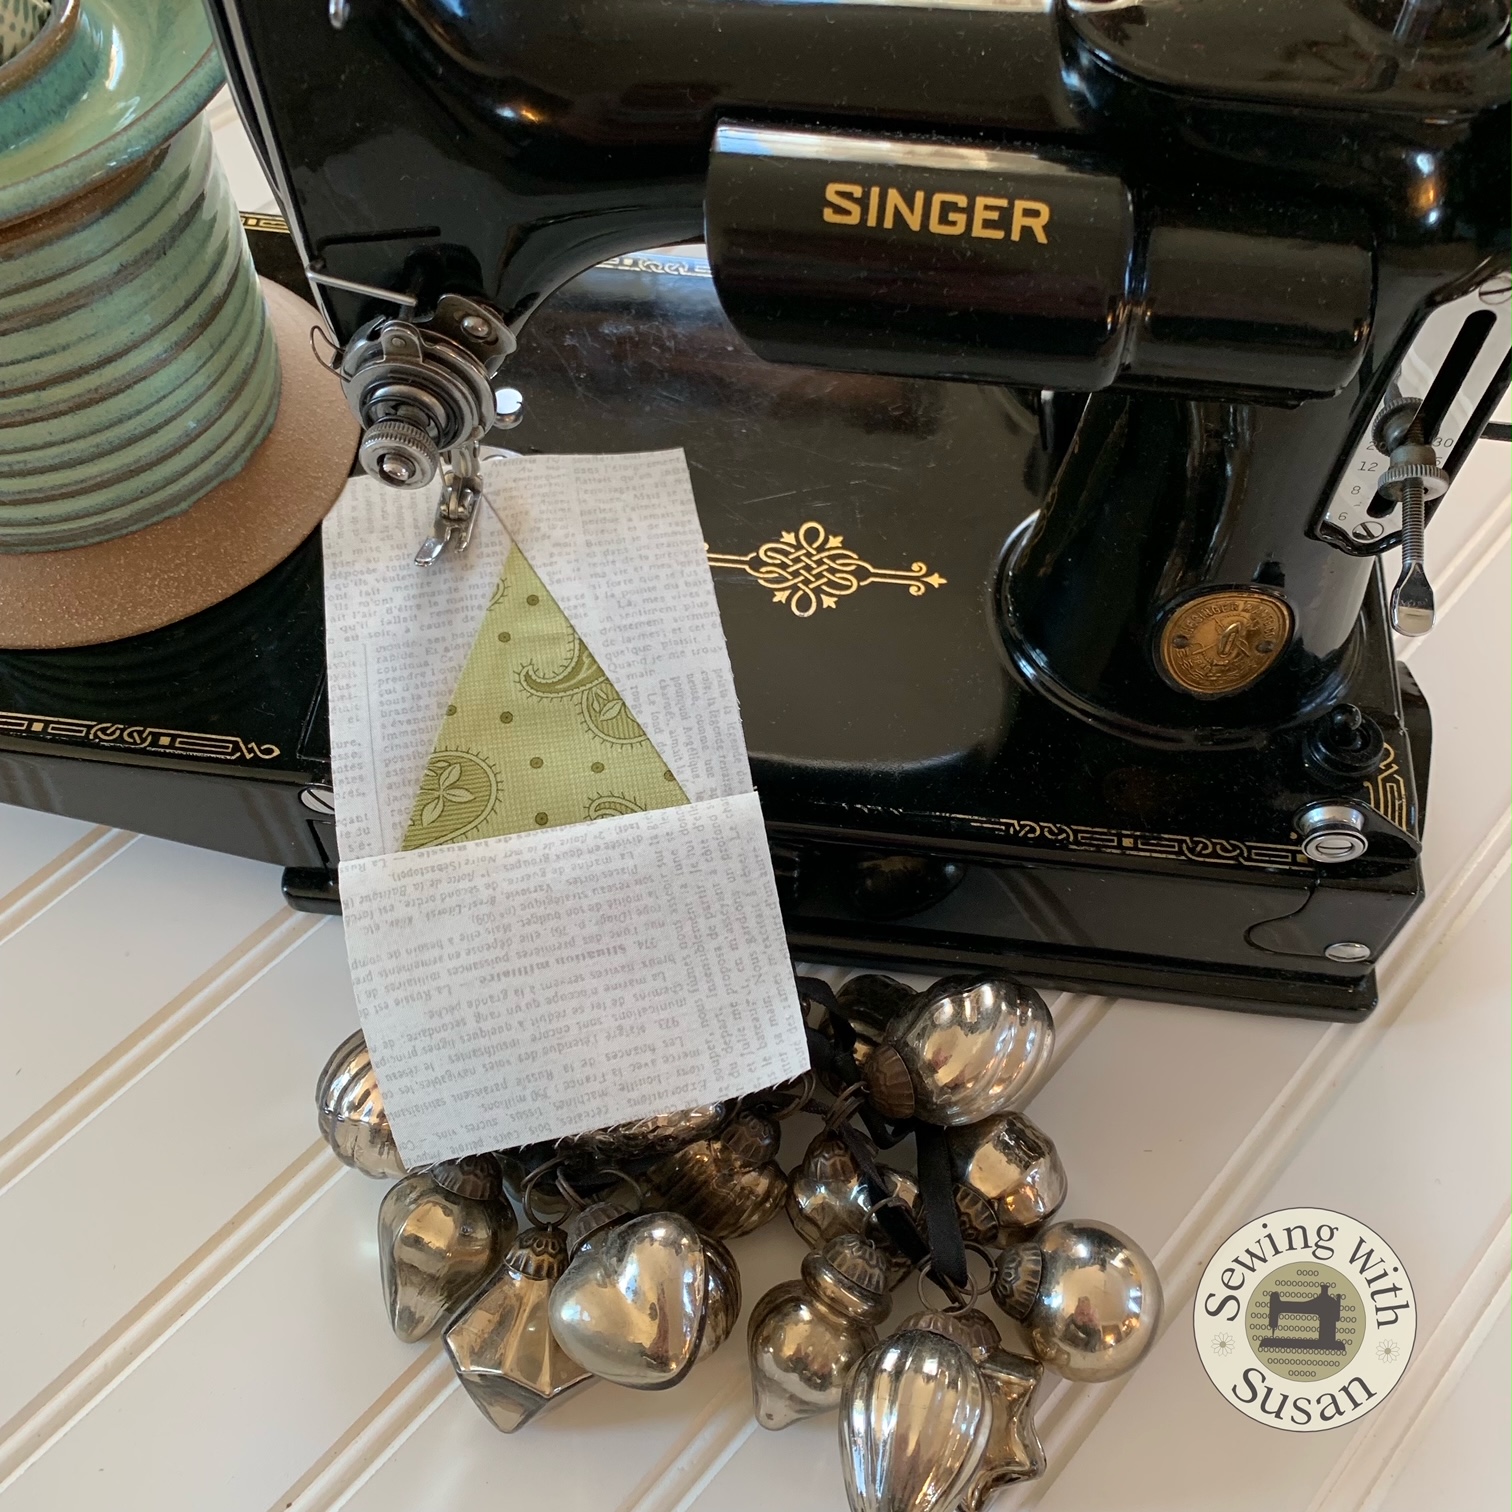
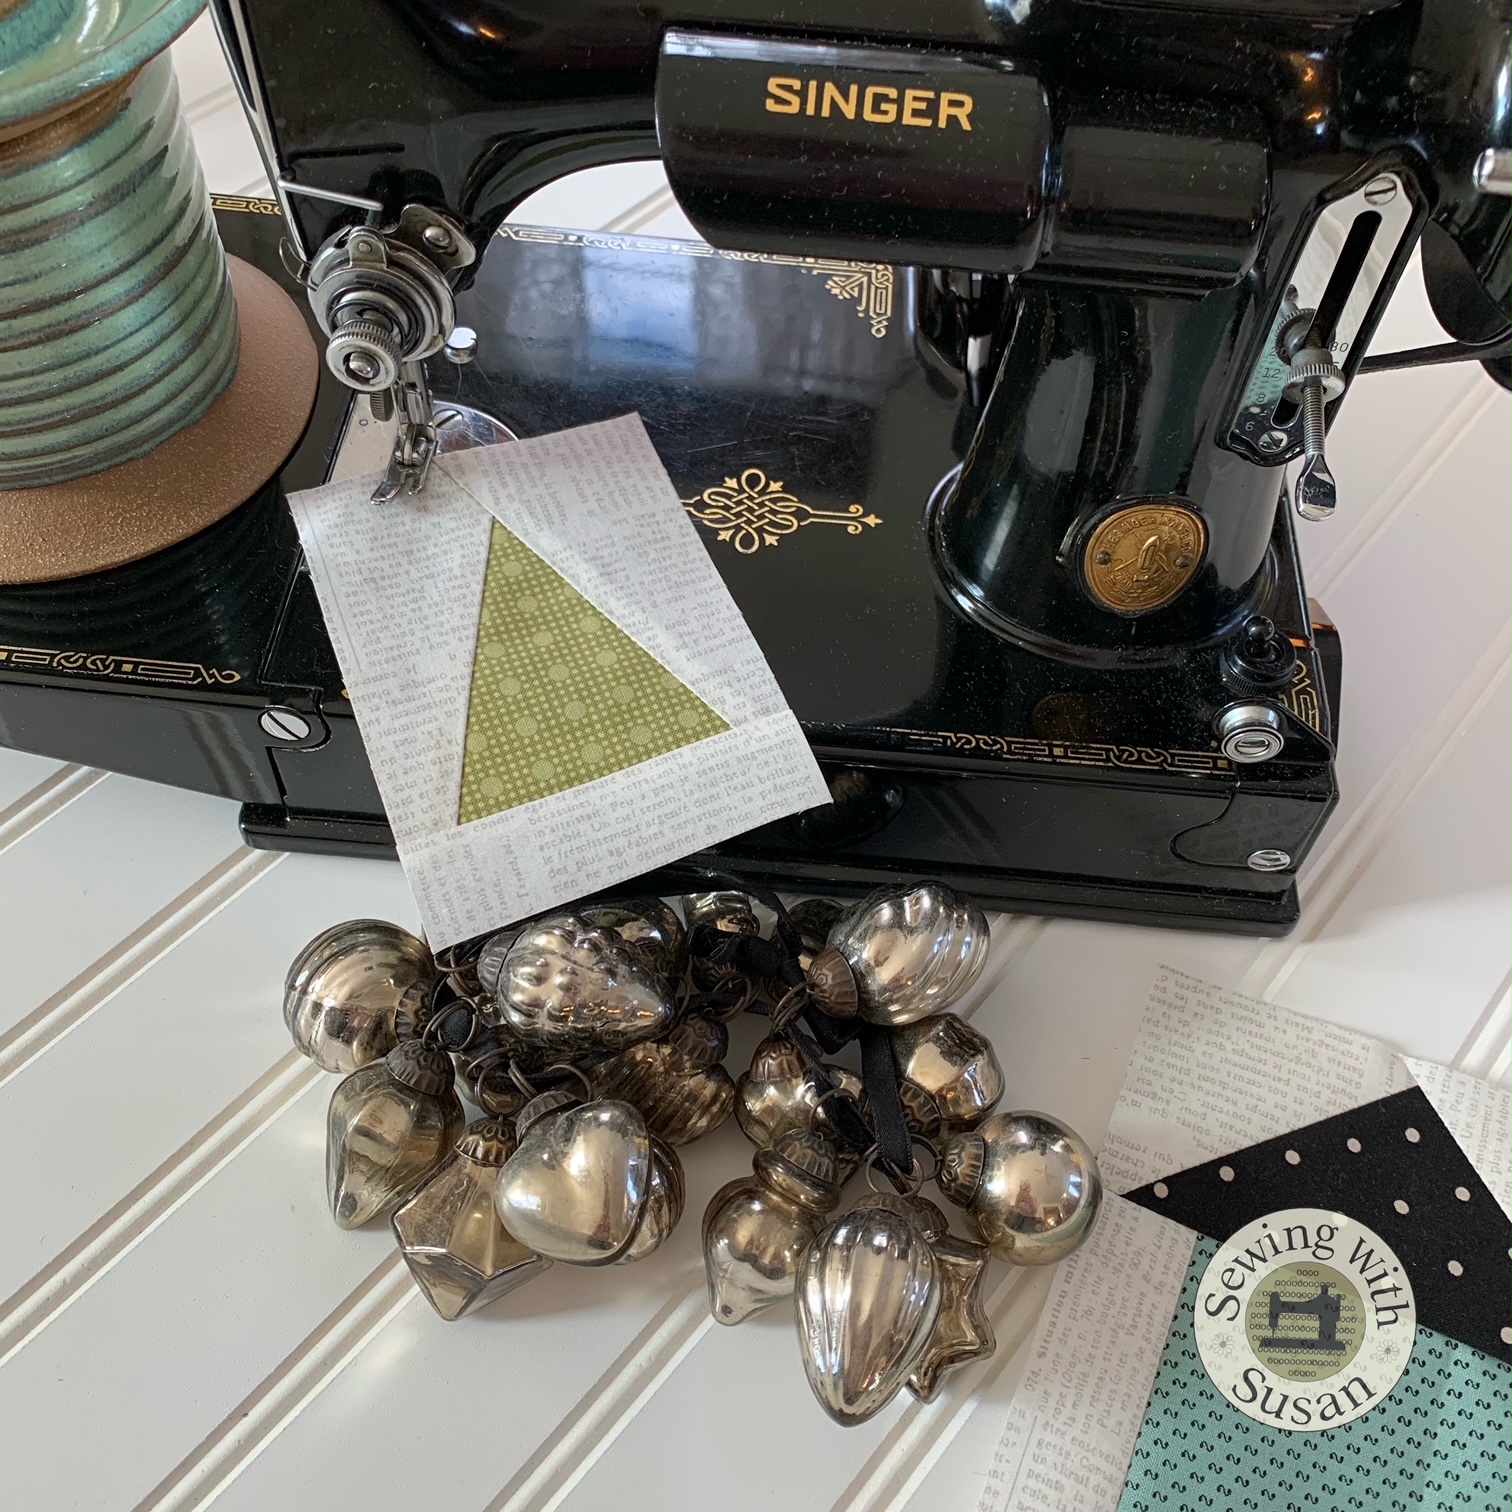
Has anyone been using their featherweight sewing machine for this quilt?
I hope you’re having fun!
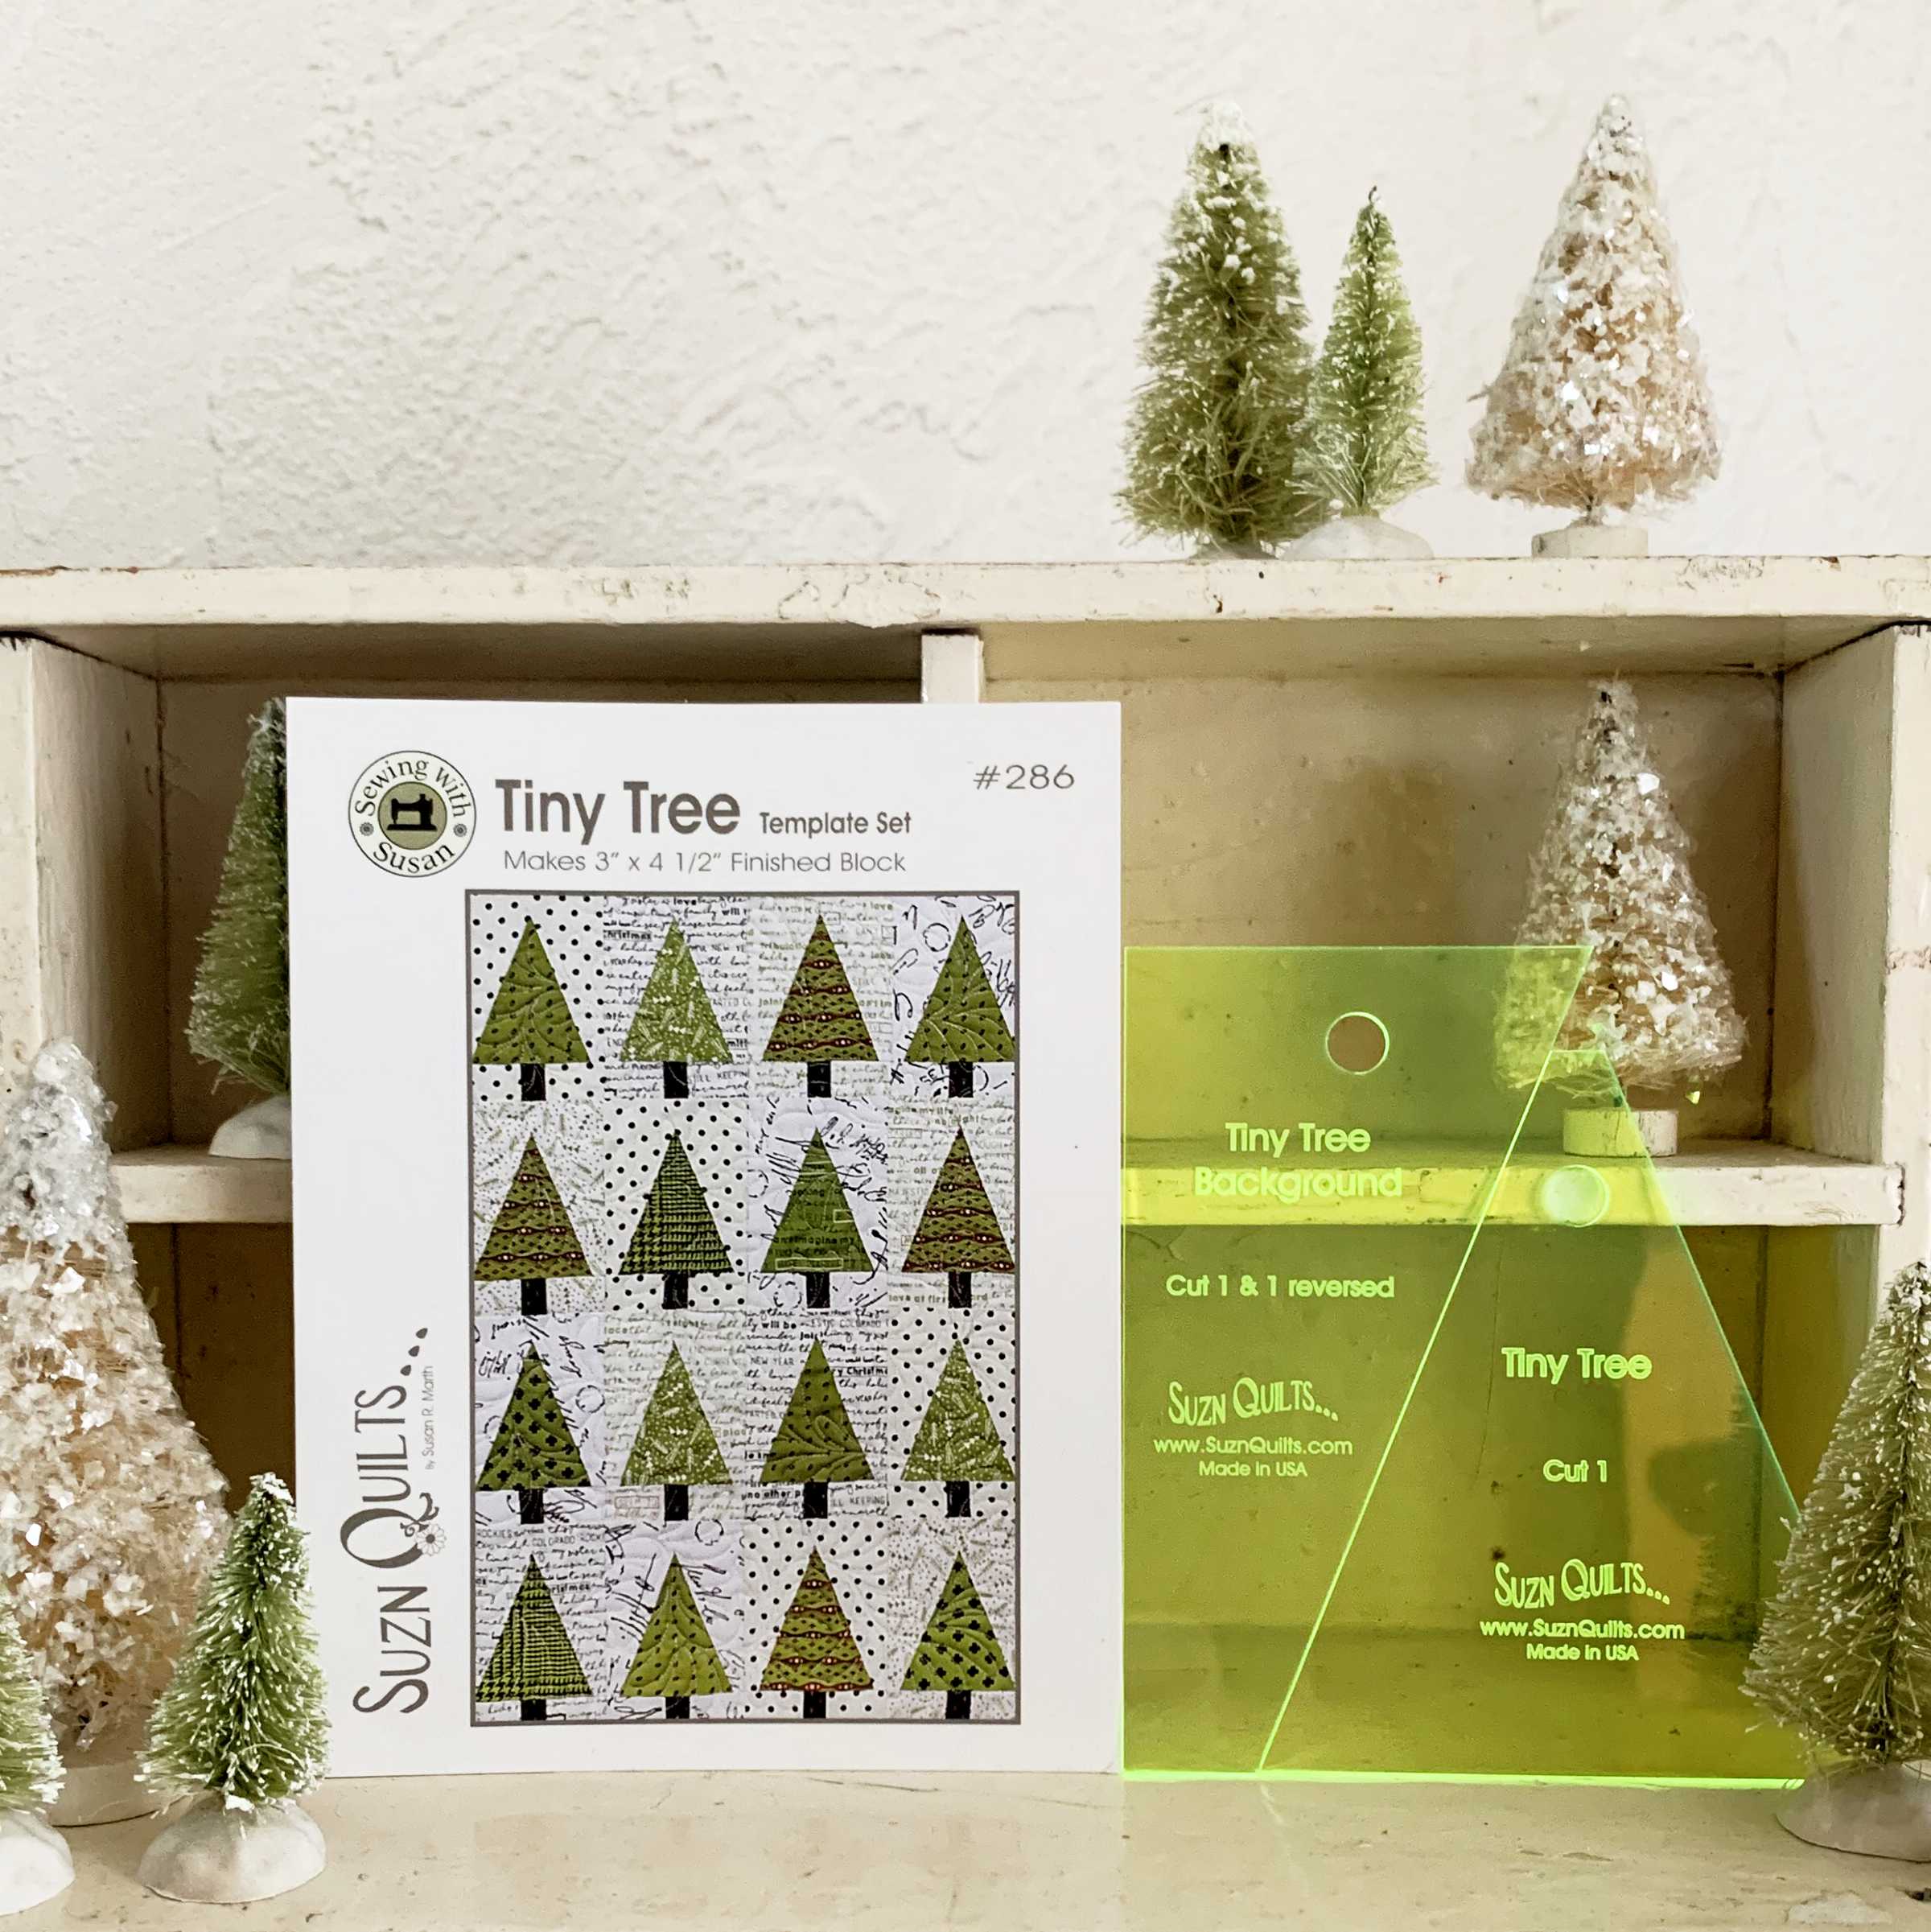
Today, Day 7, we’ll make 1 more house block.
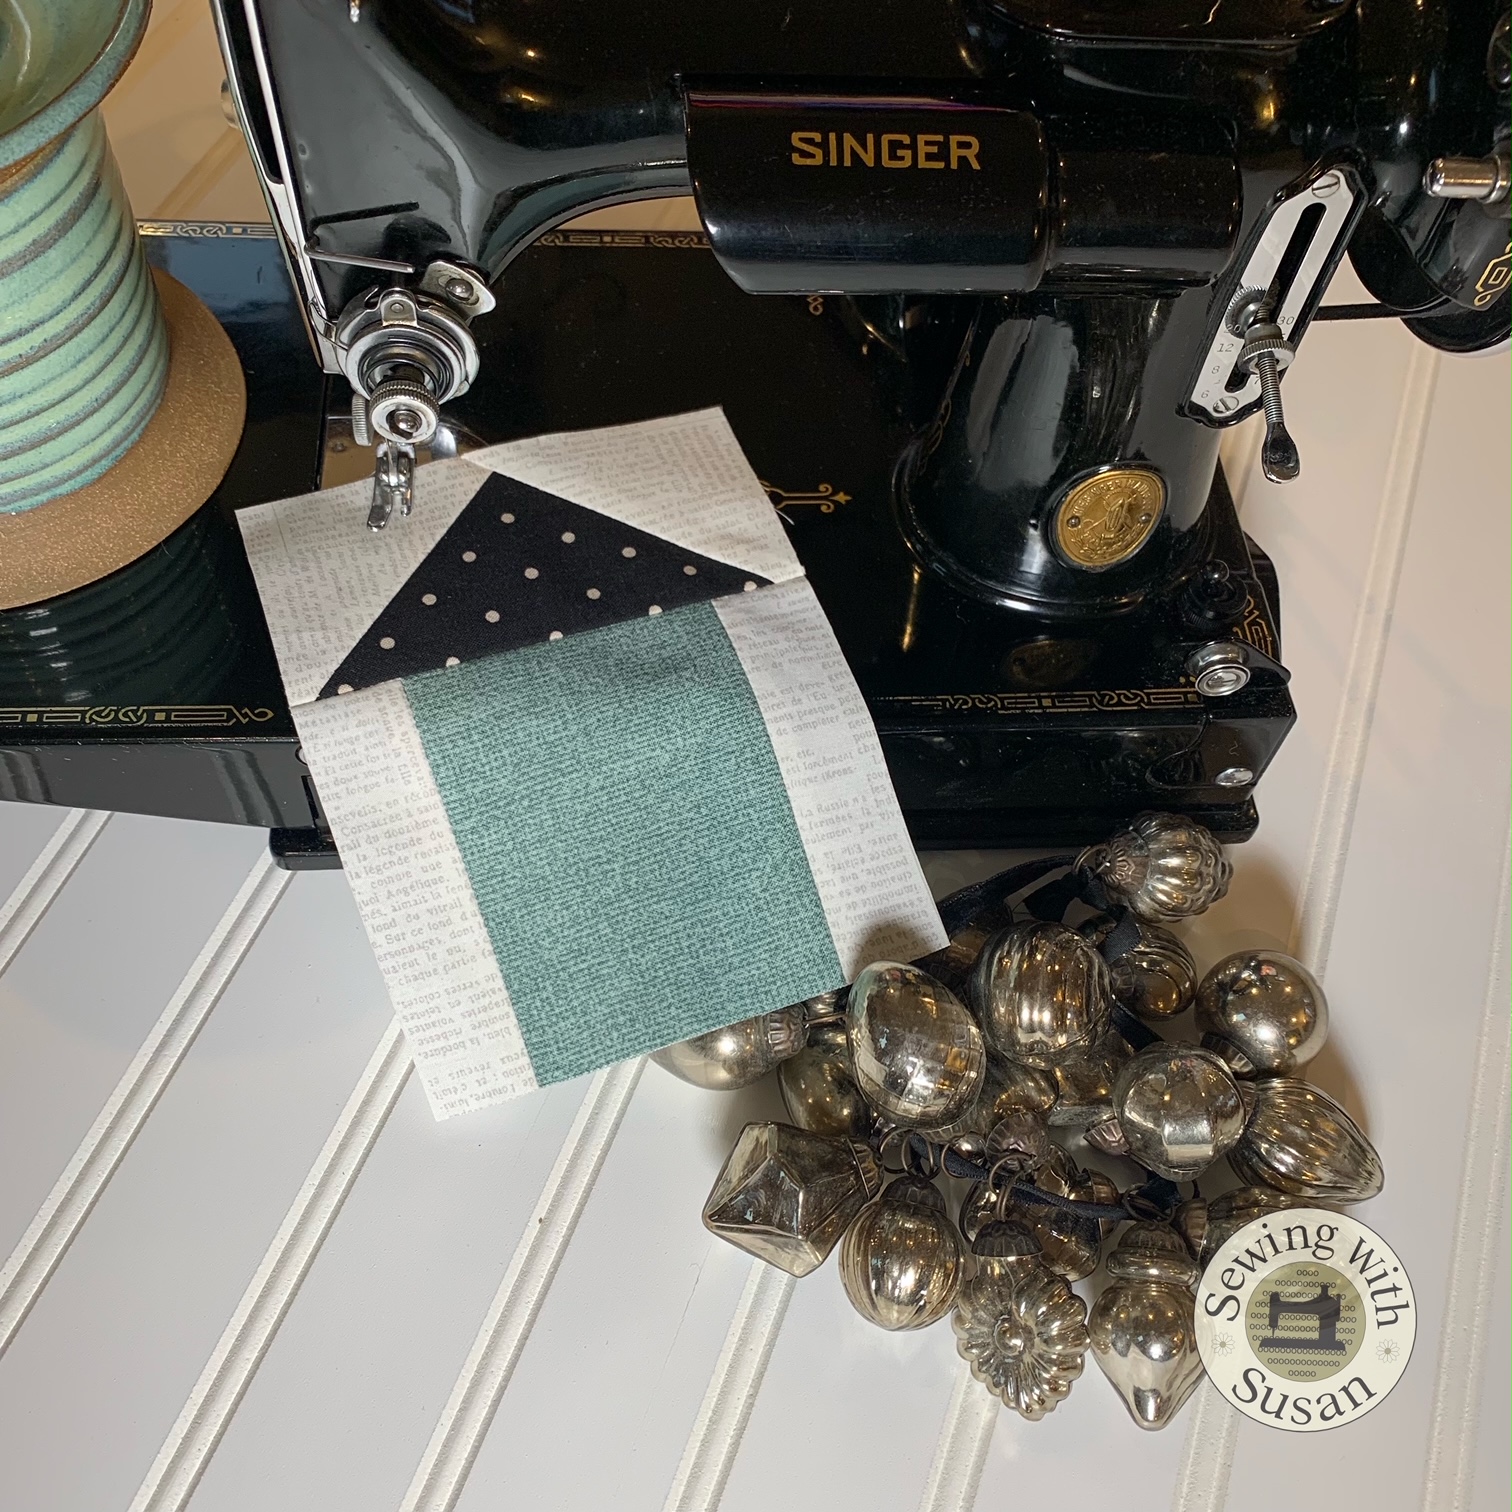
If you haven’t already, you can download the house block instructions here below.

You still have time to enter the giveaway.

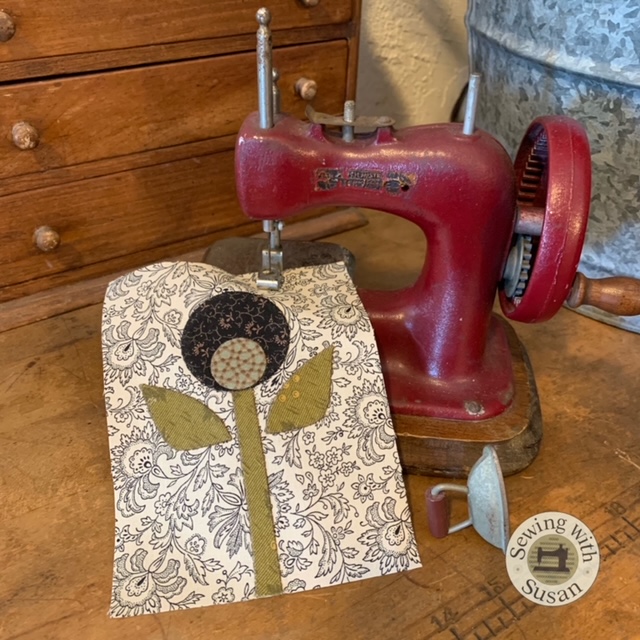
2 lucky winners will get my Dresden Love pattern + a piece of the same fabric that I’ve been using for my 12 Days quilt since I’ve had several inquires about what line of fabric it is, to use for the center of their Dresden Love quilt.
For a chance to win, just post of pic of your first 6 blocks (2 houses, 2 Tiny Trees & 2 Tall Tiny Trees)

on my Sewing With Susan FB page here: https://www.facebook.com/groups/SewingWithSusan.
No rush, you have until 9 a.m. tomorrow (Monday) morning to get caught up & post your pic!
2 lucky winners will have a good start on their Valentine’s Day sewing.
Just keep sewing…
Susan