The #SewPink Initiative was created by ByAnnie.com LLC to raise awareness for breast cancer throughout the year. Our efforts culminate in an annual blog hop during October’s Breast Cancer Awareness Month to promote self-care, awareness, early detection, and support for those affected by breast cancer.
In addition to participating in the #SewPINK Initiative, Fat Quarter Shop invites you to support the National Breast Cancer Foundation with the goal of raising $10,000.
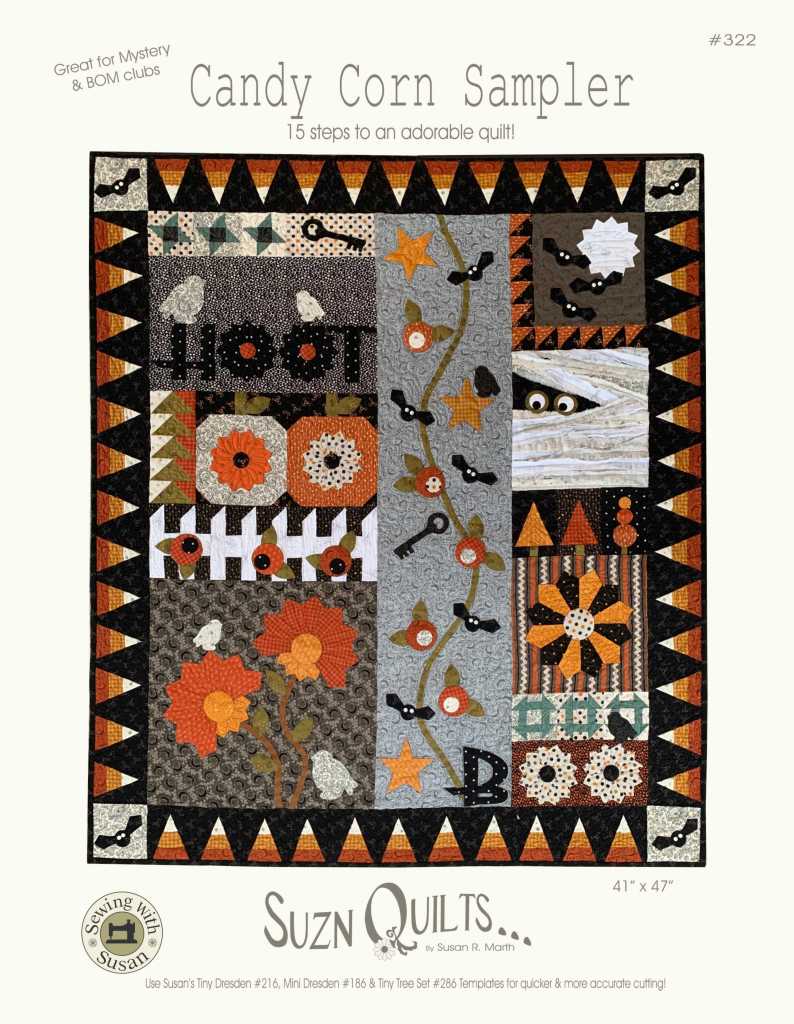
Welcome to Step 15, the last step of making your Candy Corn Sampler!
Wow, it’s time for quilt assembly!
I hope you’ve kept up & have all of your blocks complete, but if not, “Just Keep Sewing!”
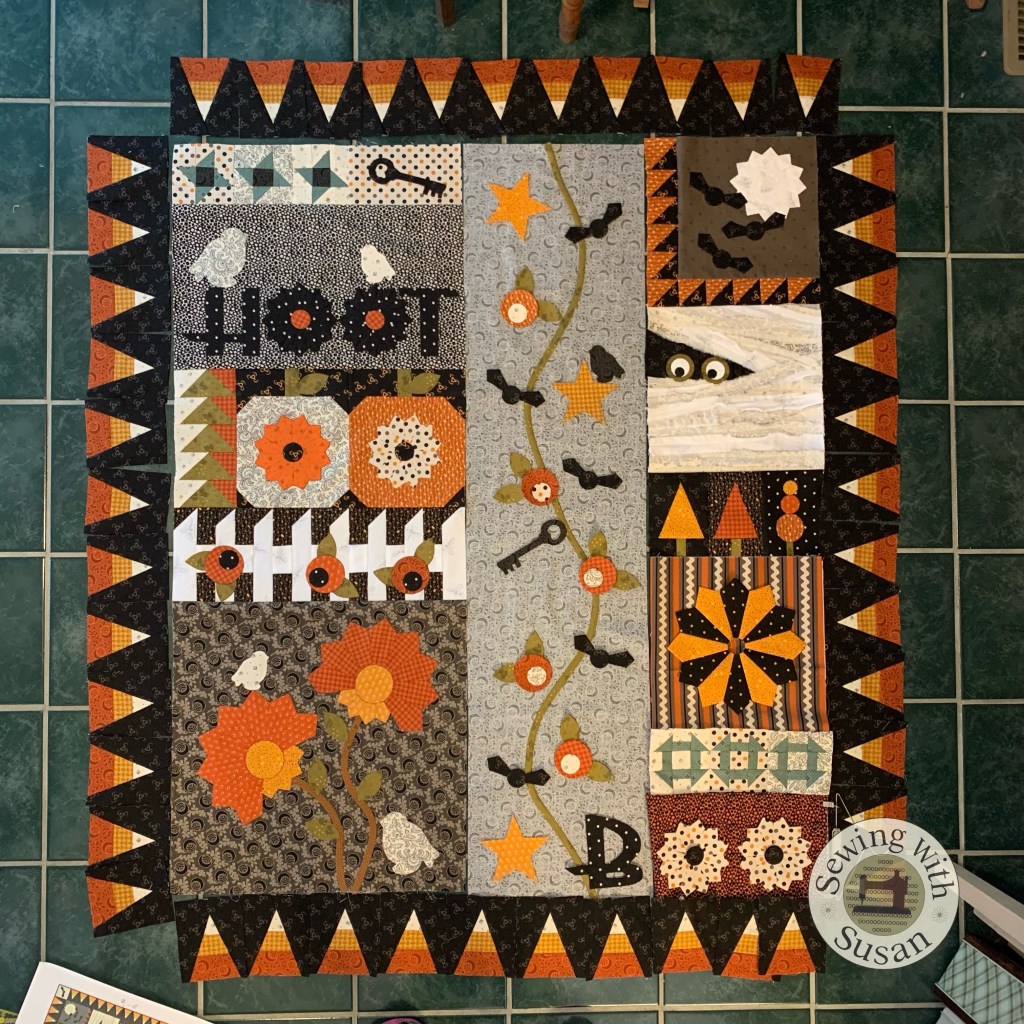
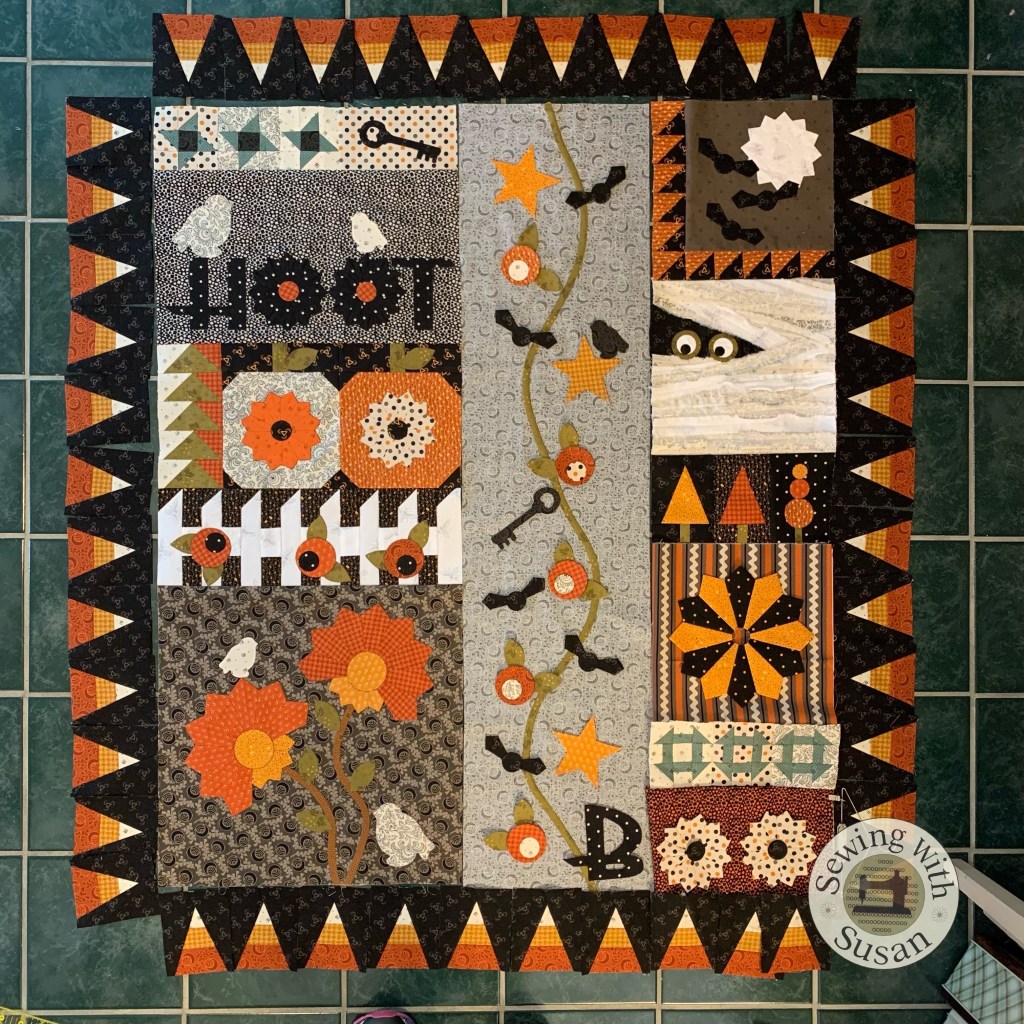
If they are compete, refer to the diagram on page 21 to lay out all of your blocks & the border strips to be sure you have everything in its correct place.
Below is a pic of my top in progress minus the bat corner blocks.
Once everything is in place, sew the blocks into columns then sew the columns together.
I’d show you those pics, but I was so excited to sew my top together that I didn’t think to photograph these steps!!!
Sorry, lol!
Position then glue or fuse the “B” on the lower portion of the applique strip
& the little bird on the “OO” block.
Appliqué them in place.
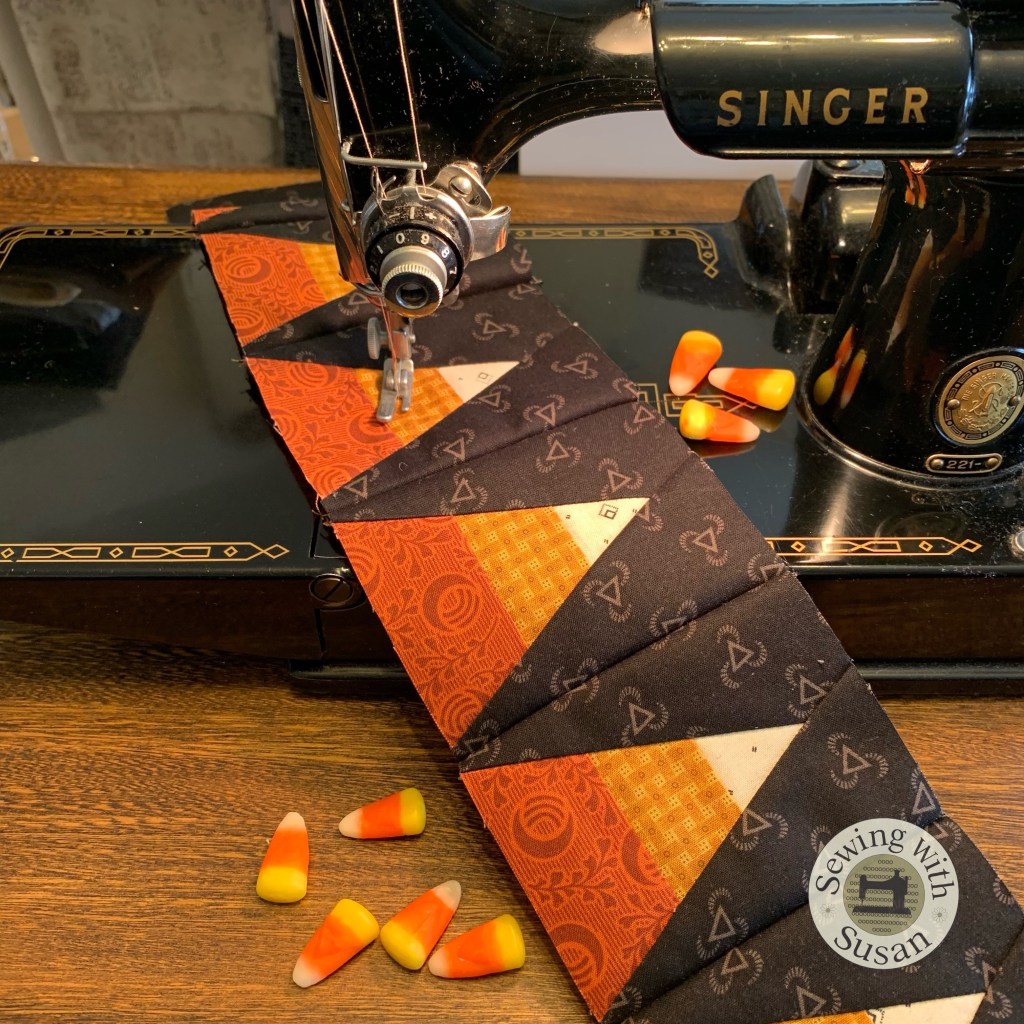
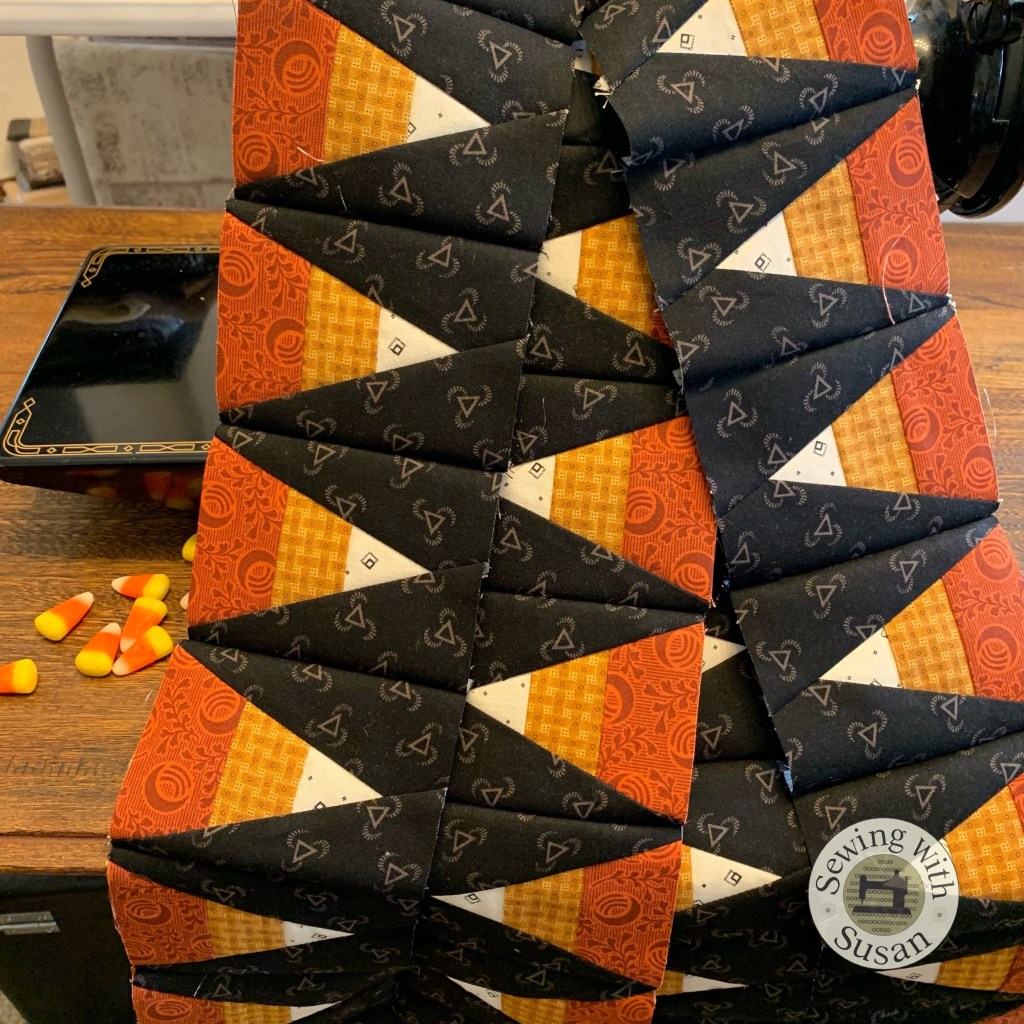
Lastly, sew the candy corn border strips to the sides & then to the top & bottom.
Now to layer with backing & batting & quilt it.
You still have a couple of days ‘til Halloween you can probably get it quilted by then.
Or if you’re like me, hang the top for Halloween, then take it to your favorite quilter on November 1st!
I’m sure Tamara would love to quilt your Candy Corn Sampler.
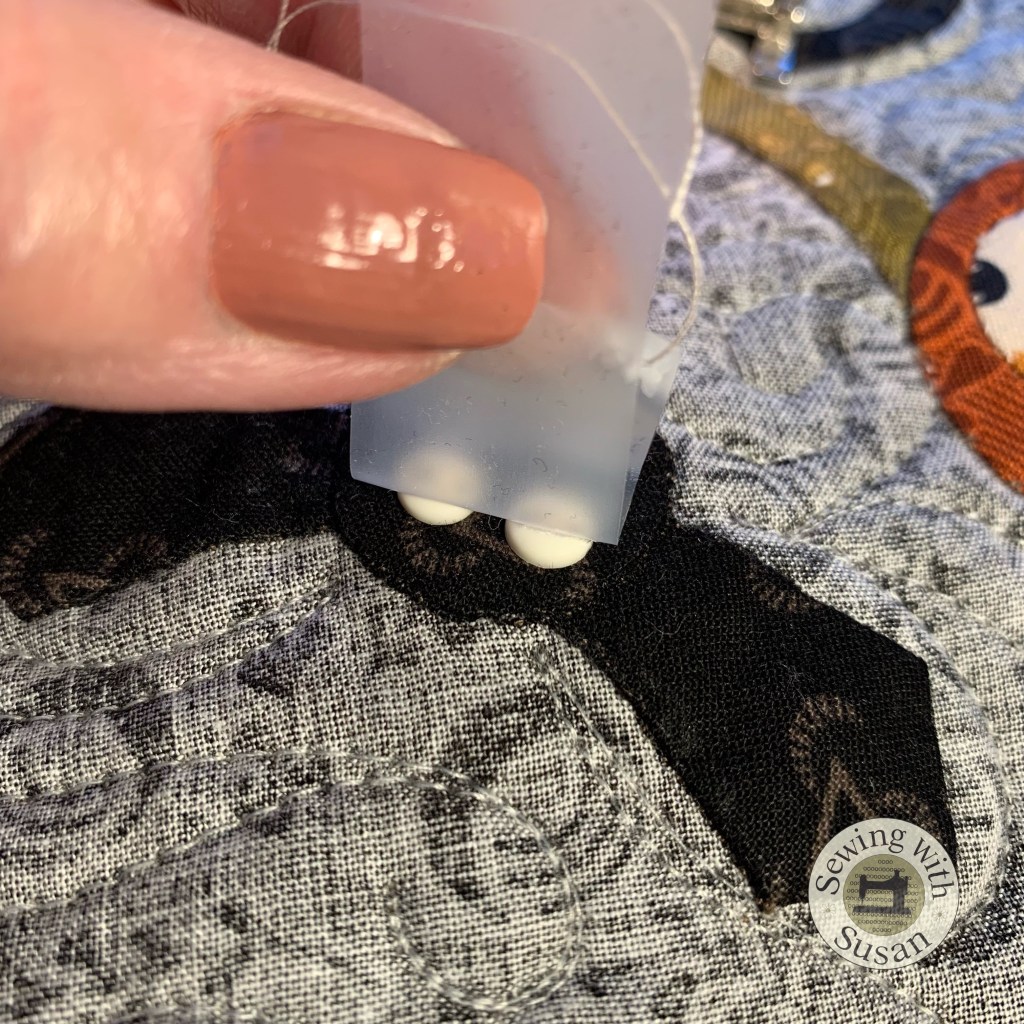
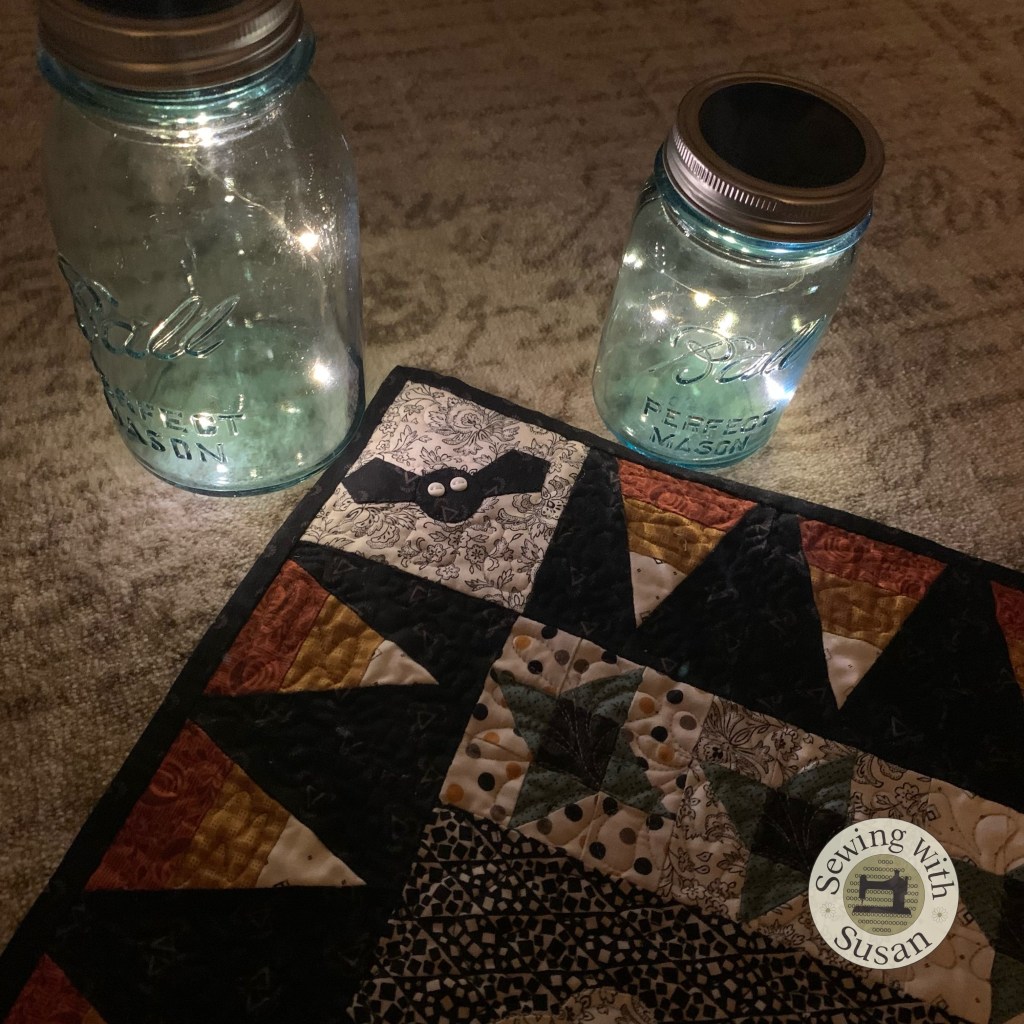
After it’s quilted, don’t forget to sew the little white buttons on the bats for their eyes.
Have you sewn on buttons with your sewing machine before?
I sew all of my buttons on with my sewing machine.
First, tape them down in place.
I tape multiple buttons on at the same time.
Next set your machine’s stitch length to “0” & set the stitch width to align with the holes in the buttons. On my machine it’s “3” for the width.
Did you know that no matter the size of the button, “most” button holes are the same width apart? Super large or super tiny buttons are the only exceptions I’ve noticed.
I sew multiple buttons on & then go back & trim threads.
Notice I use the open toe foot for this task.
Did you know that I use this foot for pretty much everything?
The only time I take it off is to put on either the walking foot or free-motion foot.
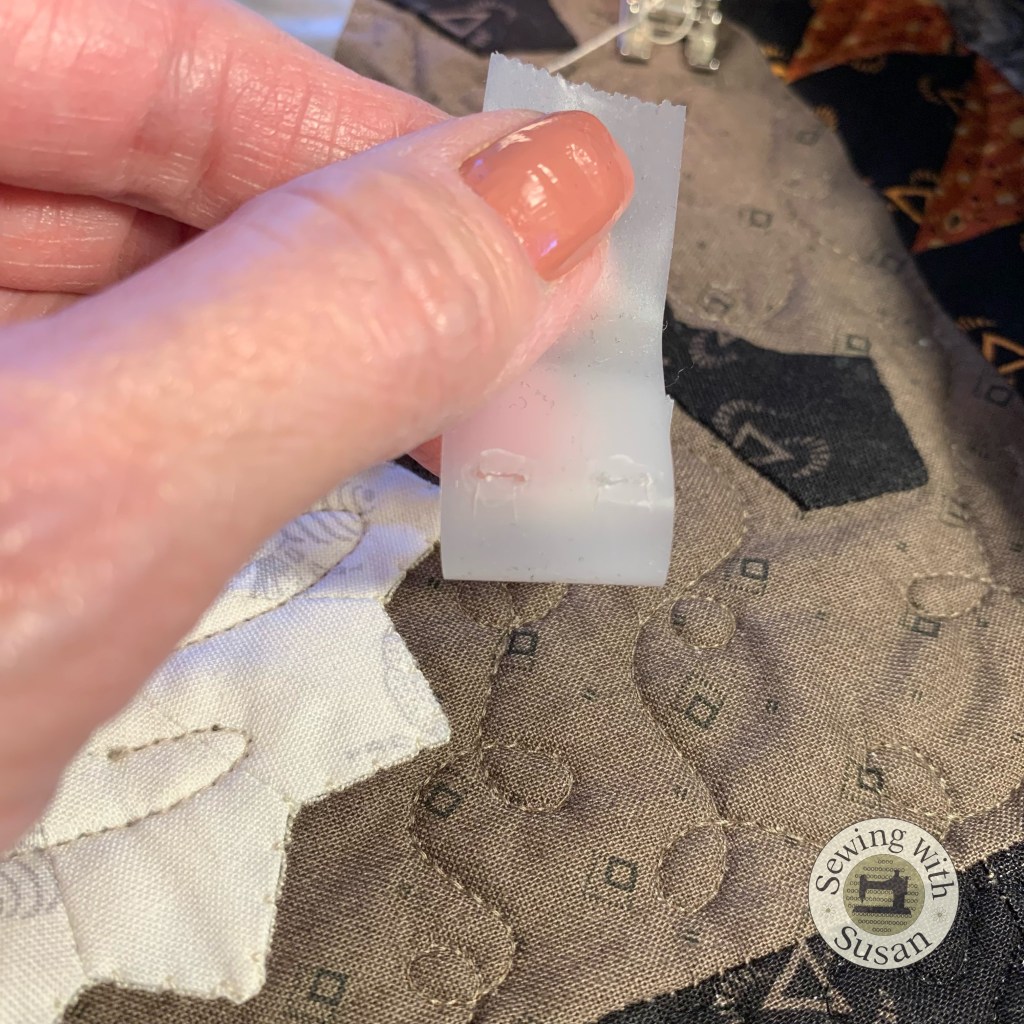
To remove the tape painlessly, pull the tape off parallel with eye stitch width.
Usually it pulls off in just 1 piece.
Repeat with remaining bats.
I really hope you’ve enjoyed this quilt-along.
I loved designing and making my Candy Corn Sampler Quilt.
If you’re just reading along to see if you’d like to make this or another pattern of mine I hope I’ve enticed you to do so.
If you’re not already a member of my Sewing With Susan Facebook group, please join & share pics.
I have more images to hopefully help you along on your Awesome Appliqué Strip journey…
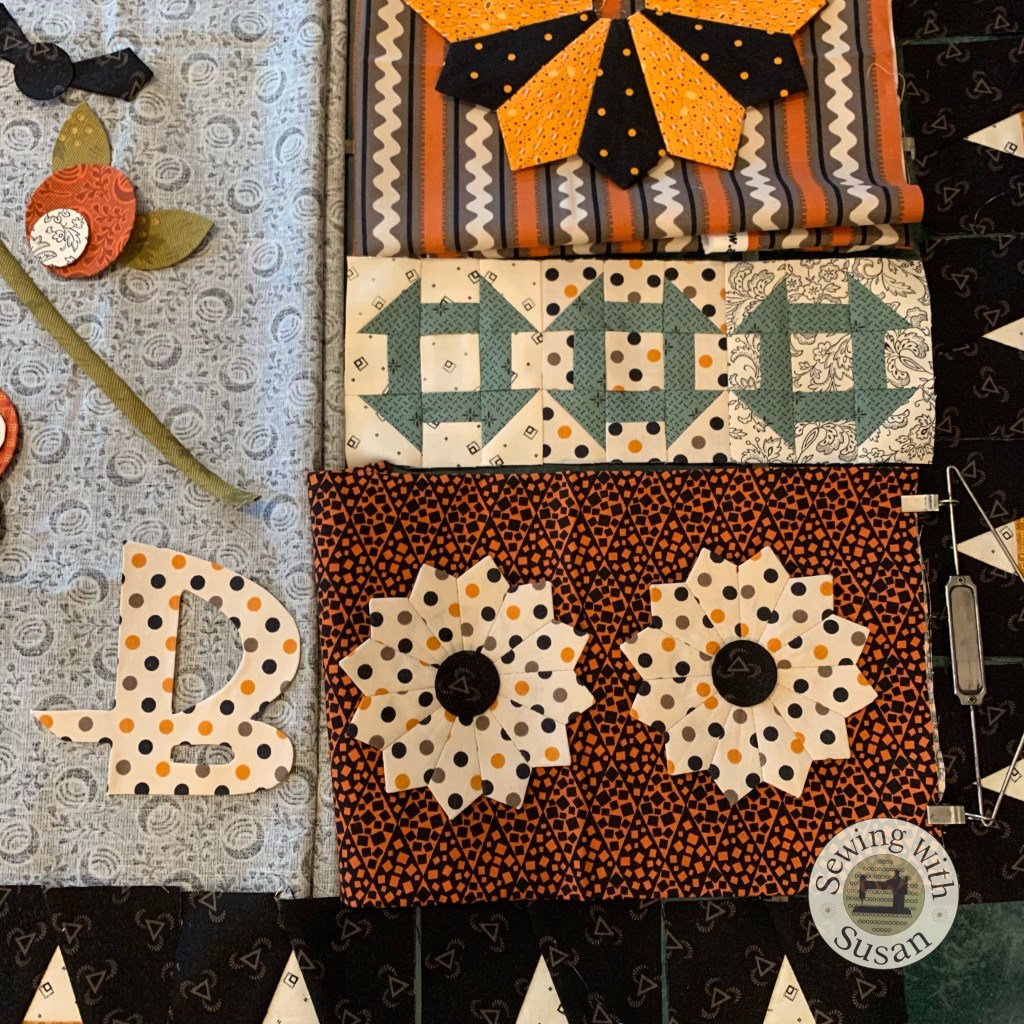
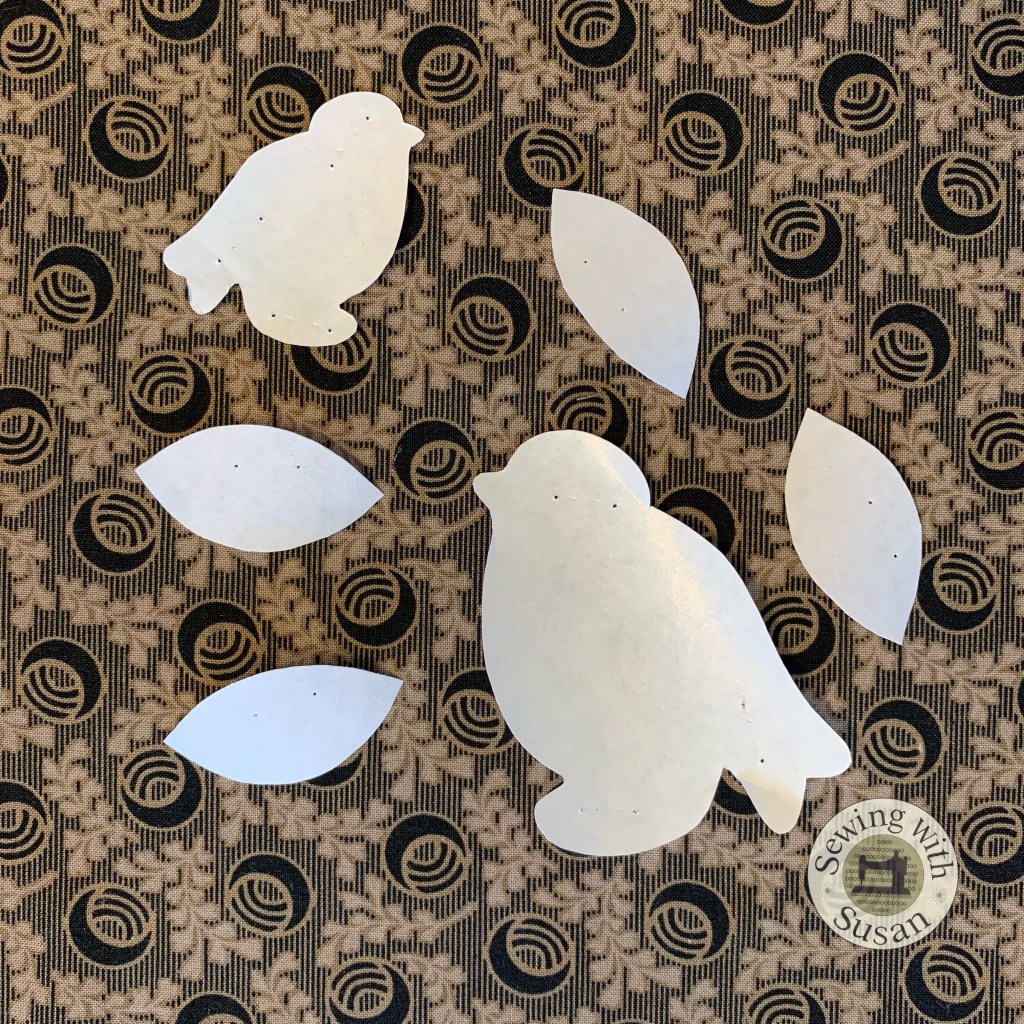
I thought I’d taken this pic of all the appliqué shapes I’d made but didn’t find it for yesterday’s post. Sorry!
As I was designing & making this quilt (like all of my quilts) I design/sew/assess as I go. Sometimes the quilt is finished just as I originally designed it & sometimes it morphs a bit or a lot!
This quilt just had minor fabric color changes, but mostly for photographing purposes.
I love this part!
Many times as I’m working I change things only to revert back to my original design… like the “B”!
The “B” was originally black but at some point I imagined it would read better if light like the “OO”.
It just didn’t pop on the grey appliqué background.
Even though I had to make another “B” I decided it needed to be black (just like my original design).
That helped me to move forward on the appliqué strip once I’d fixed that problem.
You have no idea just how many hours I spend getting a design “just right” do you? I’m sure you don’t because I can’t even calculate them now that the quilt is complete!
Finally it was ready to fuse, glue
& stitch!
And stitch some more…
Now it’s perfect!
If you’re not already a member of my Sewing With Susan Facebook group, please join & share pics.
Welcome to Step 13 of making your Candy Corn Sampler!
Today is Awesome Appliqué Strip Continued.
On page 19, you’ll find the instructions & diagram to complete the center appliqué strip.
Like any task, practice makes perfect!
Below is the appliqué video for the blind hem stitch if you need a refresher.
It’s the same stitch for appliquéing the template shapes & the vine.
After all the stitching is complete, be sure to remove the paper templates.
Refer to page 3, Appliqué finishing to cut background fabric, wet shapes w a wet cloth, wait a couple minutes then remove templates. If it’s wet enough the papers should just pull right out.
It really is simple.
Using patience for this is my best advice.
If the paper doesn’t remove easily, get the piece a bit wetter.
Don’t forget, the “B” and the bird on the “OO” block will be added after assembling the top.
If you’re not already a member of my Sewing With Susan Facebook group, please join & share pics.
It’s my day to once again help spread awareness for breast cancer screening.
I hope every woman is aware of how important monthly self exams and especially annual mammograms are each year once you reach 40, or before if like me, you have a family history of breast cancer.
I can attest that mammograms are no fun!
I’ve been getting them regularly for nearly half my life.
Diagnostic MRIs & ultrasounds that some years for me are every 6 months instead of 12, aren’t fun either, but it beats the alternative. I also know that if they find something in their testing they’re probably catching it early & it will hopefully be easily treatable.
Early detection is so important.
There are so many reasons to try to stay healthy &
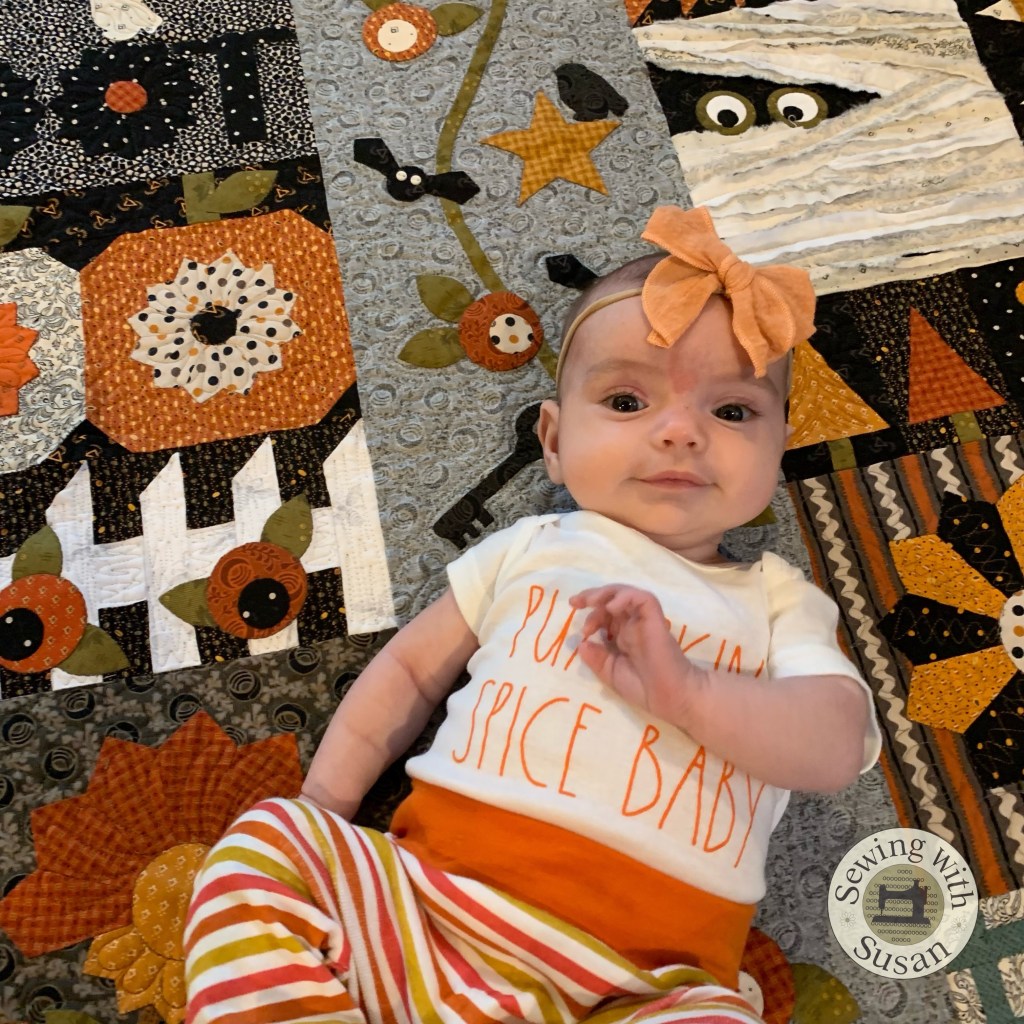
our precious new grand baby, Emma, is a good reason for me!
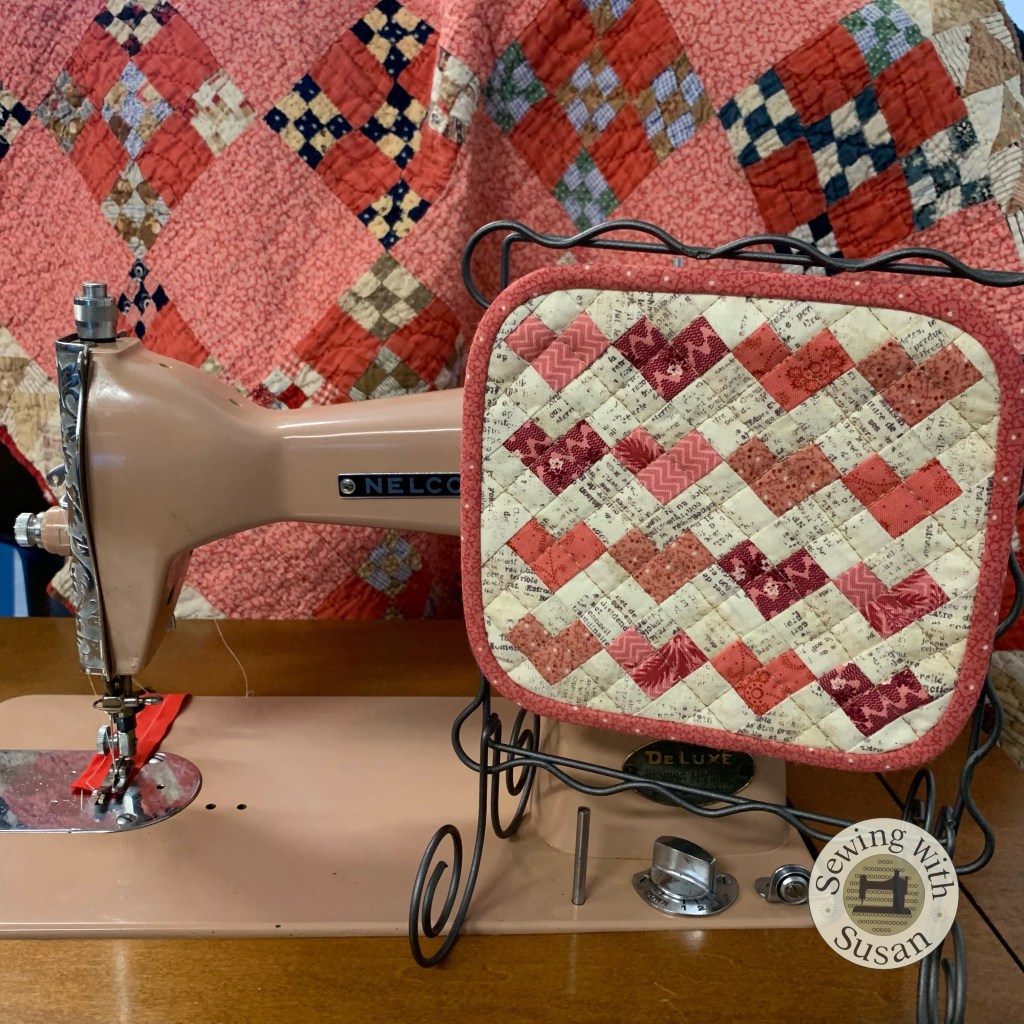
I’d like to offer this new little quilt pattern to make for yourself or a friend.
It measures approx. 6″ x 6″ & fits nicely on the 6 x 6 Scroll Stand by Ackfeld.
Use it as a reminder to get your annual screening.
Download the pattern for free by clicking the download button below & if you feel it in your heart to donate, see the details below.
The #SewPink Initiative was created by ByAnnie.com LLC to raise awareness for breast cancer throughout the year. Our efforts culminate in an annual blog hop during October’s Breast Cancer Awareness Month to promote self-care, awareness, early detection, and support for those affected by breast cancer.
In addition to participating in the #SewPINK Initiative, Fat Quarter Shop invites you to support the National Breast Cancer Foundation with the goal of raising $10,000.
Welcome to Step 10 of making your Candy Corn Sampler!
Thanks for sharing pics on our FB group, Sewing With Susan!
After making today’s blocks, you’ll be 2/3 done with your Candy Corn Sampler!
Step 10 is 1 Mini Dresden plate block…
Refer to page 15, to make the Mini Dresden plate.
The hardest part of this block was deciding what color of thread to appliqué the block to the background with because I used a cheddar & a black fabric for the petals.
In the end I decided on my best friend in threads.
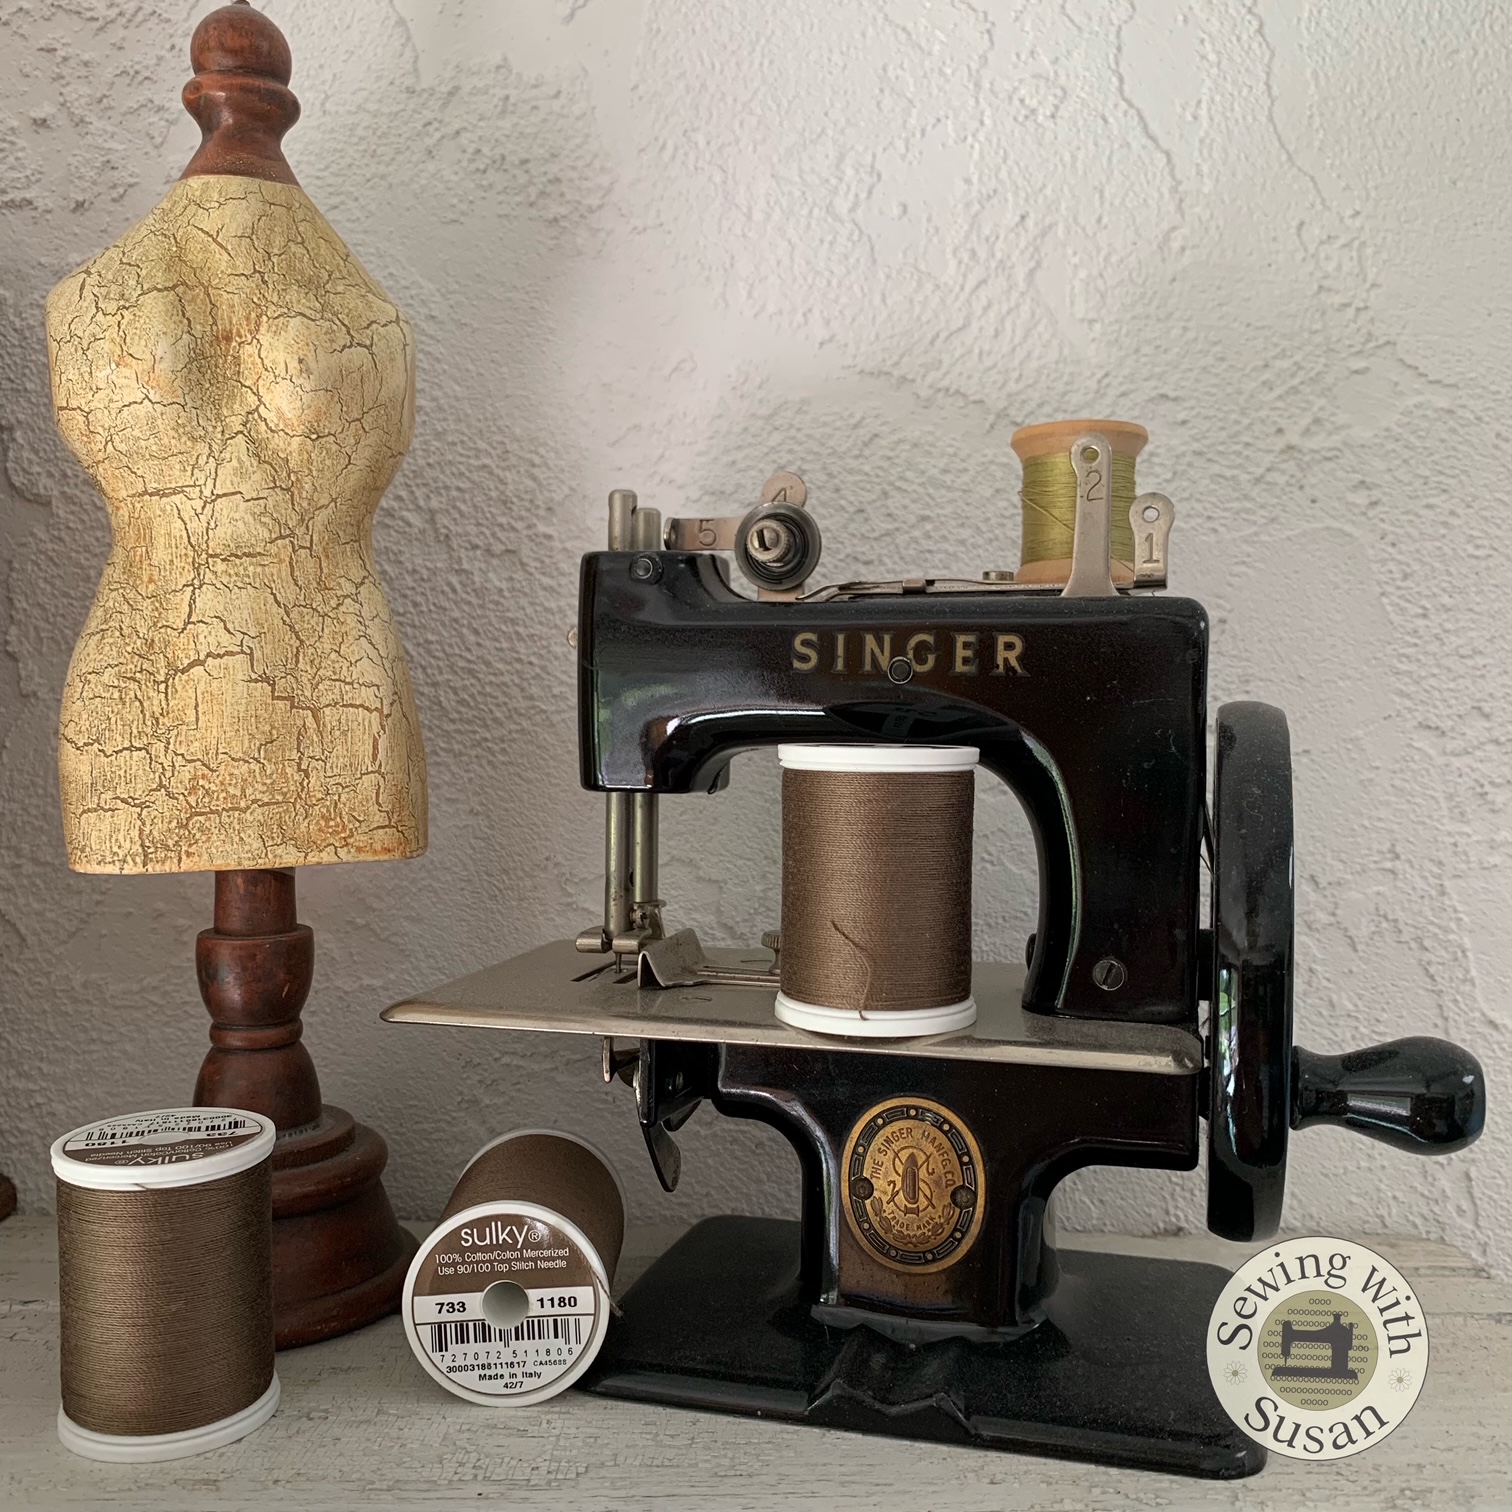
I use Sulky’s Medium Taupe 733-1180 thread almost every time I make a Dresden plate with multiple fabrics.
I pieced & appliquéd this entire Dresden Heaven quilt with Medium Taupe.
It blends well with light, medium & dark fabrics.
It also blends well with many colors, not just neutrals.
This is a good time to make the filler blocks if you’ve not already made them.
Find the flying geese blocks on page 16.
Half-square triangles can be found there too if you didn’t make them yet.
We’re back to needing these today.
Also more time for fabric play…
Fun, fun, fun!
Tamara added some pizzazz to the petals of this block!
I love the rick rack prints in this collection. Who am I kidding? I love this whole collection by Need’l Love!
If you’re not already a member of my Sewing With Susan Facebook group, please join & share pics.

























 Quilting my way through life!