Basket Block
Since I don’t want to be sewing on Easter Sunday,
Easter Mass & family celebrations or not,
I thought others might feel the same.
So here’s your block for tomorrow, today!
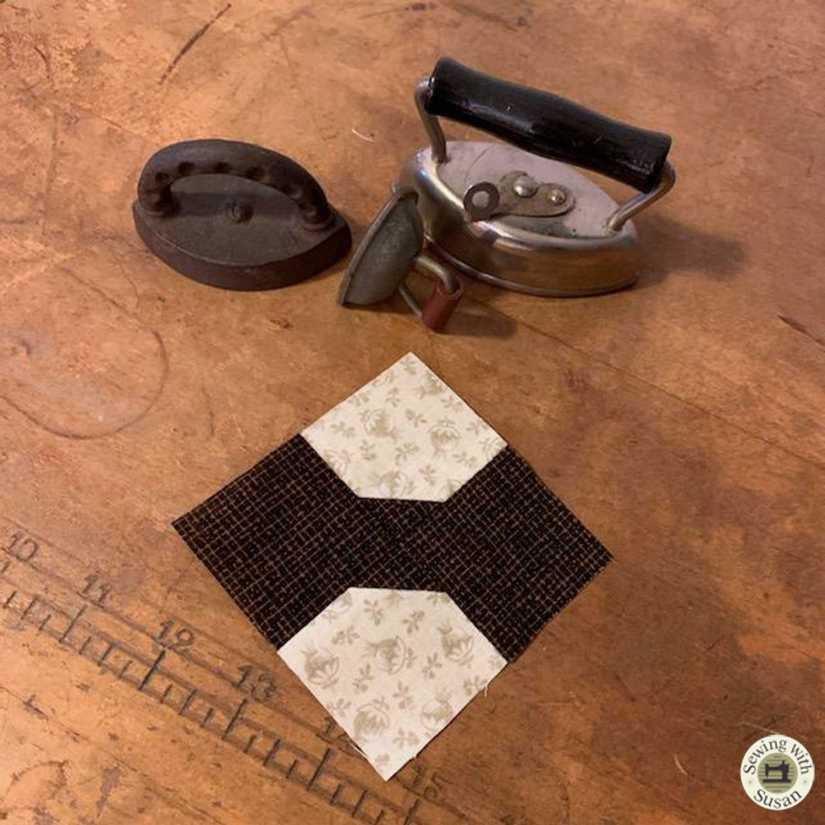
How fitting that it’s a basket, huh???
Today we’ll make this original tiny basket block
that I designed just this morning.

As always I had lots of fun going through my scrap basket!

~~~~~~~~~~~~~~~~~~~~~~~~~~~~~~~~~~~~
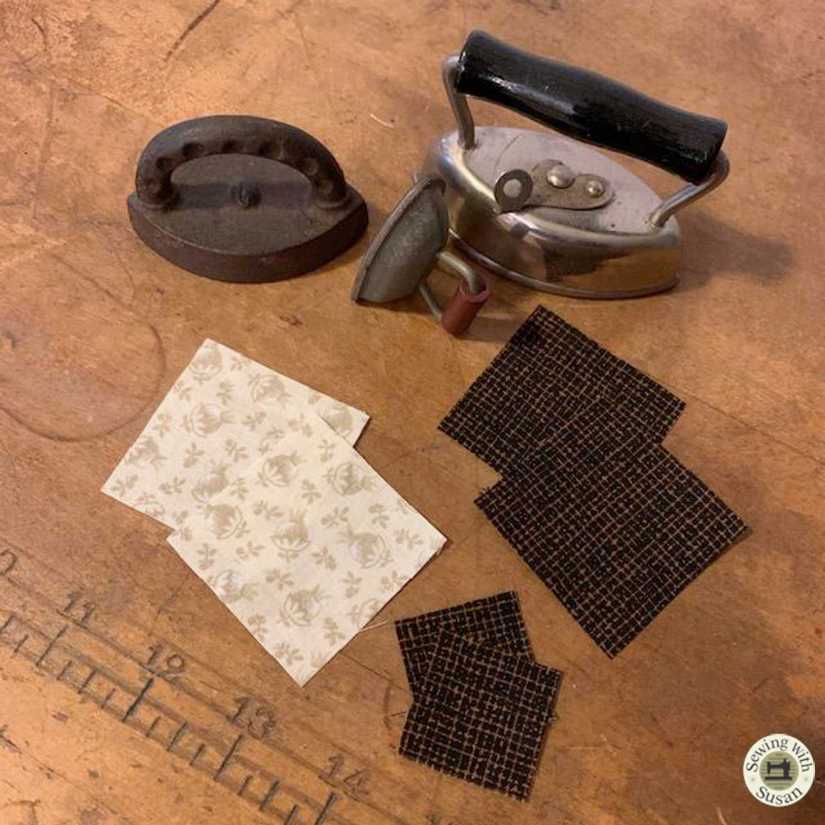
Cut:
- 1 background sq. 3 1/2″
- 1 basket sq. 3 1/4″
- 1 basket BIAS rec. 3/4″ x 5″ (cut on the diagonal of the fabric) for use with 3/8″ bias tape maker (if using another size, check the instructions for your bias tape maker 1/4″ or 1/2″ would also work.)

Follow the instructions on the bias tape maker
to turn the 3/4″ x 5″ bias strip into a fused handle.

If you do not have the ability
to fuse the bias strip as your make it,
just cut a 3/16″ x 5″ strip of fusible web
& fuse it to the bias piece after you make it.
Crease the background square in both directions.

Find the center of the bias strip.
Align it with the crease 1 1/4″ from the top of the background square.
Use this as a guide to fuse the handle.
Be sure to align it well inside the 1/4″ seam allowance
at the two sides of the background square.

You may need to use a bit of glue too since the curve is so tight.
I didn’t.
I just went right to my sewing machine & stitched it down.
I used the same tiny blind hem stitch
that I use for all of my little Dresden plates & other applique.

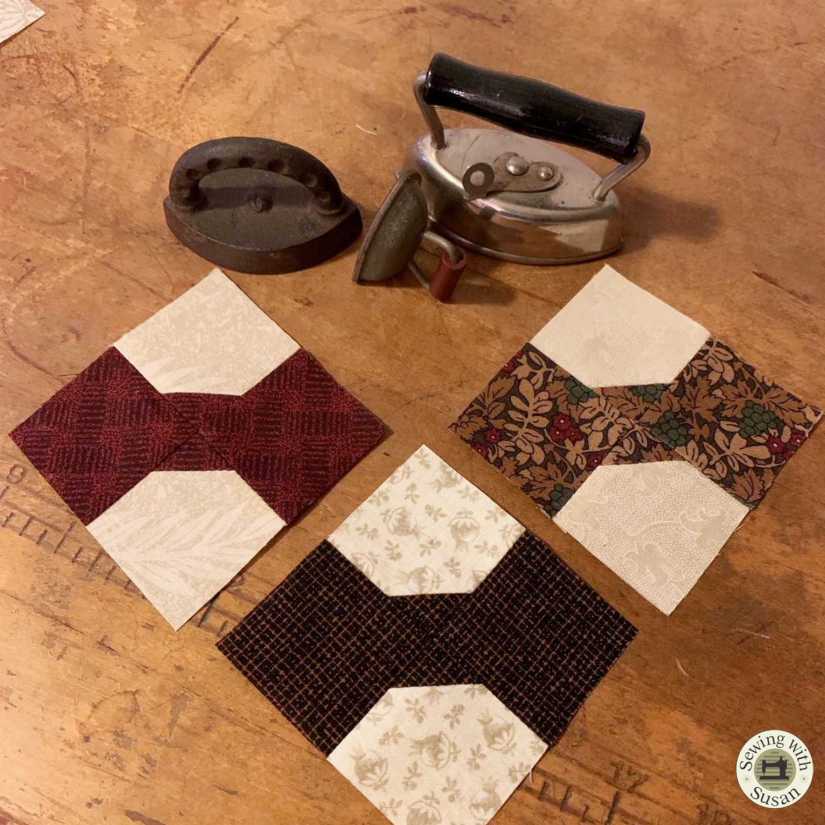
My second basket block’s fabrics have more contrast
& may be easier to see.
The thread should match the basket fabric.
Align the 3 1/4″ basket square with the
BOTTOM
corner of the background square as shown below.

I used my “Lazy Susan” technique once again,
aligning the 1/4″ line of the ruler
corner to corner on the
BASKET FABRIC
square.

Next, I trimmed away the fabric outside the edge of the ruler.
I then used this edge to sew the scant 1/4″ seam.

I think the backs are so cool!

I truly just love figuring out the mechanics to make this work!
I hope you love making some “Easter” basket blocks.

Show us your blocks at my Sewing With Susan FB Group.
We want to see your progress too!
https://www.facebook.com/groups/SewingWithSusan/
Just Keep Sewing…
Susan