
Are you familiar with the Apliquick tools?

They are one of the reasons that my Dresden centers are so round.
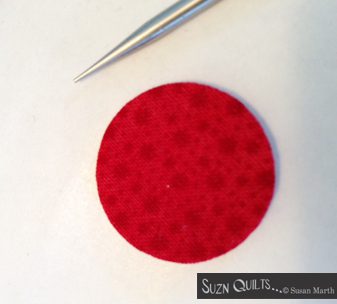
Practically perfect!
Let me show you.
First, cut the circle templates perfectly round.
I do this (and yes I claim perfection here) with the “ek success” 1/2″, 1” or 2” circle paper cutters depending on if I’m making my Tiny Dresden plates, Mini Dresden plates or my Tiny Dresden January snowflake.


 Stack 6 layers of freezer paper and cut out 6 perfect 1″ circles at a time.
These cutters actually cut 6 layers at a time better than just 1.
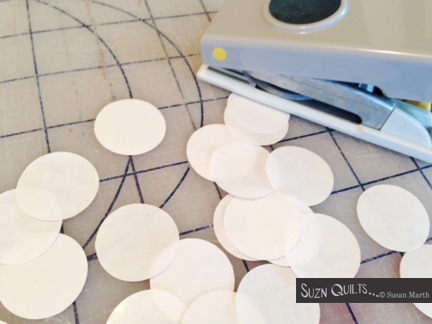
I cut a lot of circles & keep them on hand.
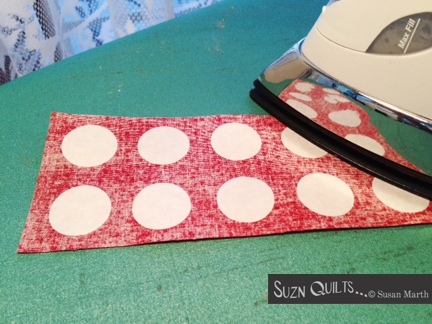
Fuse the wax side of the freezer paper templates
to the wrong side of the fabric.
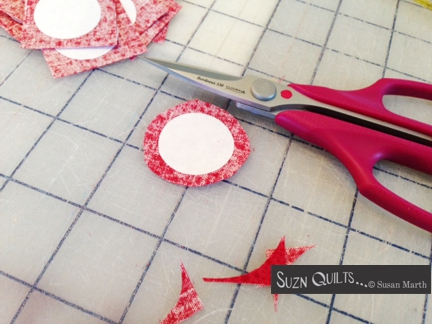
Cut out the circles with 3/16″ seam allowance.
With Roxanne’s EZ Squeeze bottle,
apply a hairline amount of glue all the way around the circle.
I like this bottle because its design pulls the glue back out of the needle applicator so that it doesn’t dry in there and permanently clog it.

It doesn’t take a lot of glue.
You don’t want any extra because it will take longer to dry
and it will get all over your fingers.

This is where the Apliquick rods help out.
I work my way around the circle pressing the fabric over the edge to the paper side of the template with the rods.
One of the rods is smaller and more pointed than the other.
This is the rod that I press the fabric over the edge of the paper template with
while holding and spinning the circle with the fork like end of the larger rod.
The Roxanne glue stays a bit tacky for a minute or two,
which allows me to go around the circle again
to smooth out any area along the edge that’s not perfectly round.
Can you see any imperfections?
I didn’t think so!
I can’t say the same for some of my earlier circles before I knew about these rods,
but if you can get close enough to tell me which of my centers aren’t perfectly round
you’re probably too close!
You can find the Apliquick Bars on my website now.
You may think they’re a bit pricey, BUT…
in my opinion, they’re worth every cent!!!
They’re durable metal & easy to clean.
I don’t just use them for the circles.
I use them every time I make freezer paper applique shapes.
The quilts I’ve made with them the past two years are prettier because of them.
Try them, I know you’ll love them too!
Just keep sewing…
Susan

Your circles look great, do you take the freezer paper out when your done?
Thanks, Liz! You don’t remove the paper until you glue & applique this circle to the center of the plate. Then you wet the fabric center and let it rest 1 minute to release the glue. With a gentle pull diagonally on the plate, the freezer paper circle will pop out the back of the plate. Then you applique the plate to the background fabric. They’re so much fun! You should try them.
Thanks so much, your circles come out so even I will have to give your method a try.😊