Family Time, My Life

Christmas Past…

Not so far into the past really.  It’s still hanging in our house right now.  Tomorrow, Clare and I’ve decided, it will all be put away.  OK, not everything, we always manage to forget at least one item that goes on top of all the boxes, because we’re not about to move them around to get to the box where said item really belongs.  Can you relate???

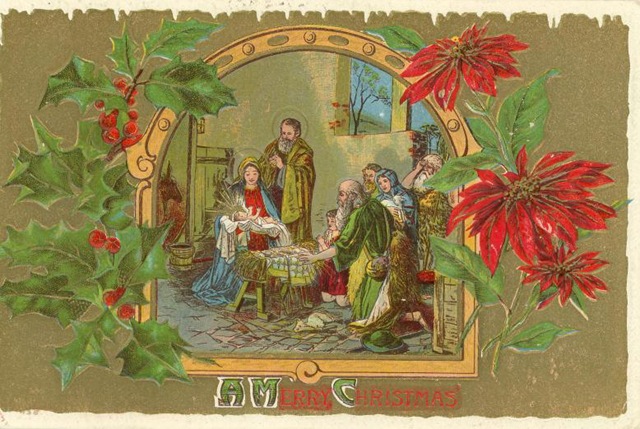
I like to leave our Christmas decorations up each year until the Epiphany, you know 12 days after Christmas, the day the 3 wise men found baby Jesus lying in a manger.  They were led by the North star.  How can they find Him without our Christmas lights to lead the way?

 I’ve mentioned before how I like to photograph different areas in our home to remind me how I’ve decorated them from year to year.  I can then print out the photos and put them in the boxes with the decorations and see the next year how I might want to display them again.

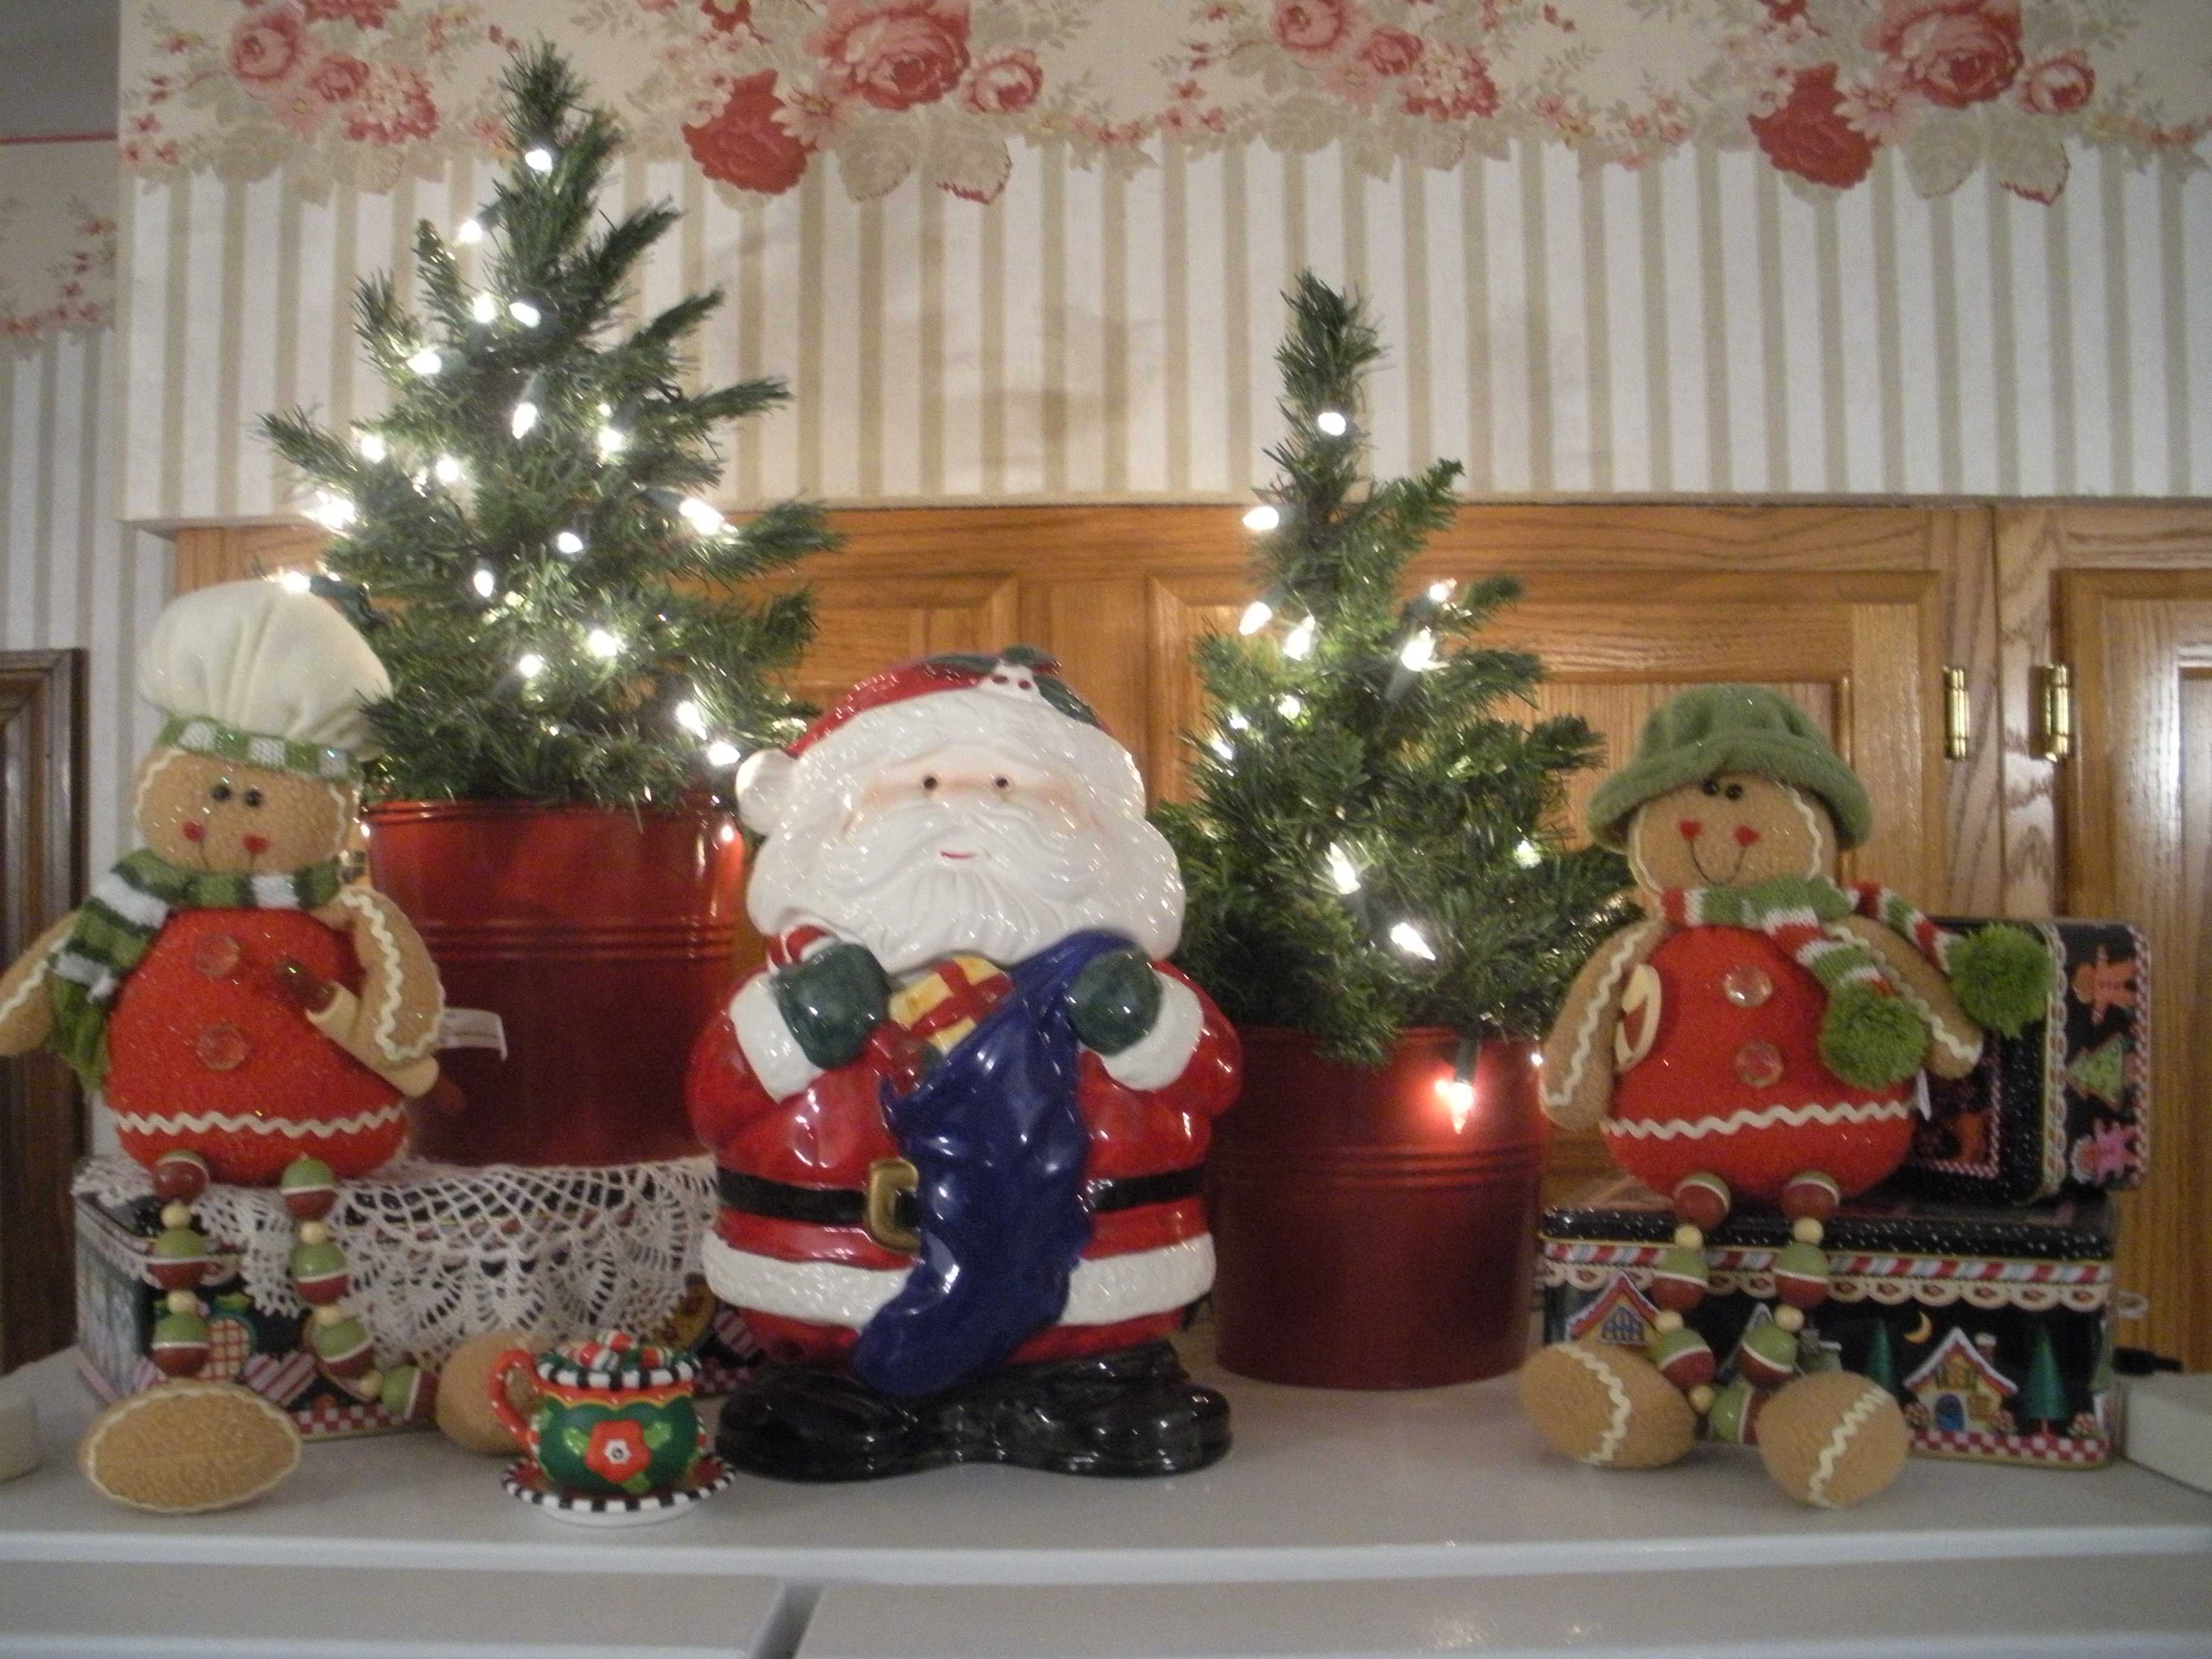
This is my favorite Christmas spot it the house I think.  I plug in the lights first thing in the morning and unplugging them is one of the last things I do before I go to bed.  A Santa cookie jar gifted to us by a special cousin, ME tins from my mom, a couple of buckets of lighted trees that were left-over from one of my Christmas open houses. I added a couple new items this year can you find them?
Next in the kitchen, my favorite wall.  This is where I first stared photographing years ago because I had so much stuff on this shelf and I liked it so well, I wanted to be able to recapture the same feeling next Christmas.
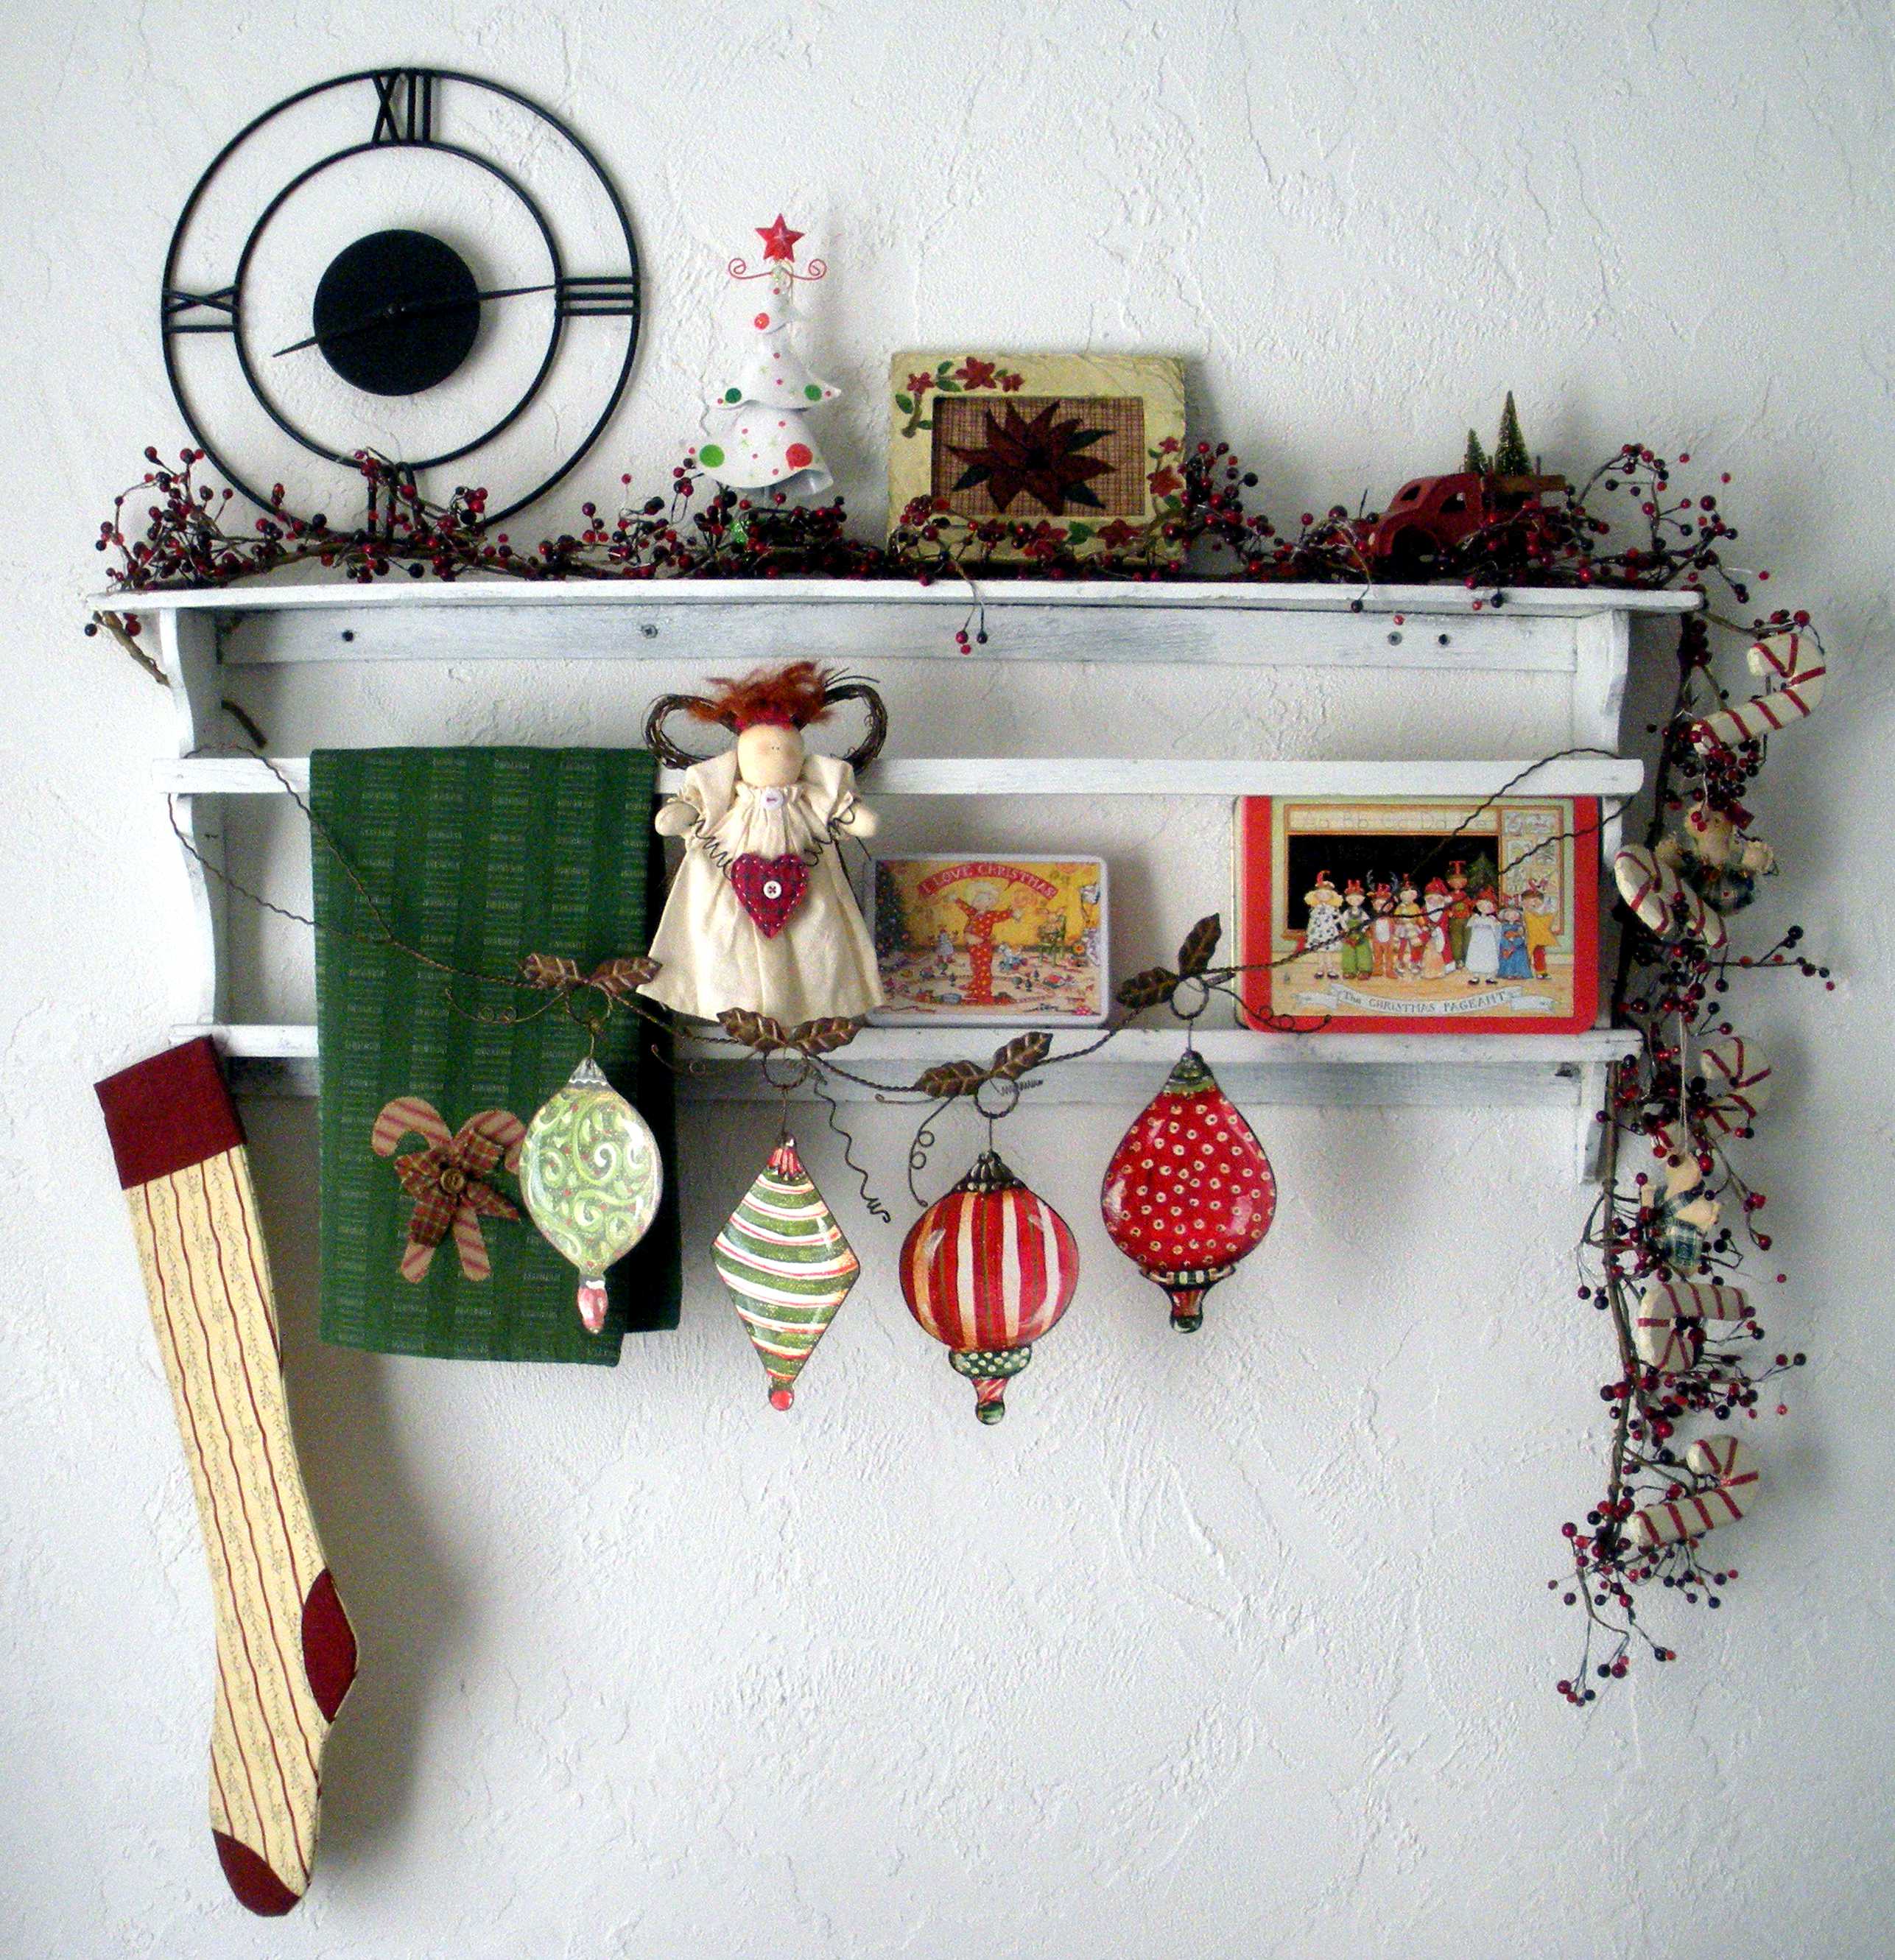
We pared it down this year…Clare, my 14 yr. old helped a lot with the decorating.  She did most of this shelf.  It started with another Christmas open house left-over, the red glass bead garland.  In it I always nestle one of my all-time favorite ornaments, gingerbread kids made by a special friend.  Several years later I found the pinch clip candy canes.  A stocking bought at a guild auction (made by another friend), etc.

I added the new metal garland. Before I put that away I’m getting a pair of pliers and swapping the middle green and red ornaments.  It’s been bugging me since I first saw these in a cute little florist shop with cute little antiques tucked here and there.  Why they would put the greens next to the reds and not alternate them I have no idea, but every one (made in China I’m sure) was made the same.

 It’s funny how on Christmas day there was a discussion about how whoever made that should have alternated them!!! I don’t remember now who brought it up, but it was a house full of my family, not David’s.  It just goes to show how much of us really is in our genes, huh?

My new Santa’s Pockets Christmas countdown is still on loan for a trunk show in Pennsylvania.
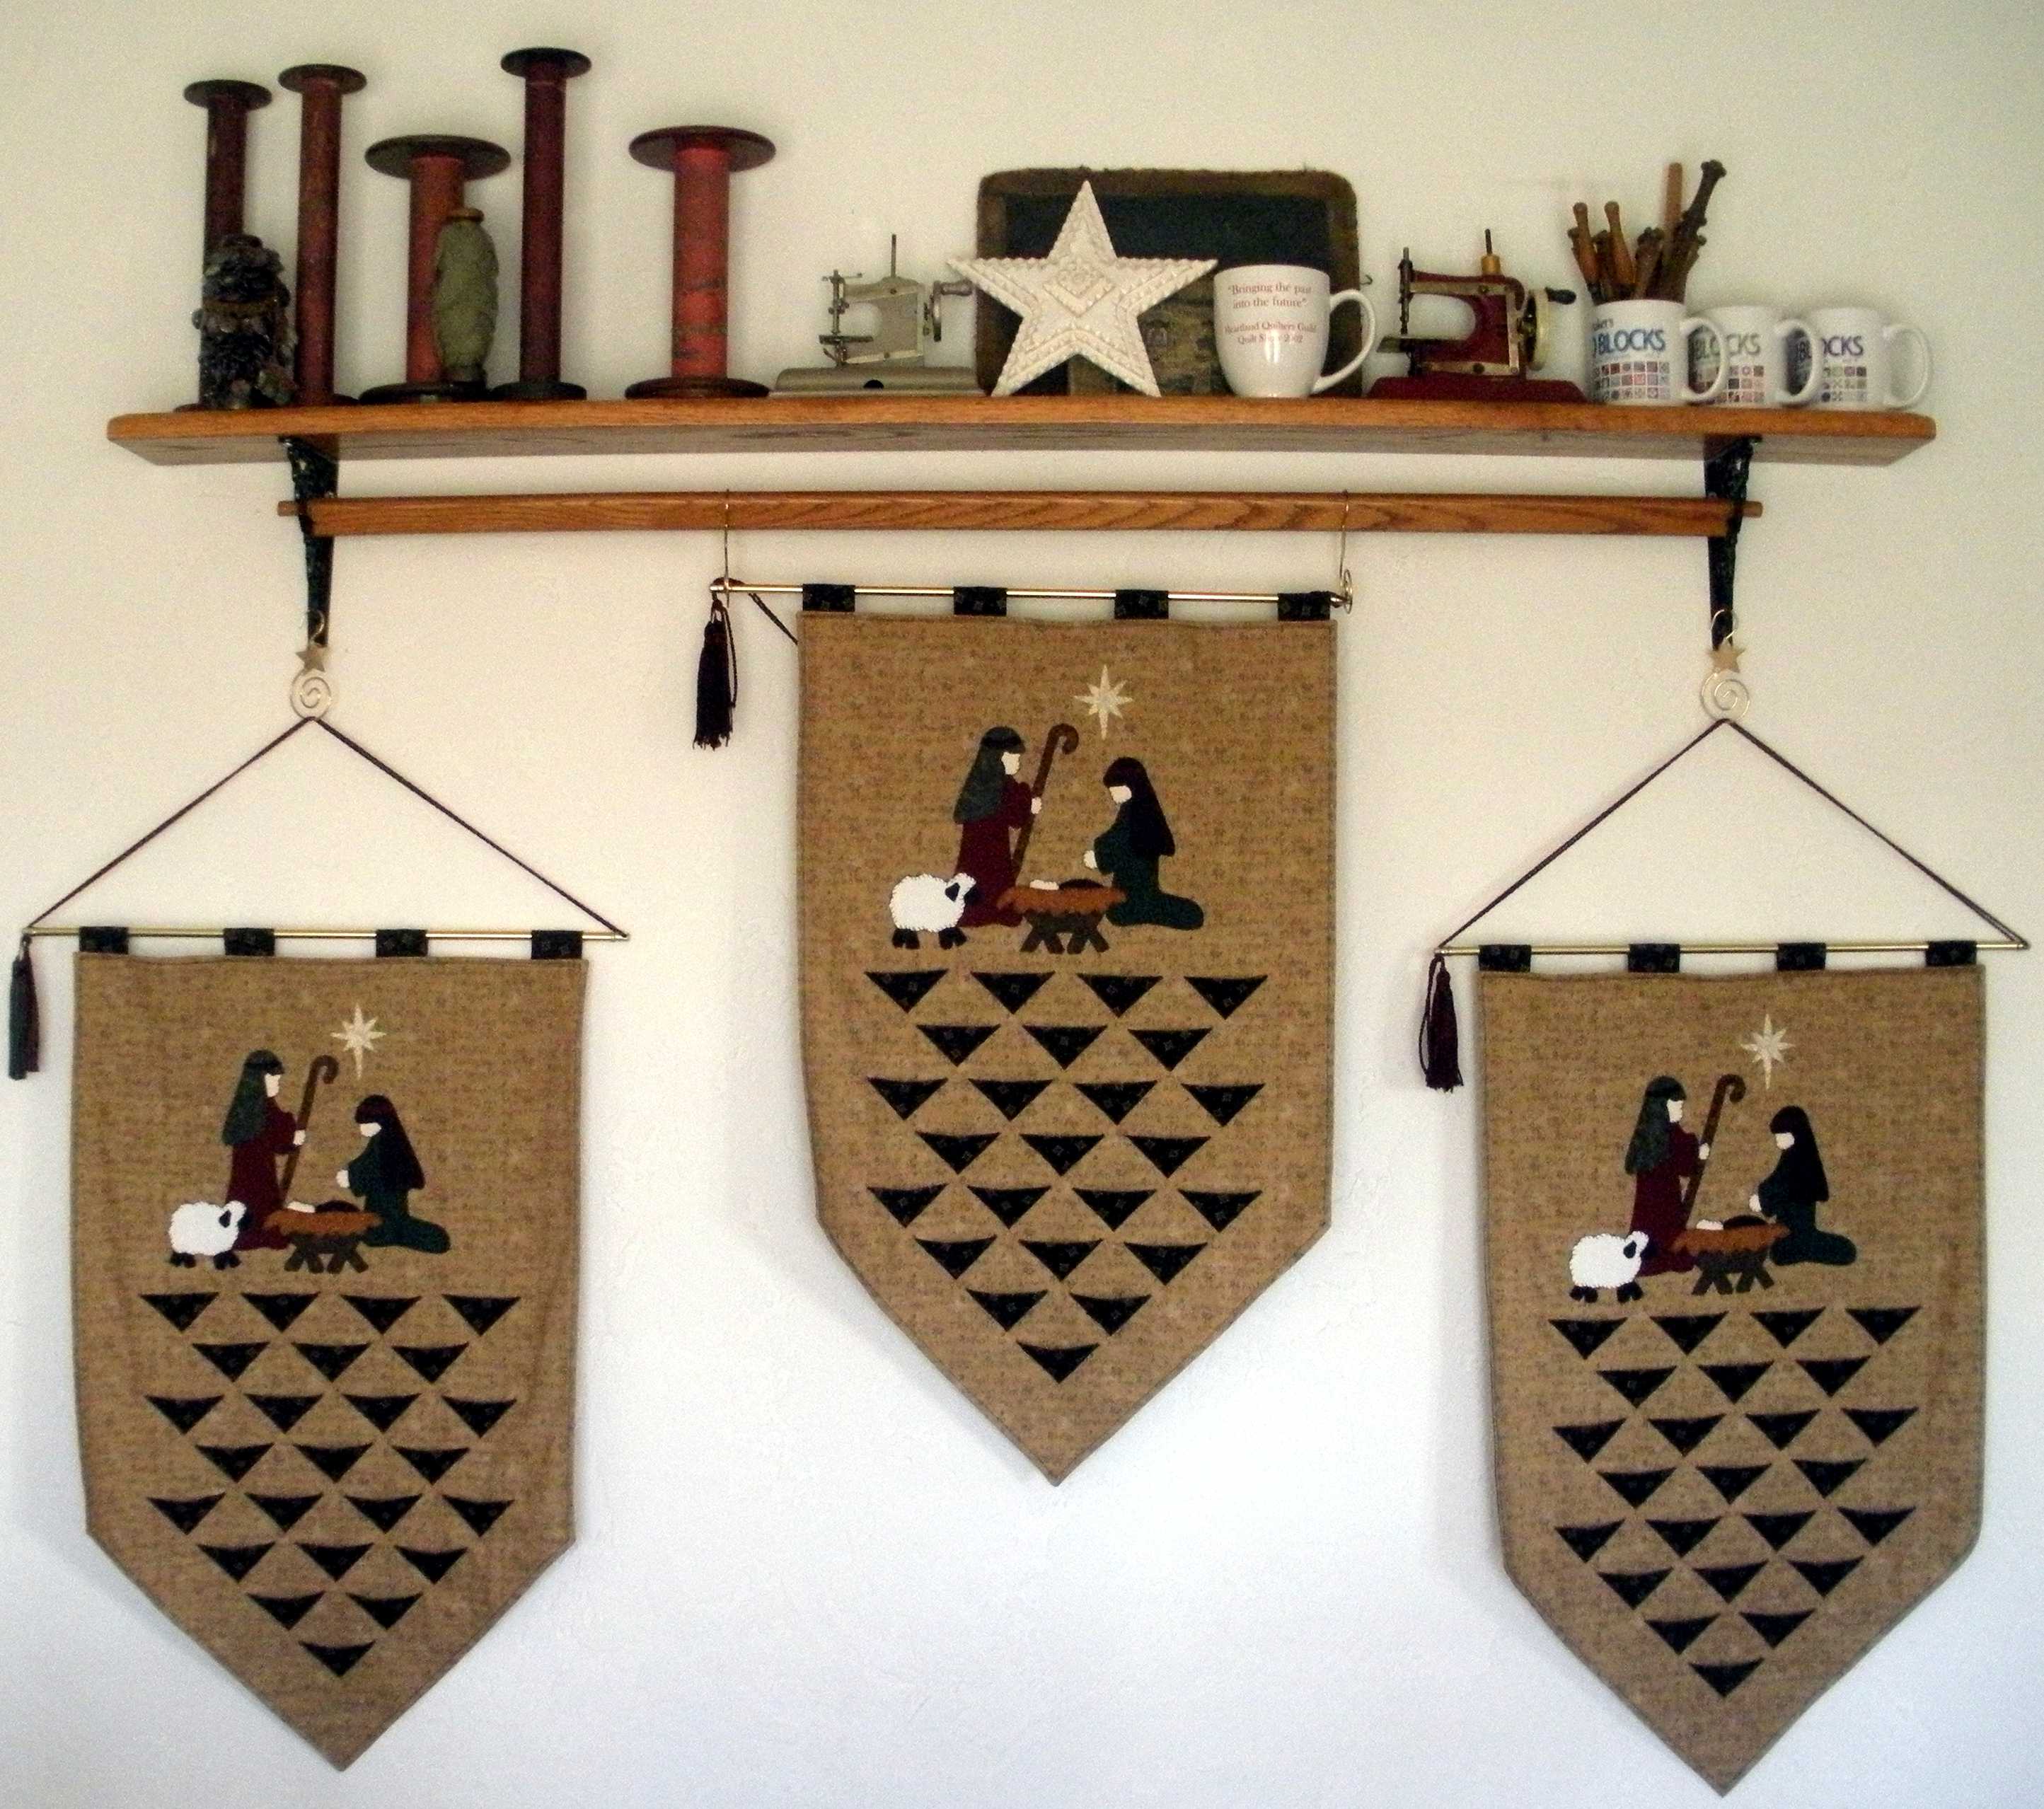
These are my kids’ advent calendars that I made probably 13 years ago.  The nativity came from a pattern that I purchased, then I made my own pockets to accept Hershey’s Kisses and did my own hangers.  I made 9 of these, 3 for my kids & 6 more for my nieces & nephew, hard to believe now.  My oldest will be 20 next month and even she still does the Kiss-a-day until Christmas, go figure!

This is our laundry room dessert buffet on Christmas.  I wish I could show you the photo from Christmas day, but I only took one and it’s too blurry, darn, it was fantastic! This is a Polar Express Santa that I received as a gift from Santa’s workshop one year from school.  A candleabra that fits atop a wine bottle, birthday gift from a friend a couple of years ago. I draped it with silver mardi gras beads.

Anyway, I put a tablecloth over our washer and dryer and add lots of cute stuff and sweets!

In my sewing room.

I keep adding to it with finds and gifts from friends.

 Just stuff I love and set together!

My mother-in-law made these bears (from scratch, and not just the clothes!) for my Christmas open house one year.  I gave her cute coordinating prints to use for the coats & hats and she let me pick my favorite.  She’s perched on an antique chair next to our maniquen in our entry. She’s sporting a little quilt that will some day be a pattern.  I made it a few years ago while preparing for, you guessed it, a Christmas open house!  And you already saw the book here…

Here she was last year

I don’t even remember dressing her last year with my 3 Little Words pattern sample, much less photographing her…  Good thing for artificial memory!
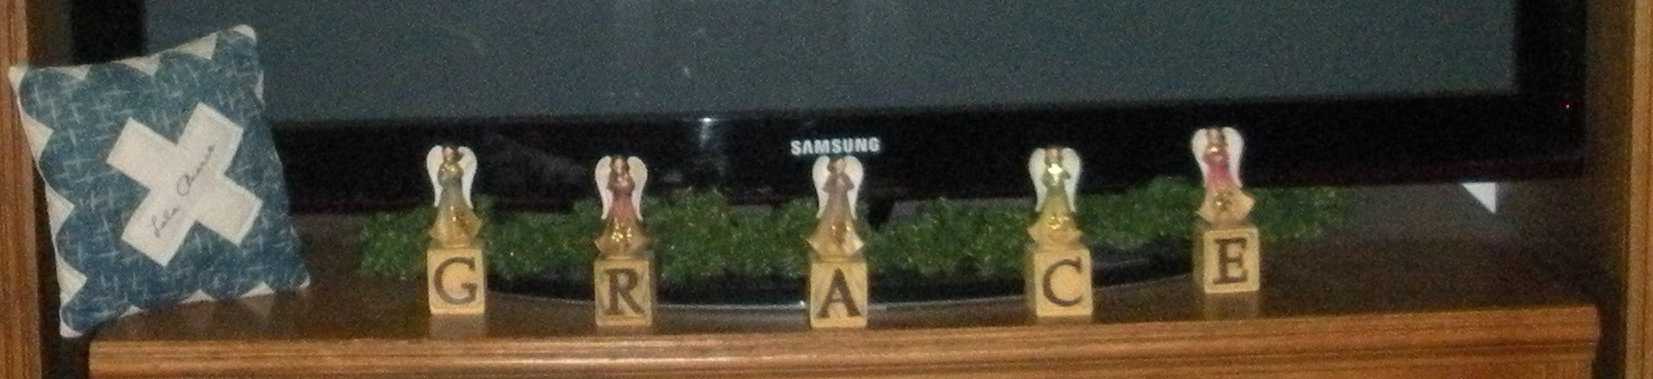
These angels were a pre-Christmas gift from my parents.  Clare  arranged them around the curved base of our TV with a small piece of garland.  Lola Pearce’s indigo blue signature-block-turned-pillow was a Christmas gift from Clare.  (I whispered in her ear that it might make a nice Christmas gift for her mom when we were at a bridal shower last October at My Just Desserts in Alton, IL.  Despite its wonderful reputation I’d never been there, delicious food and decorated with old stuff, some for sale!)

Can you tell yet that I LOVE Christmas?

This table in our living room was decorated by Clare in a big way.  She displayed the crochet angel collection made by my grandma, David’s aunt and few by other special friends, along with Santa and a primitive church.  Later when she and I were at Michael’s she spotted this foam gingerbread house kit.  It was half off and she had a birthday gift card, so she bought this and came right home and built it in an evening.  It’s now sharing the table with the angels.

I hope you enjoyed this year’s Christmas photo tour.

I now have record of our decorations to put in the decoration boxes for next year.

Perhaps you’ve gotten a few ideas of your own?

Until next time,

Susan

A Giveaway!, Family Time, My Life

And the winner of a free pattern is…

#15, JoAnn Bishop who wrote:

“White Christmas with Bing Crosby. He has such a beautiful and easy voice.”

I love this movie too.  I’ve not watched it yet this season, but I probably will soon.

JoAnn, let me know your pattern of choice and I will get it in the mail to you.

Thanks for all the replies.

I hope you all had a Merry Christmas as I did today. My favorite gift is being with my family and friends for the holidays, but one of my favorite gifts to open was from my mother-in-law; a gift certificate from a local quilt shop.  It doesn’t get much better than this!

Until next time,

Susan

Hot Tips, Quilting Accessories I Love

The perfect scant 1/4″ seam

One of the most important tasks to conquer for quilting is finding and sewing the PERFECT scant 1/4″ seam.

The easiest way to get it exact EVERY time is this tool.

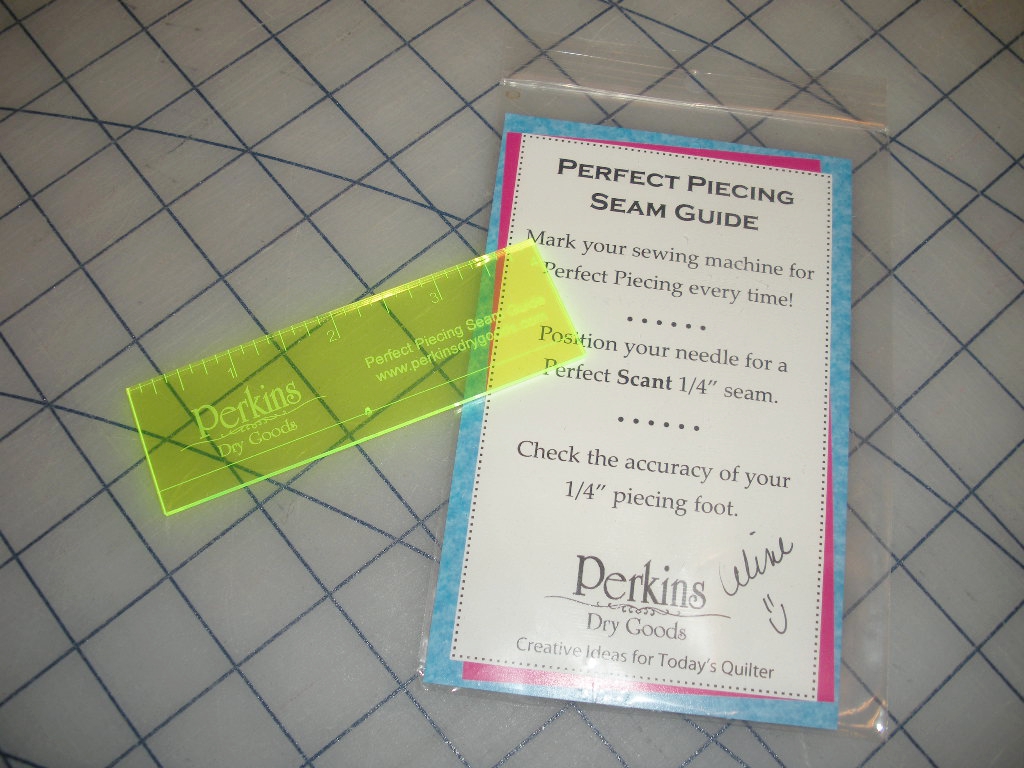
It’s the Perfect Piecing Seam Guide by Perkins Dry Goods.  (I’m lucky enough to have an autographed copy!!)

Here’s how it works,

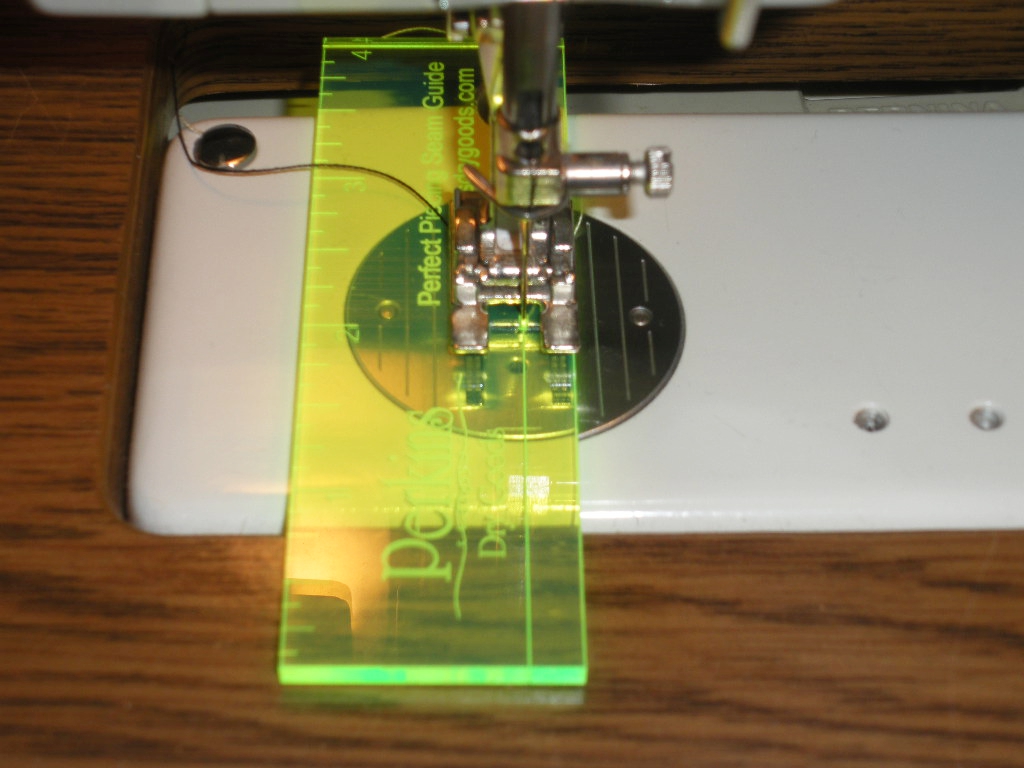
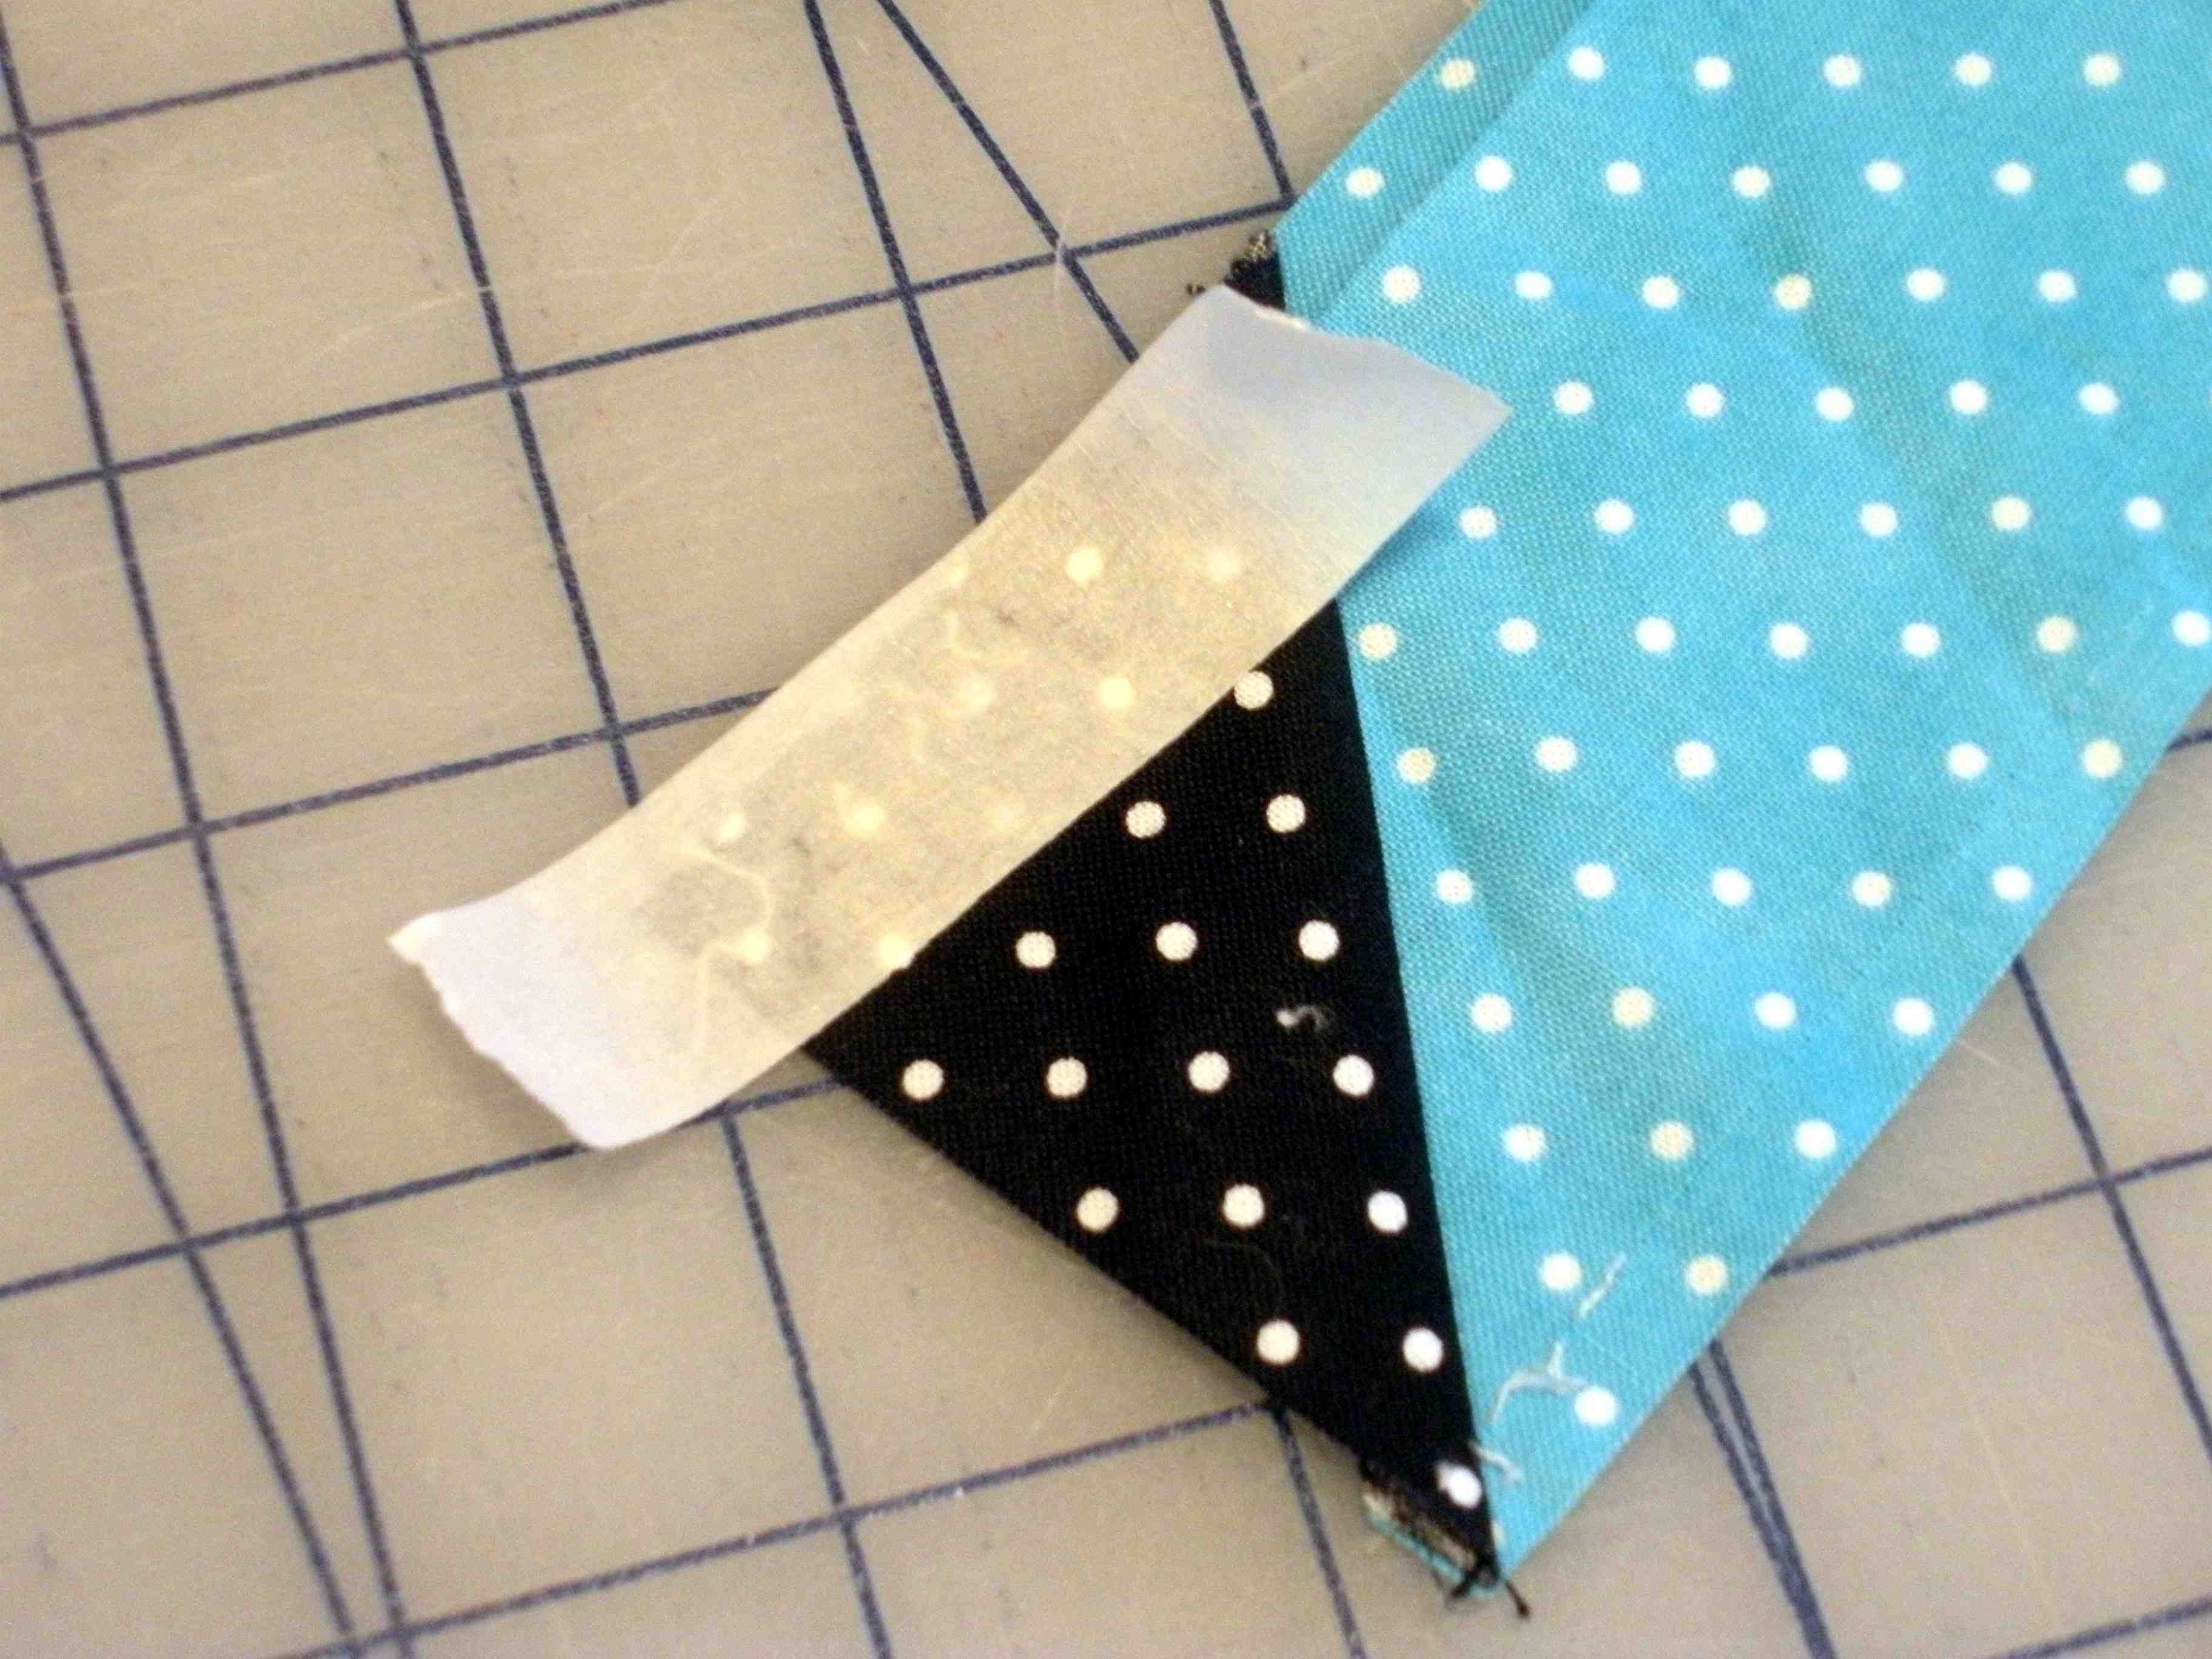
The tool has a tiny hole just big enough for your needle to go through.  Put the tool under your presser foot and hand crank the needle down slowly until it goes through that hole.  Put the preser foot down.

Put a strip of masking tape along the side of the tool.

Remove the tool and you have the perfect guide to follow!

I set up my machine and I can follow the side of my applique foot by moving my needle position one click to the right of center and I’ve got it every time.

Unfortunately not every machine is the same.

Every once in a while I take out my Singer Featherweight to sew on and I use this tool to refresh my memory of where the scant 1/4″ is on that machine.  Since I don’t sew on it very often, I can’t remember if I can follow the edge of the foot or not…It’s a memory thing that this handy tool fixes too!

You can find the tool at your local quilt shop or Celine’s website.

Until next time,

Susan

Family Time, Hot Tips, My Life

New uses for old rotary cutter and blades

Do you have any rotary cutters that you no longer use because you got a newer and better one?

I do too, and finally decided to make that my paper cutting rotary cutter.  I used to change blades from fabric to paper on the same cutter, then I got smart and started using an older, smaller cutter to cut just paper.

I’ve used that cutter to cut apart lots of paper items.  If you don’t already know it, you can cut paper with a rotary cutter long after the blade is not sharp enough to cut through fabric.  This is why I have a separate cutter just for paper.

Just this morning I made tags to go on my donation for our guild’s Christmas auction.  I first made a sheet of tags and printed them on a piece of card stock, then sliced them apart.  It’s quicker than using scissors and more accurate too because I also use use my mat & rulers.

I’ll be making more of the chocolate pecan pretzel bark for our church’s bazaar this weekend so I made a sheet full of those tags.

Other things we’ve cut are school projects for science fairs, book reports, and I use them to cut apart our sheets of photos each time we order another portrait package from JC Penney!  The blades last a very long time.

More recently I retired my original 45 MM cutter and realized it’s big enough to cut through cardboard!  That’s right, now I have a cardboard cutting rotary cutter too.  School projects are quick to cut now.  I have a 2″ x 36″ ruler than can really make long, accurate cuts.

My rotary cutter has become at least as useful as my hot glue gun of years ago!

Any other uses for that rotary cutter that I’ve not thought of yet?

Until next time,

Susan
new fabric collection

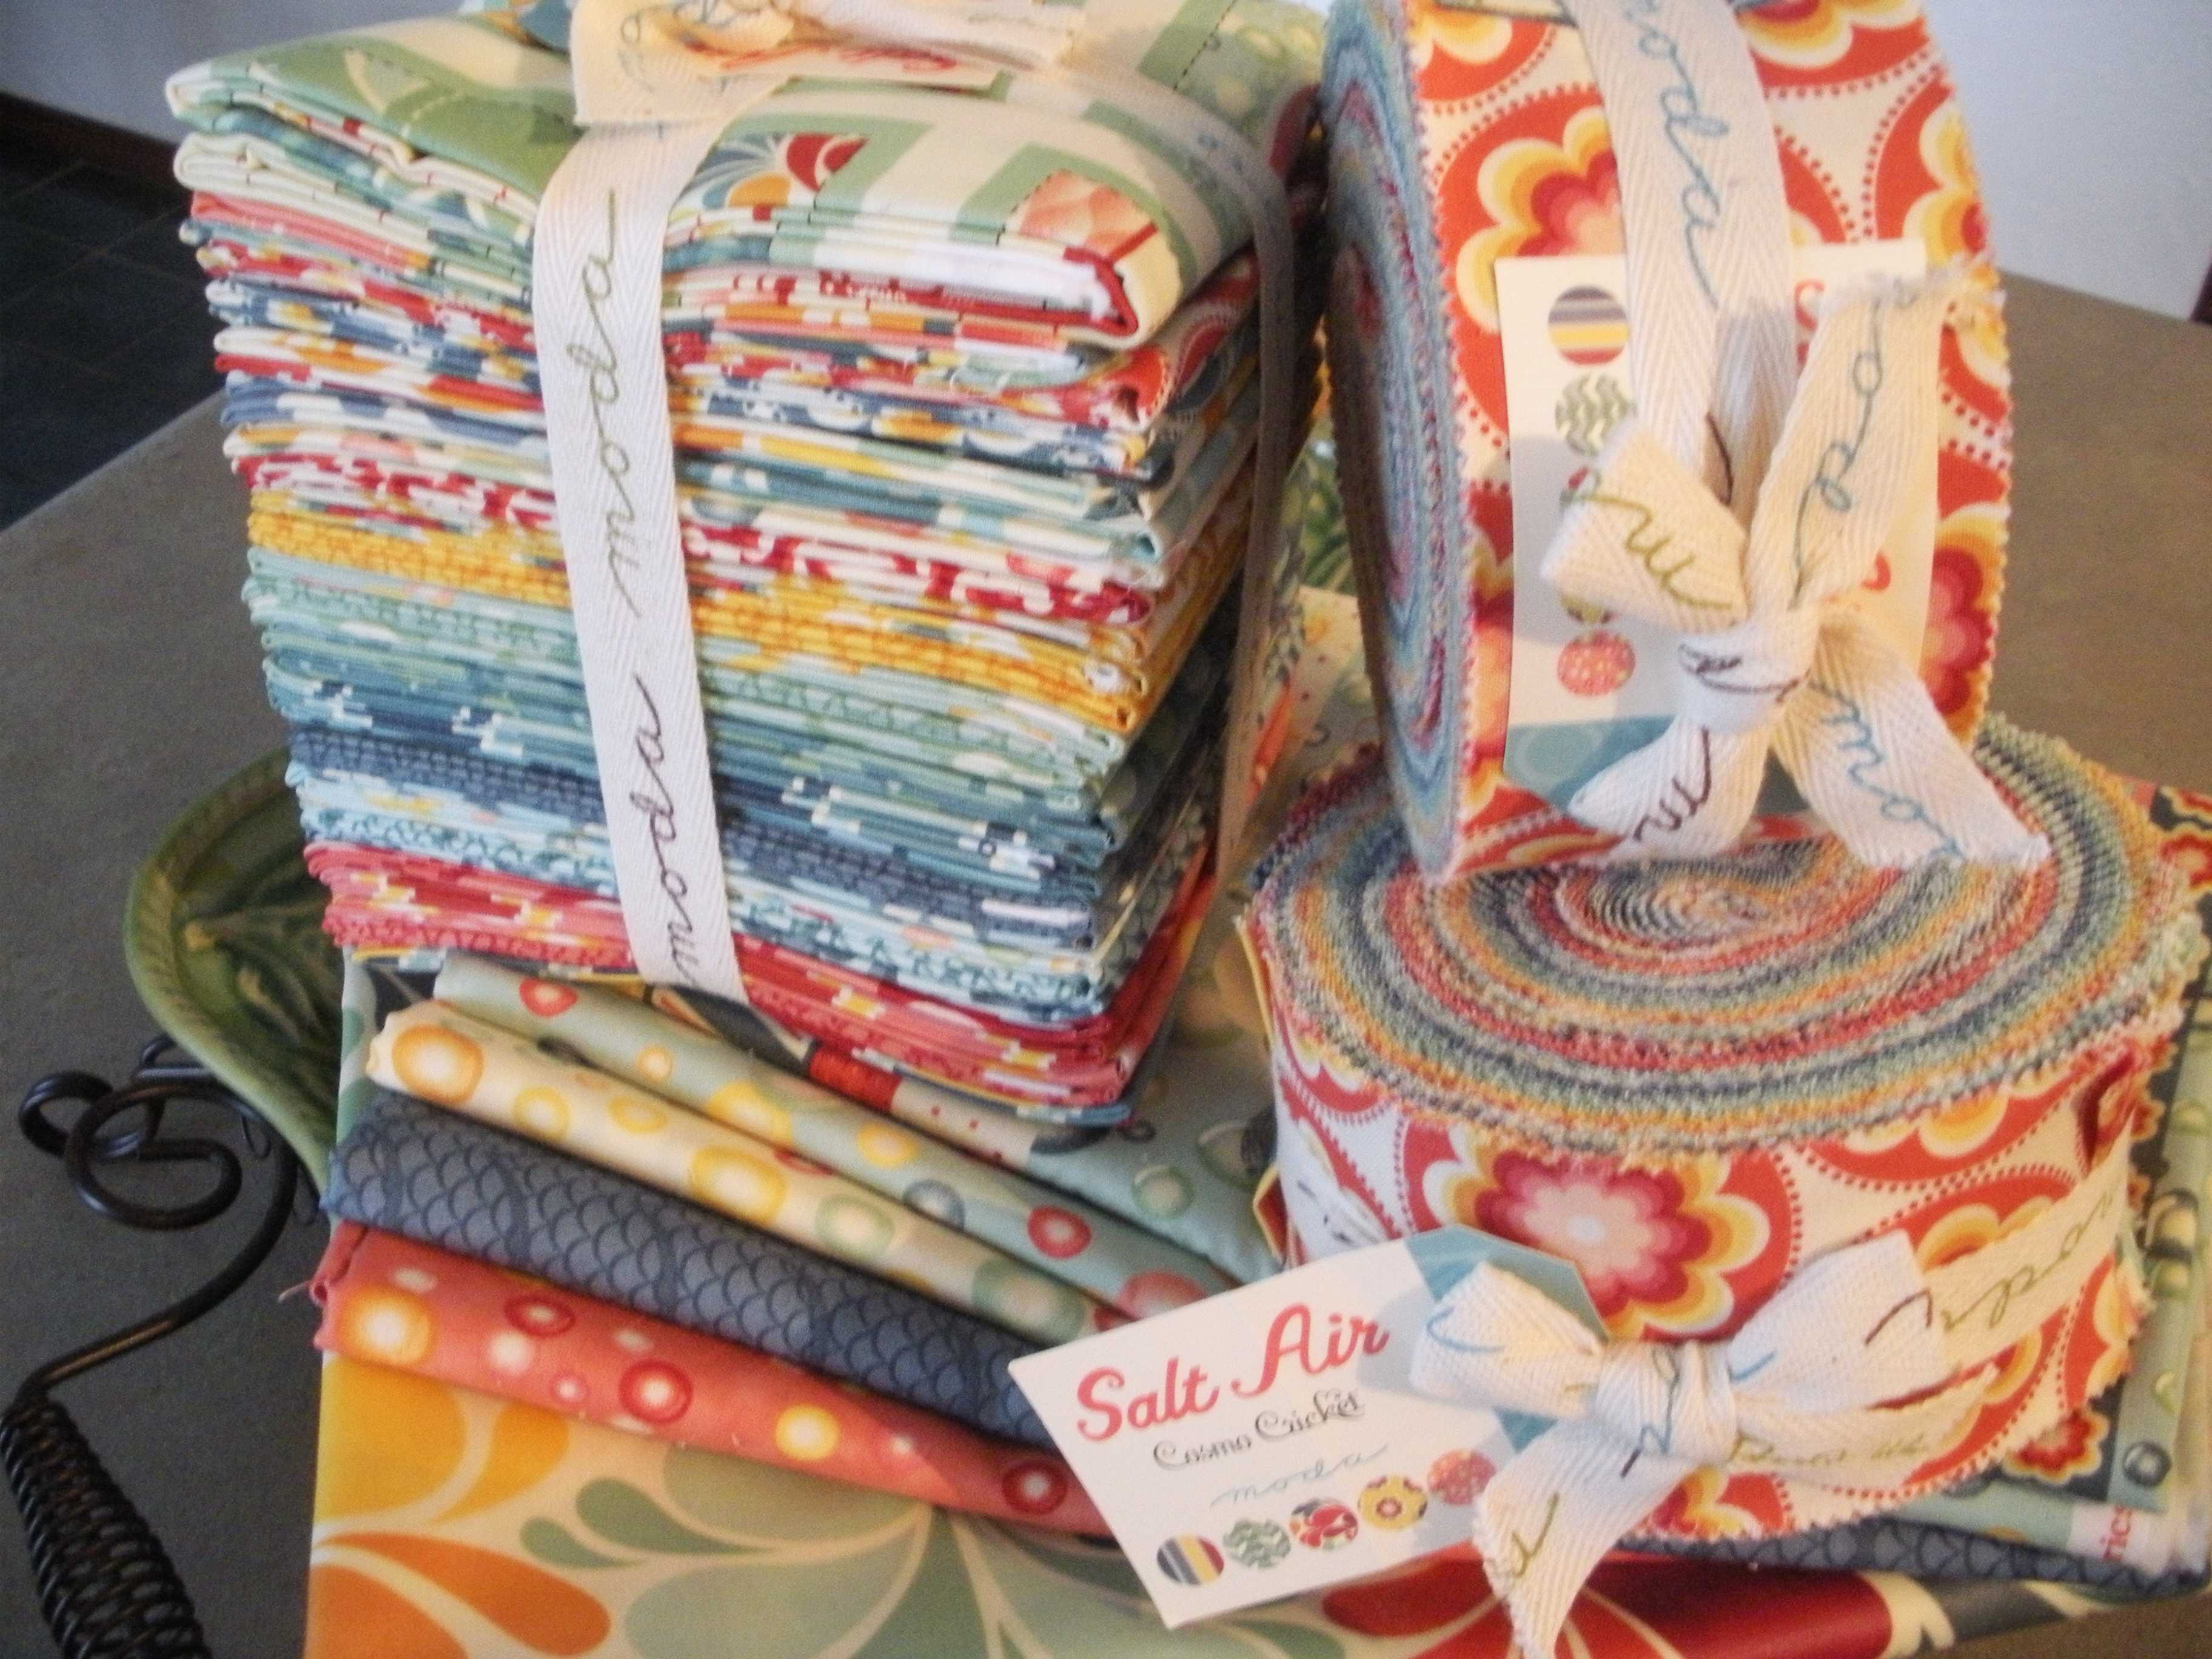
Another Moda lovin’ post…say hello to Cosmo Cricket’s Salt Air

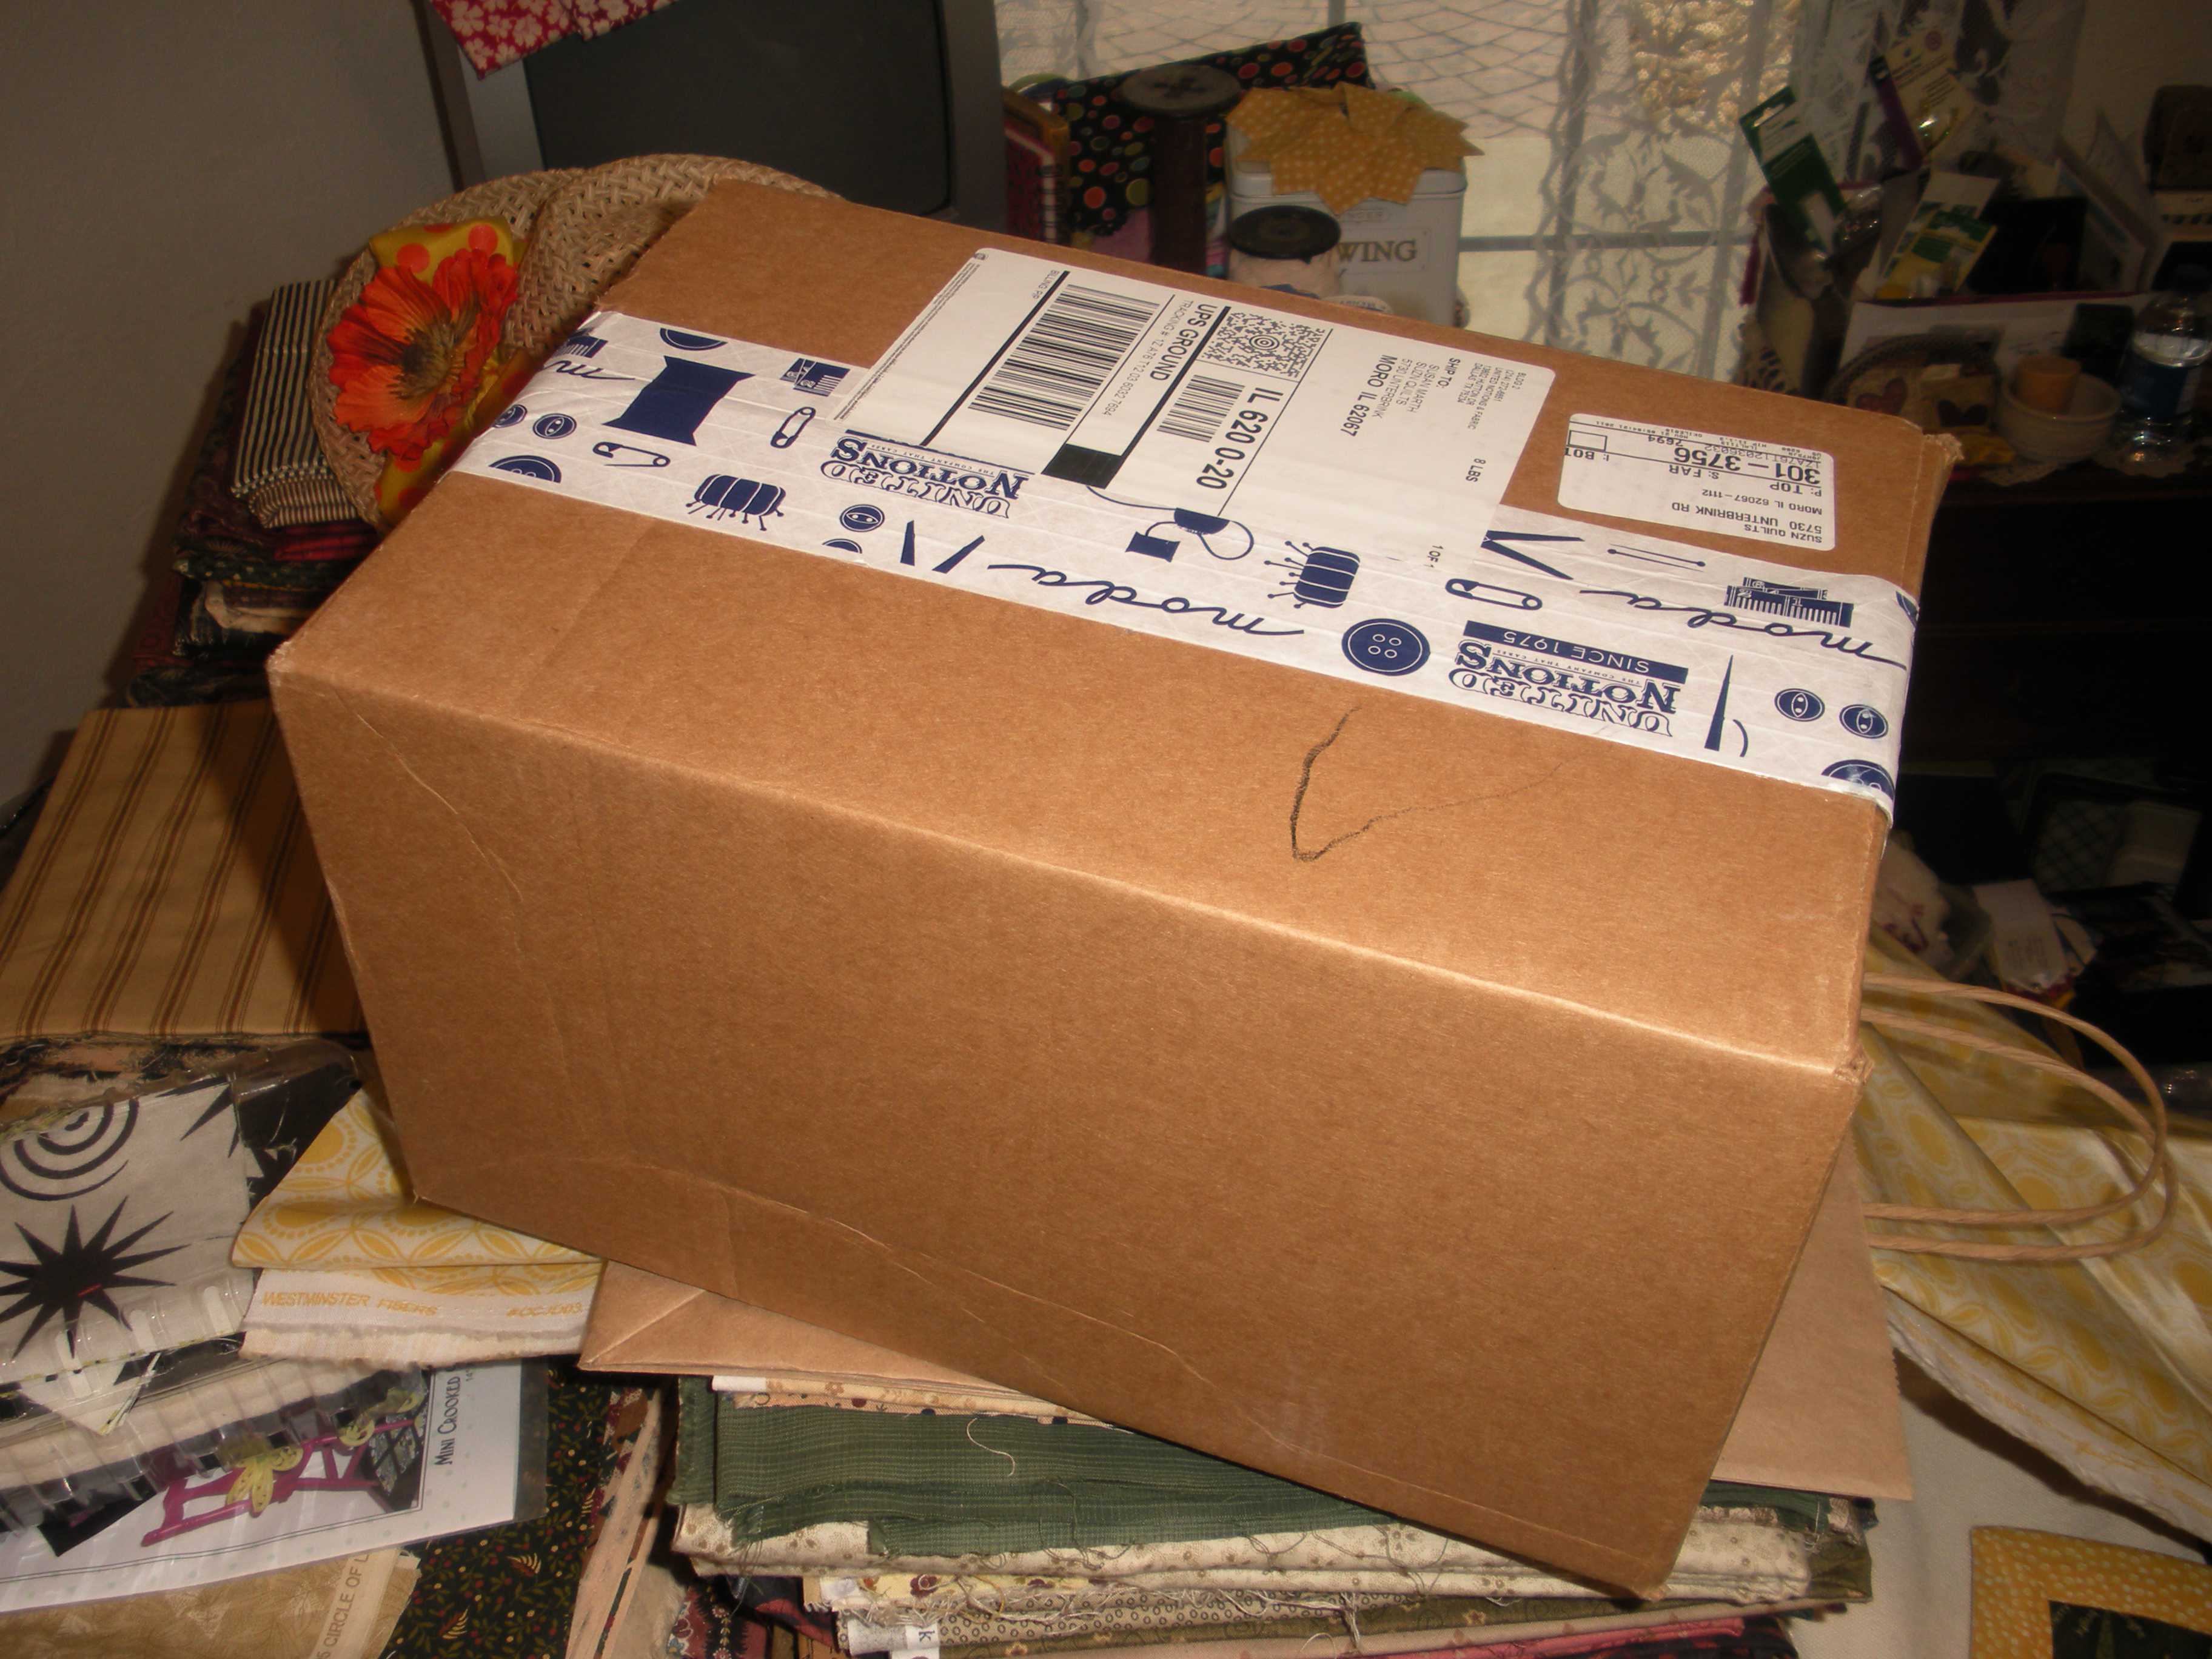
It doesn’t get much better than when the UPS truck drives up my driveway with a package wrapped in Moda/United Notions tape…

This post comes to you when my sewing room is in TOTAL disarray from my urge last week on the last nice day of the year that I decided to FINALLY repaint my fabric “cages.”  It worked out quite nicely because they’ve been drying the whole time I was on a quilt retreat with other quilt pattern designers.  But I digress…

Yes, I knew what was in the box, but it’s just not the same seeing the fabrics on Moda’s website as it is seeing them in person sitting on my counter!!!

Ooh, la, la!!!!!

I knew I’d like these fabrics, but since opening that box, I’ve decided on about a bagillion projects so far!  I also think I’ll need to add a couple of fabrics to make the collection “just right!”

Can’t wait to show you my newly painted fabric cages, but for now it’s off to bake my Thanksgiving Day goodies.

Happy Thanksgiving!

Until next time,

Susan

Hot Tips, My Life

Using tape to help remove un-stitching

I have to say one of my least favorite things to do while sewing is un-stitching, you know, making a mistake then having to make it right.  It’s not that I want to appear perfect by any means.  It’s one of those waste of time things.  I learned a way to speed up the process and I want to share it with you.

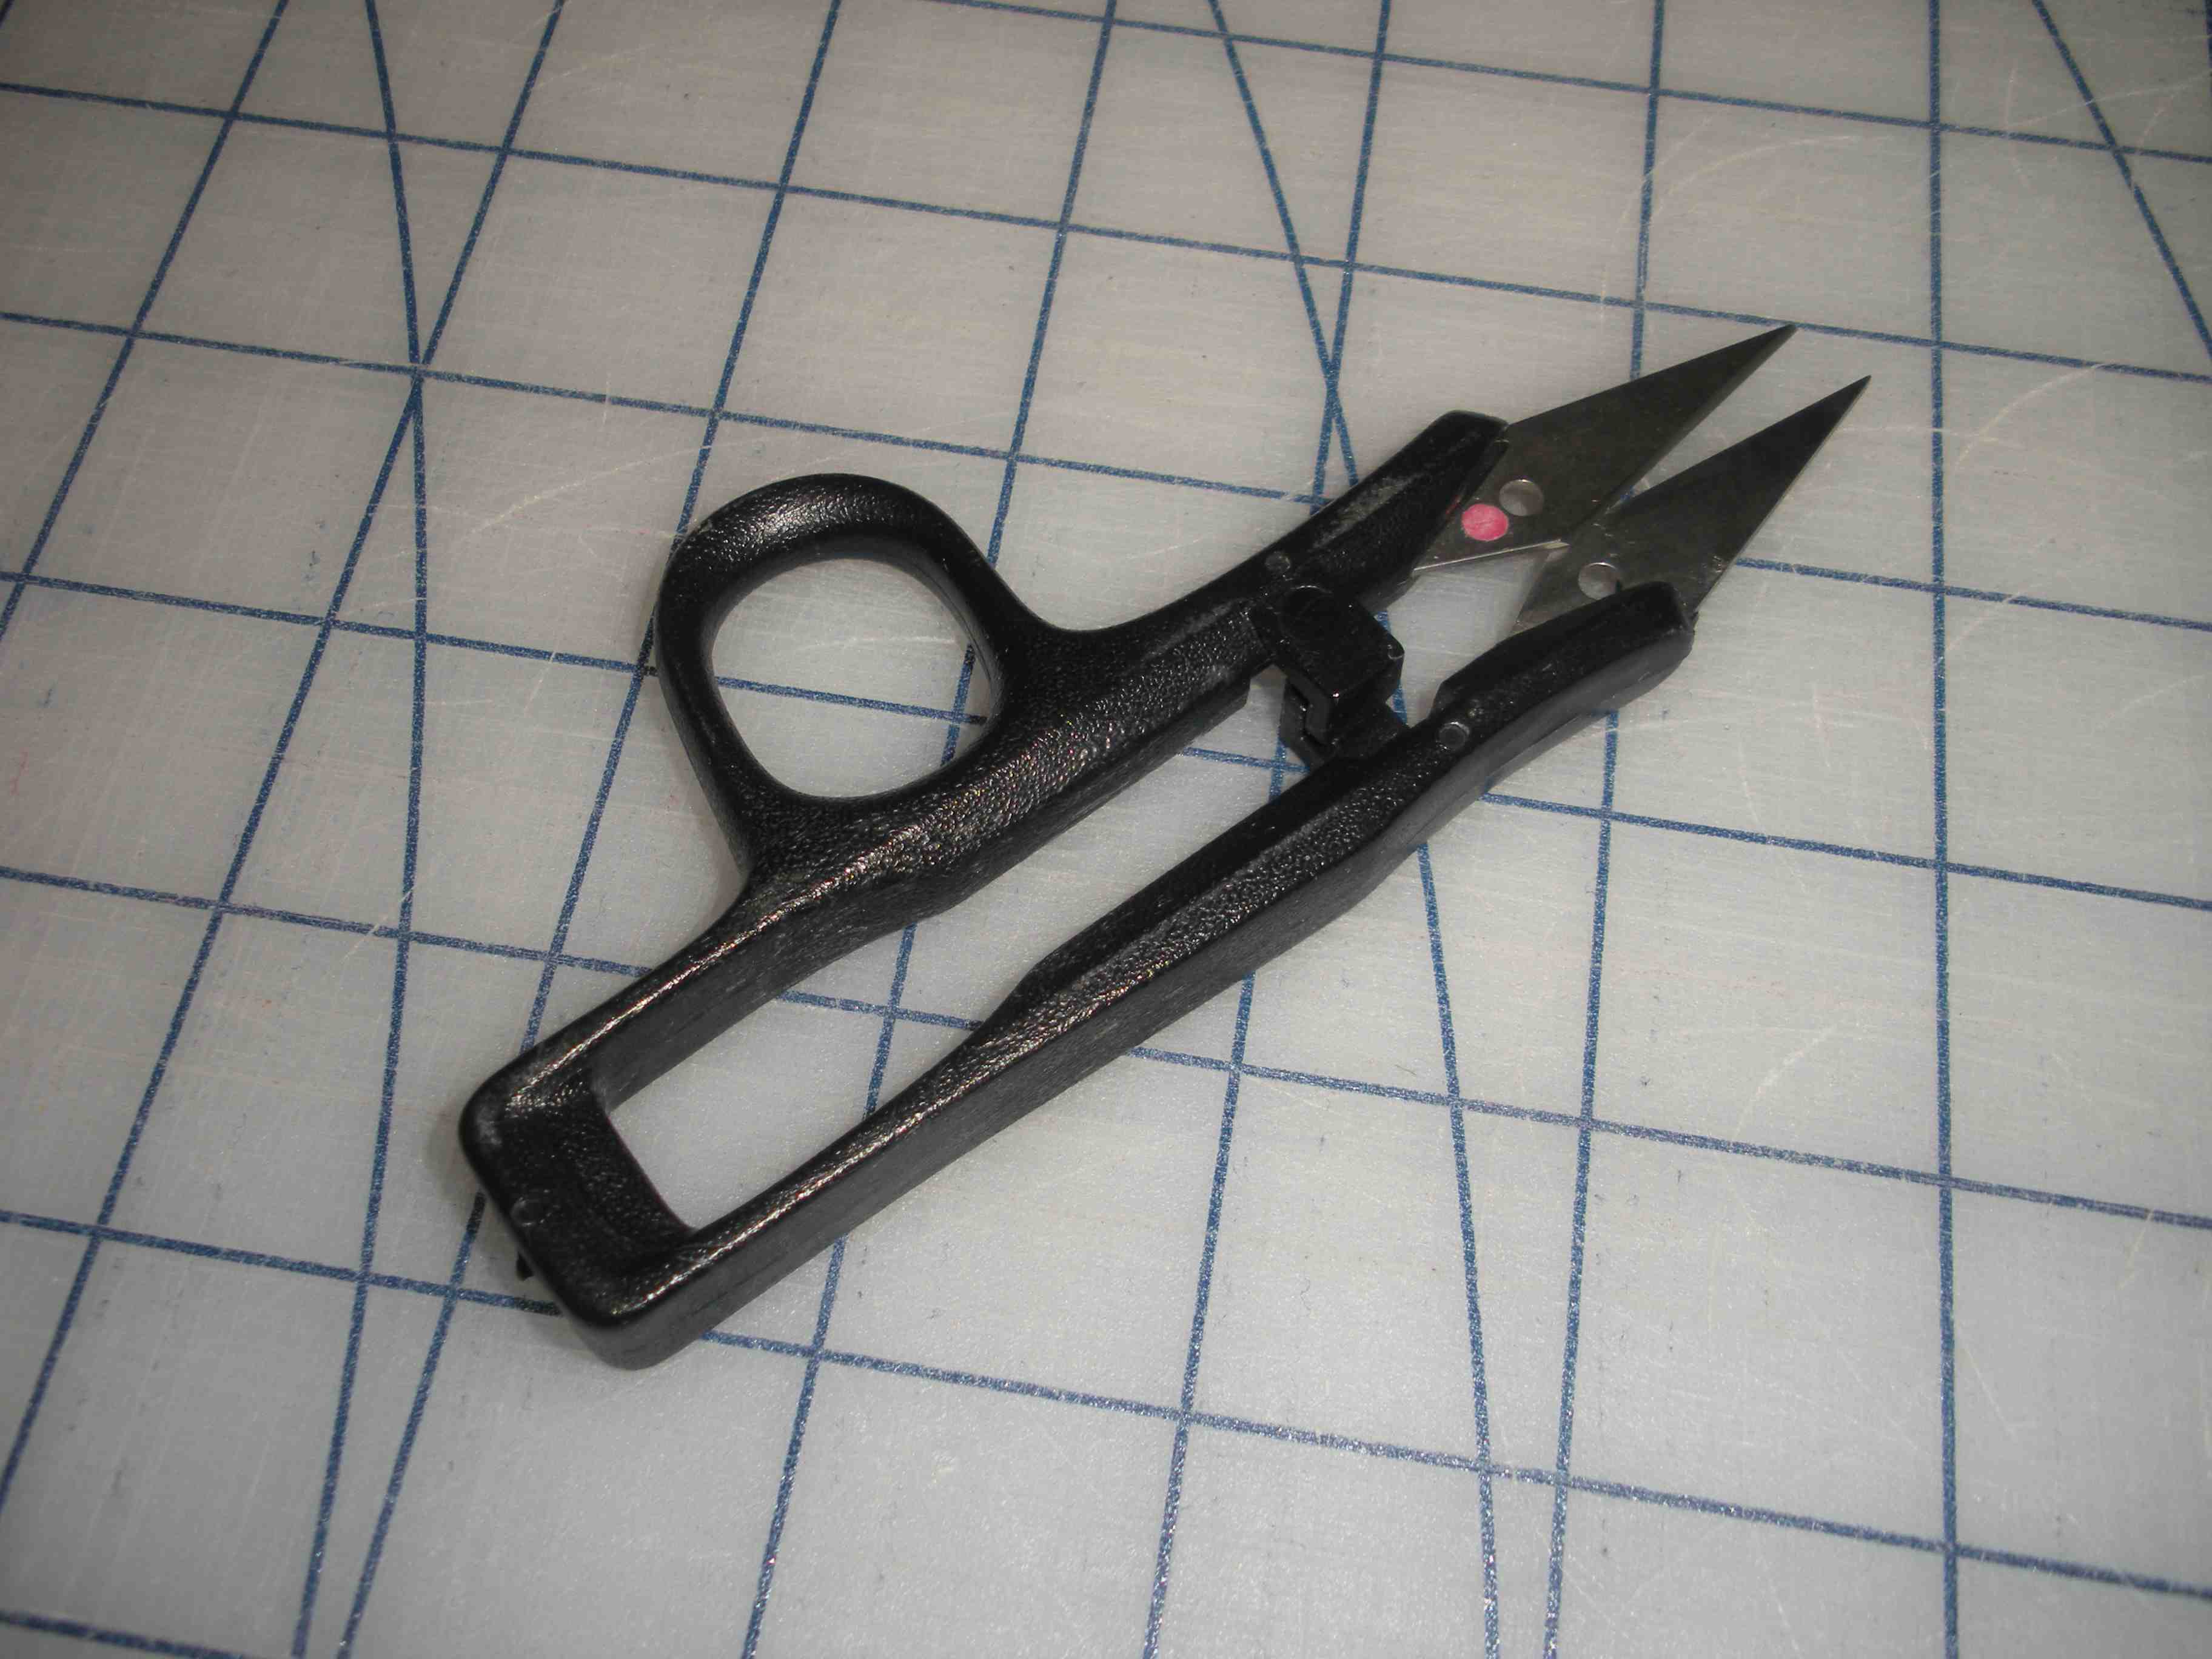
First I want to show you that I use little pointed scissors that I use.

Instead of a seam ripper I use these and snip every 4 stitch or so.

You can then pull the two pieces of fabric apart and this is what you’re left with.

If the seam was of any length, you’re left with a bunch of little threads that annoying to remove, say you sewed on your entire binding and realized you used the wrong needle position (sound familiar to anyone???).

So, take out your masking tape

and press it onto those pesky little pieces of thread.

Pull tape off and viola!

The pesky little threads are on the tape and no longer on your fabric.

I keep masking tape in my sewing room anyway for basting my quilt sandwich, so it’s always handy.

I hope you don’t need this tip any time soon, but if you do this will make your sewing life a little bit easier.

Until next time,

Susan
A Giveaway!, My Life, Quilt Shopping Out & About

And the winner is…

#89!

Rachel B. please email me with your mailing info so I can see that you receive a free copy:

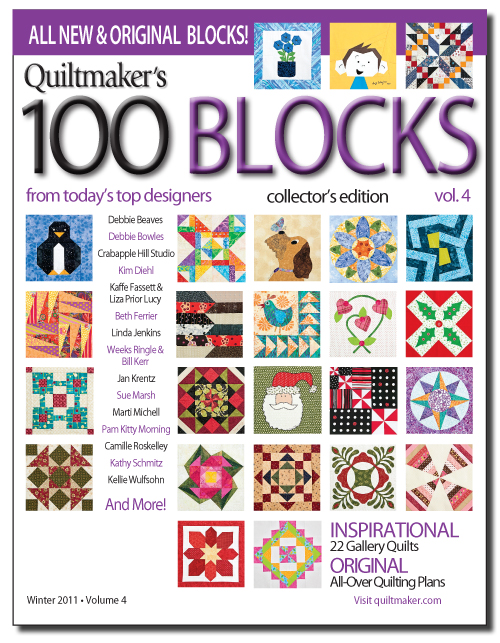
Thanks to all of you who joined Quiltmaker and all of us to introduce the newest 100 Blocks Volume 4! A special thank you to those of you who commented on my blog and those of you that became subscribers.

If you were not lucky enough to win one of the free issues, head to your local quilt shop or news stand next week to purchase a copy.  It’s full of lots of inspiration for just $6.99!

Until next time,

Susan