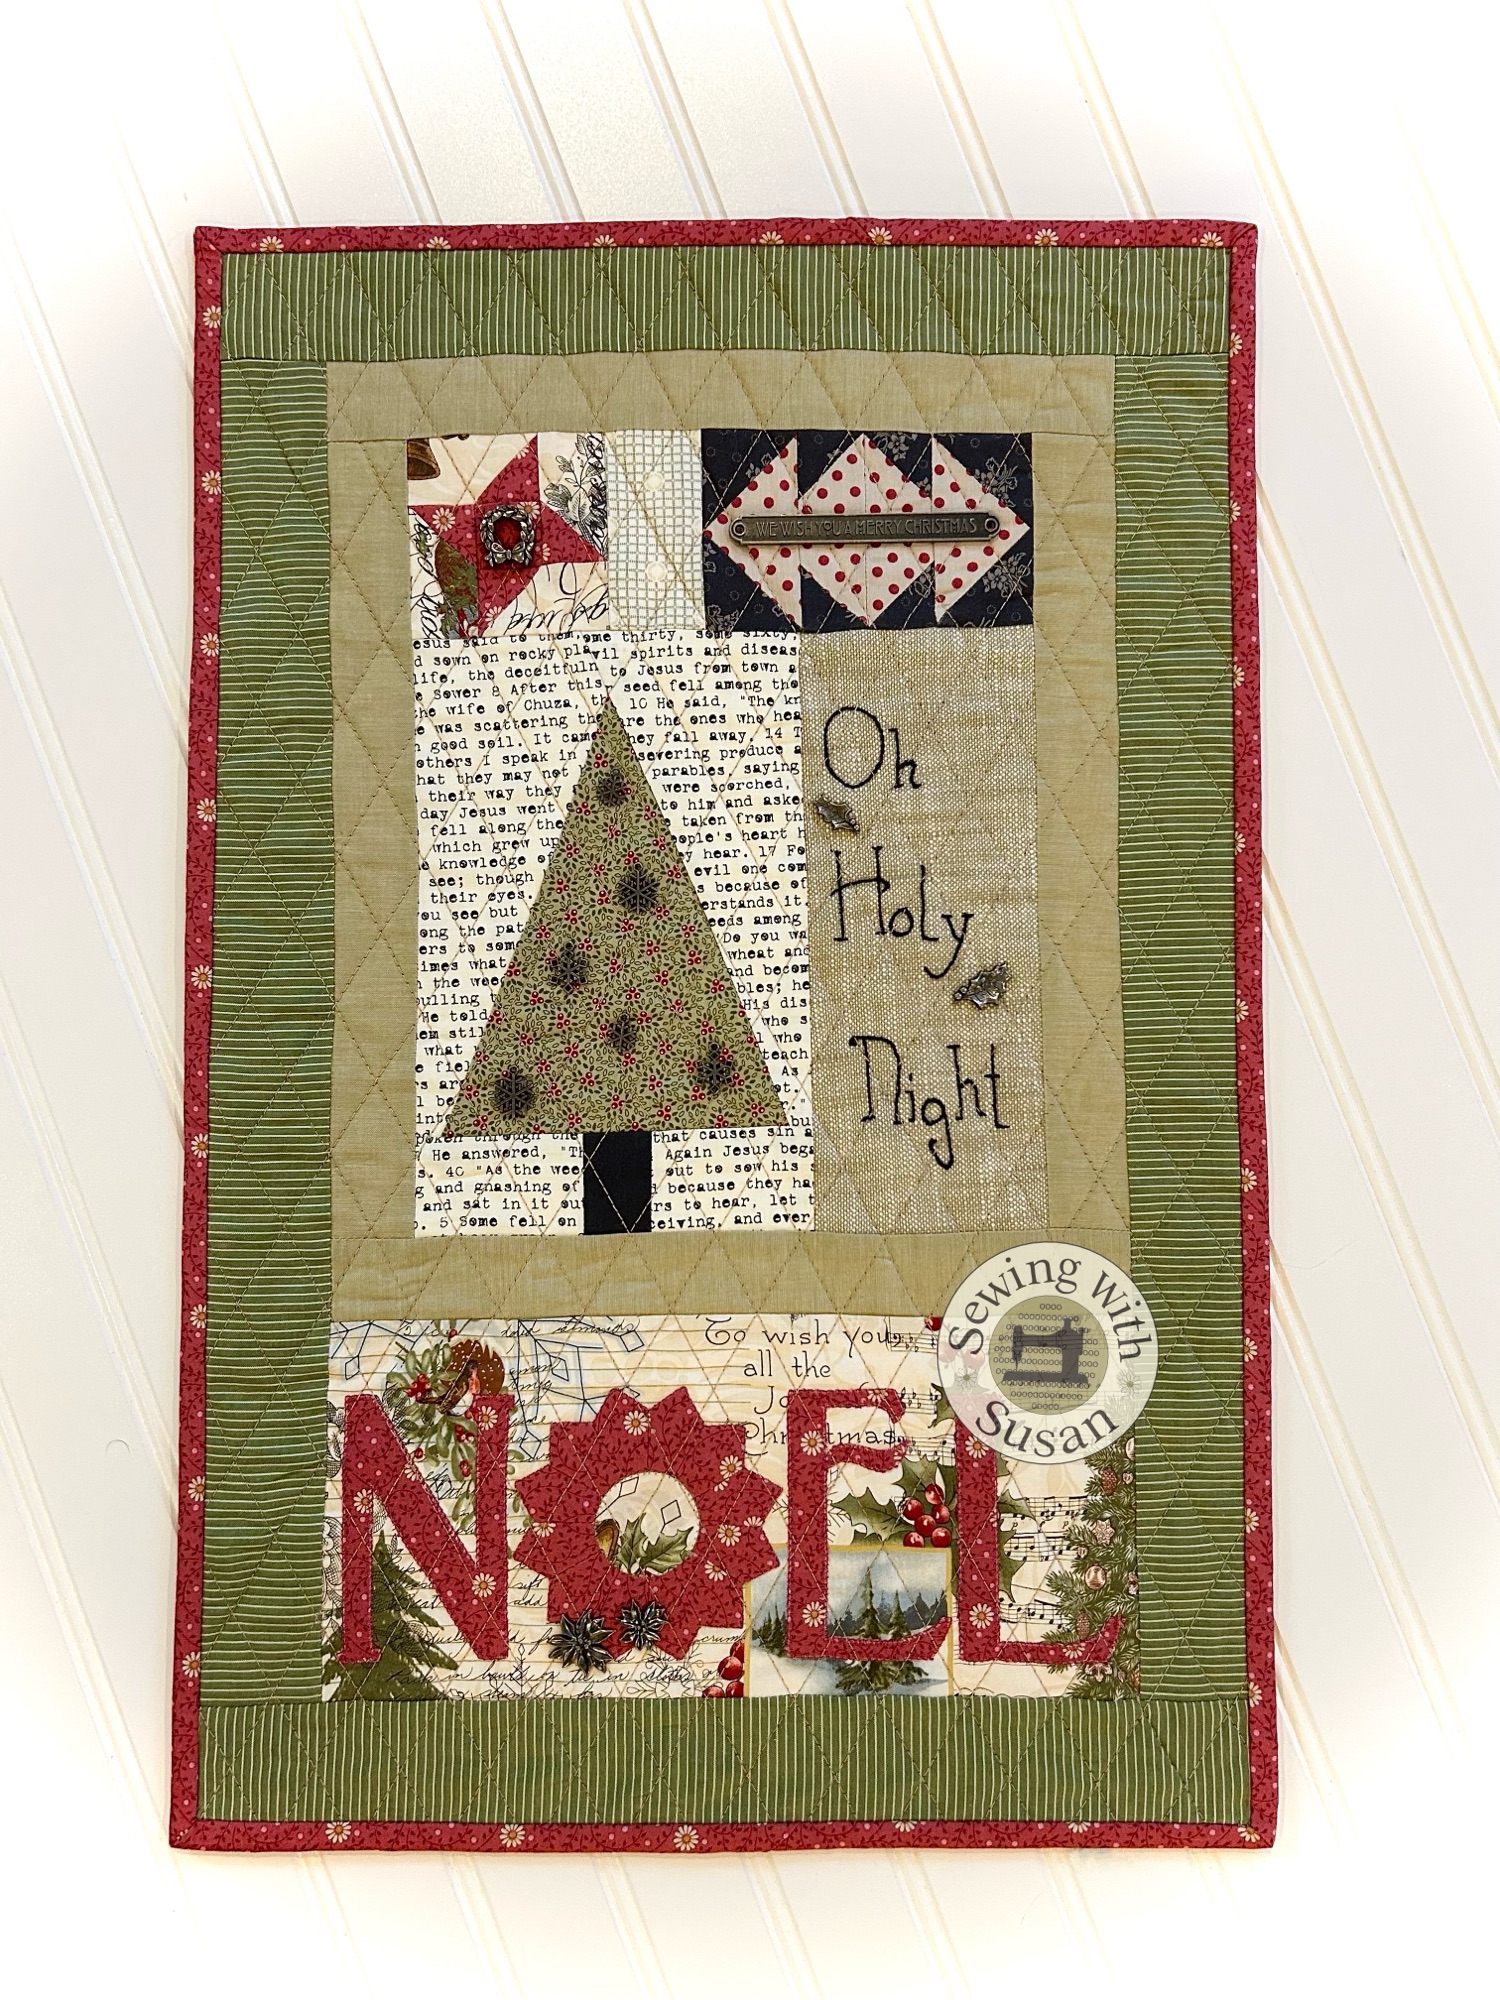
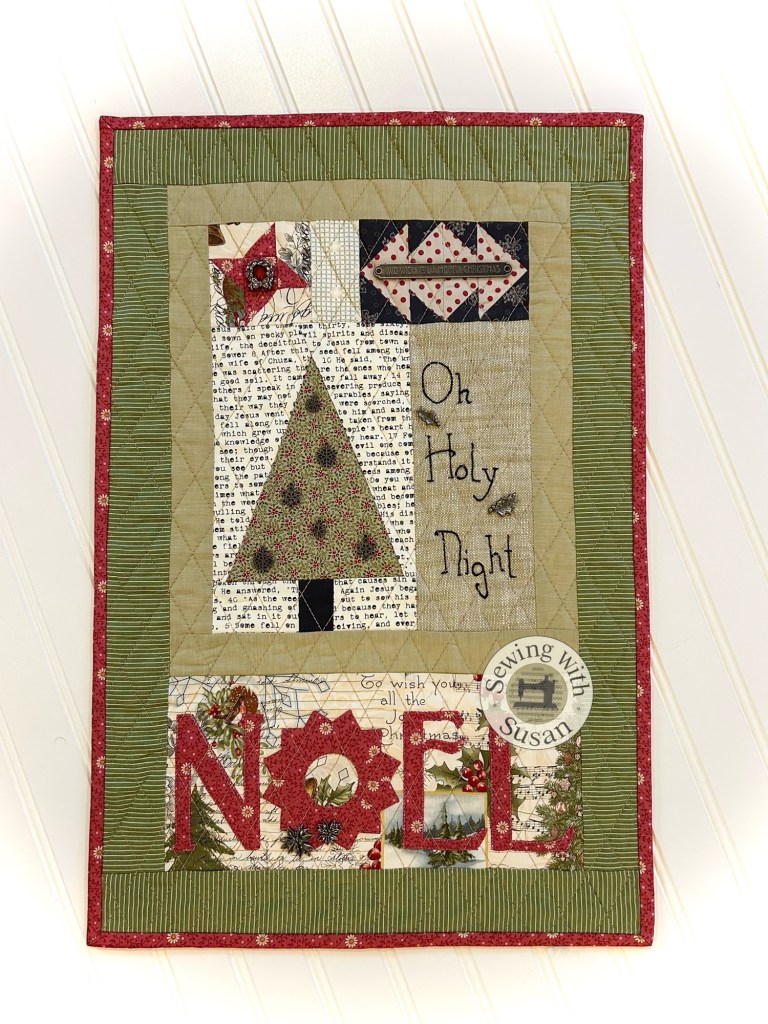
Does your Dresden Home need some decorating?
I chose these embellishments to complete our Dreden Home.
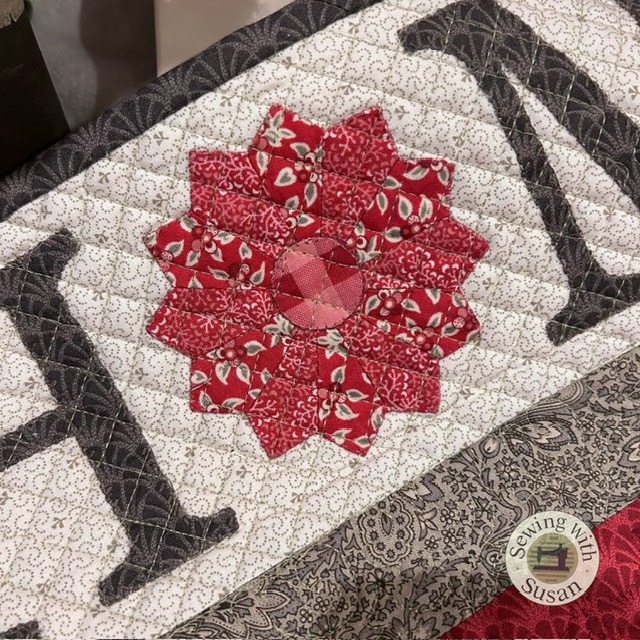
First, a wreath for the Dresden plate center.
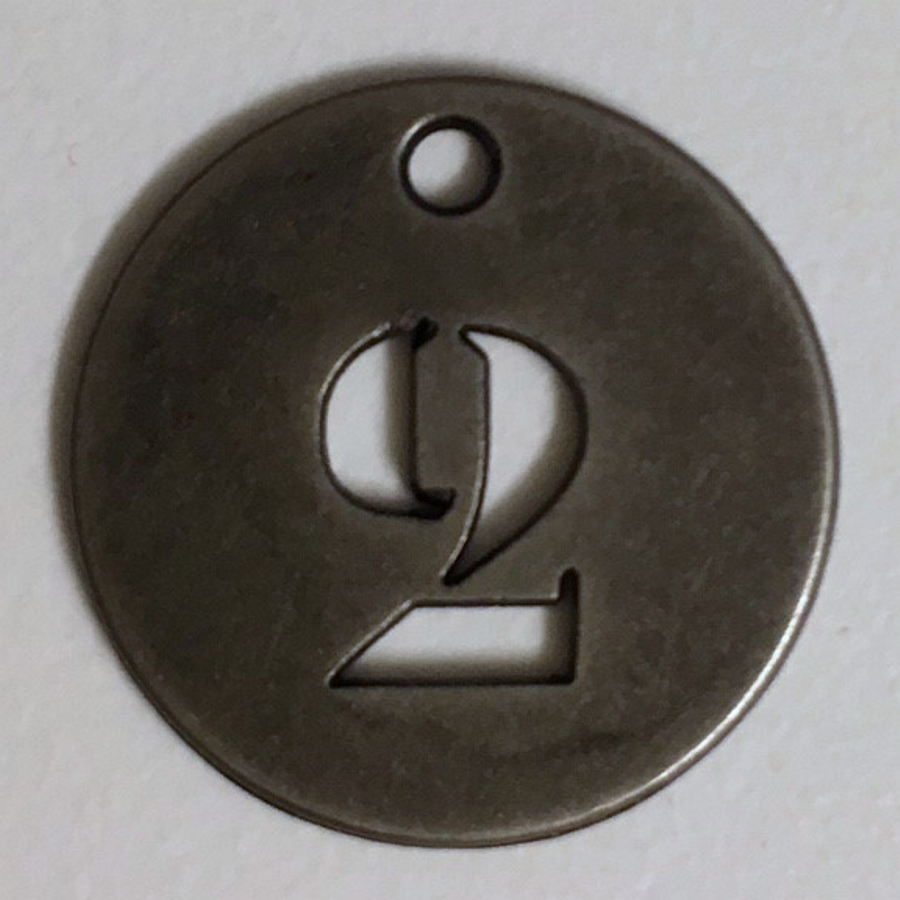
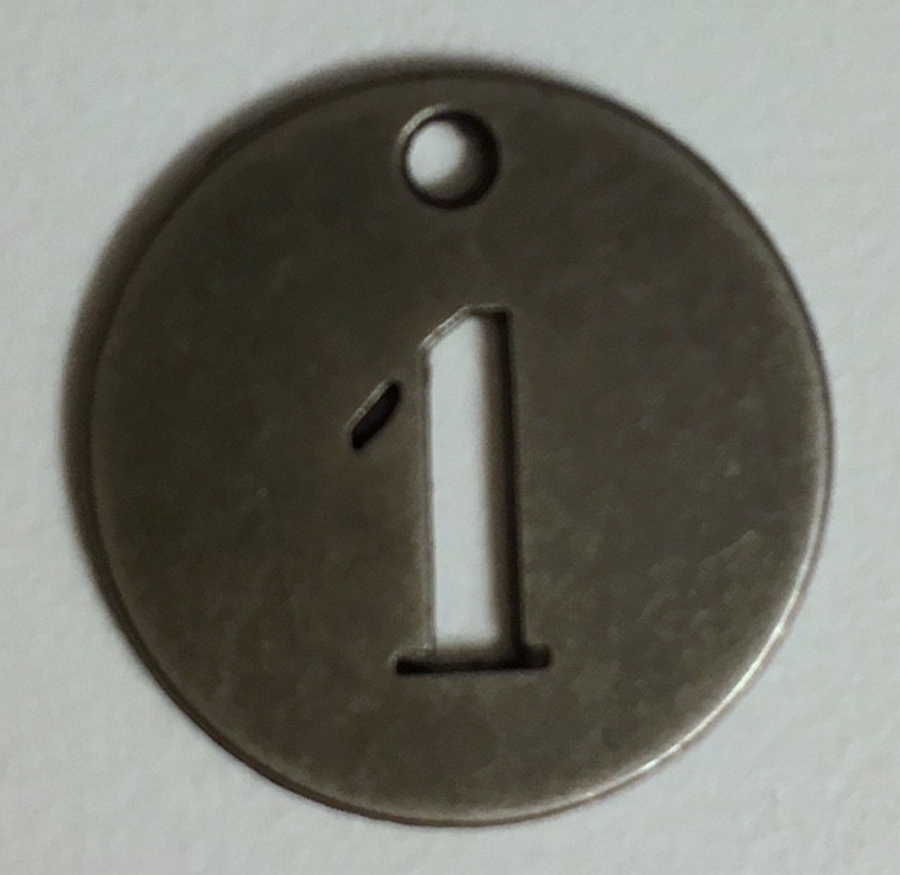
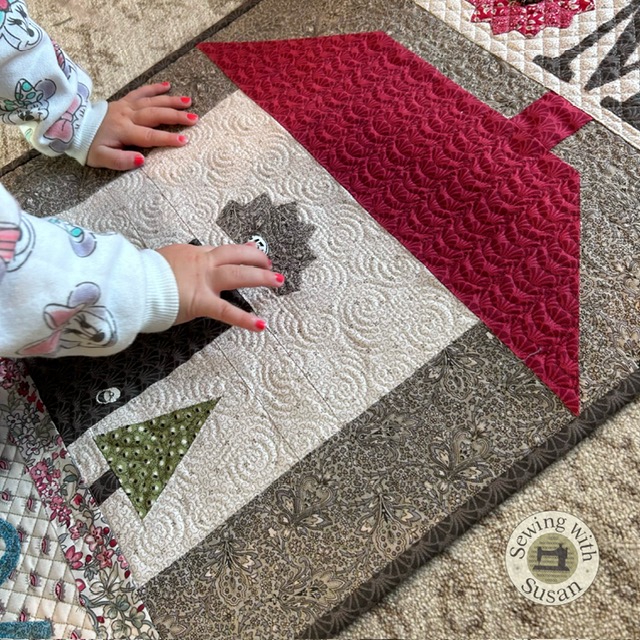
Next, a house number.
And finally, a door knob or sorts, of course!
I knew right away that the “13” would be the perfect house number for me!
The package comes with tiny brads to use to attach the plaquettes.
Attaching it was easy by first poking holes in the fabric then using the enclosed tiny brads.
They’re a bit hard to see, but this is the back of the quilt with them applied.
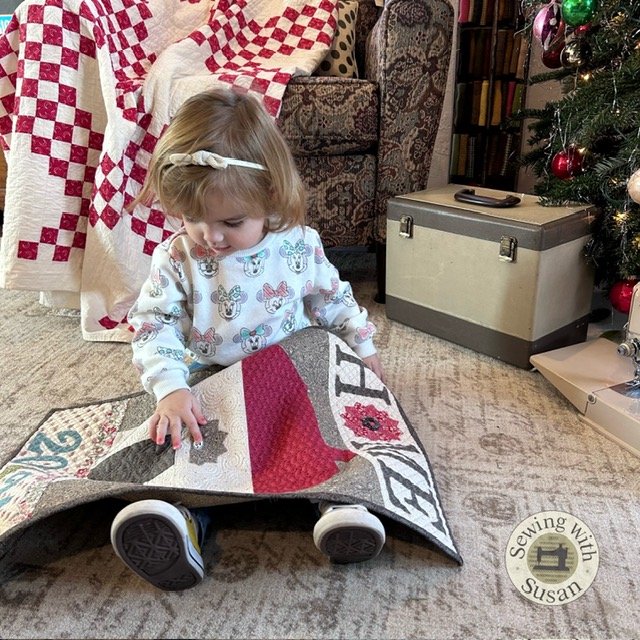
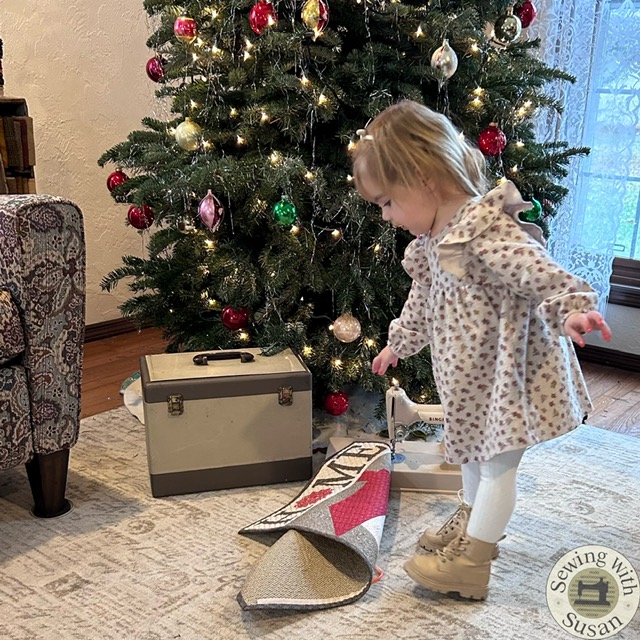
And Emma loved them all but was very intrigued with the door knob. lol
I actually painted it so it would contrast with the door fabric. It also attaches with the little pre-attached brad.
Lastly I glued the wreath over the center of the Dresden plate center, yes glued! I was skeptical too but this stuff is awesome! I’ve used it several times now & am thinking of other ways to add junk “cool stuff” to my quilts now!
I contemplated gluing the wreath on the door… I would have needed to paint it too though so
we decided it looked good here on the Dresden plate.
It was fun playing with the bits & bobs that morning.
I just noticed it was still dark outside.
Emma & I are good early morning workers thankfully!
We’re pretty happy with our results.
Now I need to decide where to hang it & get the appropriate sleeve or hanger for it.
You can now find these embelishing items on my website by clicking here.
I hope you will be encouraged to finish
& hang your Dresden Home for 2024 very soon.
Show us your progress on my Sewing With Susan FB page here: https://www.facebook.com/groups/SewingWithSusan
My give-away today is this set of embellishments to the first to complete their Dresden Home quilt (if you want them that is).
I can’t wait to see how everyone else will decorate their Dresden Homes.
Just Keep Sewing…
Susan