
Week #

It’s fun to see the progress of participants with your completed Week #1 “Quilts” block!
Thanks for posting & sending me pics.
If you’re not part of my Facebook group, Dresden Quilt Workshop,
head over there & sign up so you too can share & see all the progress.

This week we will refer to
Sharing My Happy quilt, page 22.

The “parts” are scattered across the quilt:

Since we’ll start making Tiny Dresden plate blocks this week,
you’ll want to read Tiny & Mini Dresden Plate Assembly Techniques,
starting on page 16.
You’ll learn all of my tricks & techniques to make
FLAT & ROUND little Dresden plates;
VERY IMPORTANT traits for Dresden plates of any size!
After I cut 3″ strips of each stripe print,
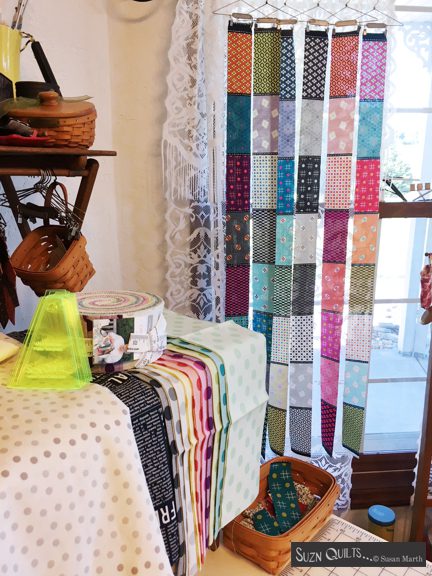
I cut apart all of the stripe fabrics so I could easily use 1 at a time.

Have I mentioned lately that this collection,

Circulus & Lollies Sweet, is the PERFECT collection for this quilt! Lol…
BTW, I still have kits available on my website.
Now you’ll make:
- 1 Tiny Dresden Four-Patch block

- 1 sawtooth border strip of 6 hst’s plus a 2″ square

- 2 sawtooth border strips of 7 hst’s plus a 2″ square


Key point this week is to “Check Your Sewing Accuracy” found on page 20.

Sew 2 Tiny Dresden petals together and lay them on top of the illustration there.
The petal pair should fit perfectly like mine do :)
If yours do not fit perfectly, your plates will not lie flat!
See the notes also found there if your petals don’t lie flat.
Basically, you’re not sewing a scant 1/4″ seam if they don’t fit exactly.
See page 12 for making a precise scant 1/4″ seam with the
Perfect Piecing Seam Guide by Perkins Dry Goods.
It’s my best advice!
Just Keep Sewing…
& showing us your progress on my Dresden Quilt Workshop FB Group.
Susan
