
Thanks Karen for showing us your completed Candy Corn Sampler yesterday!
Thanks also to Chris & Susie for showing us your progress. I can’t wait to see your completed quilts soon too.
Welcome to Step 12 of making your Candy Corn Sampler!
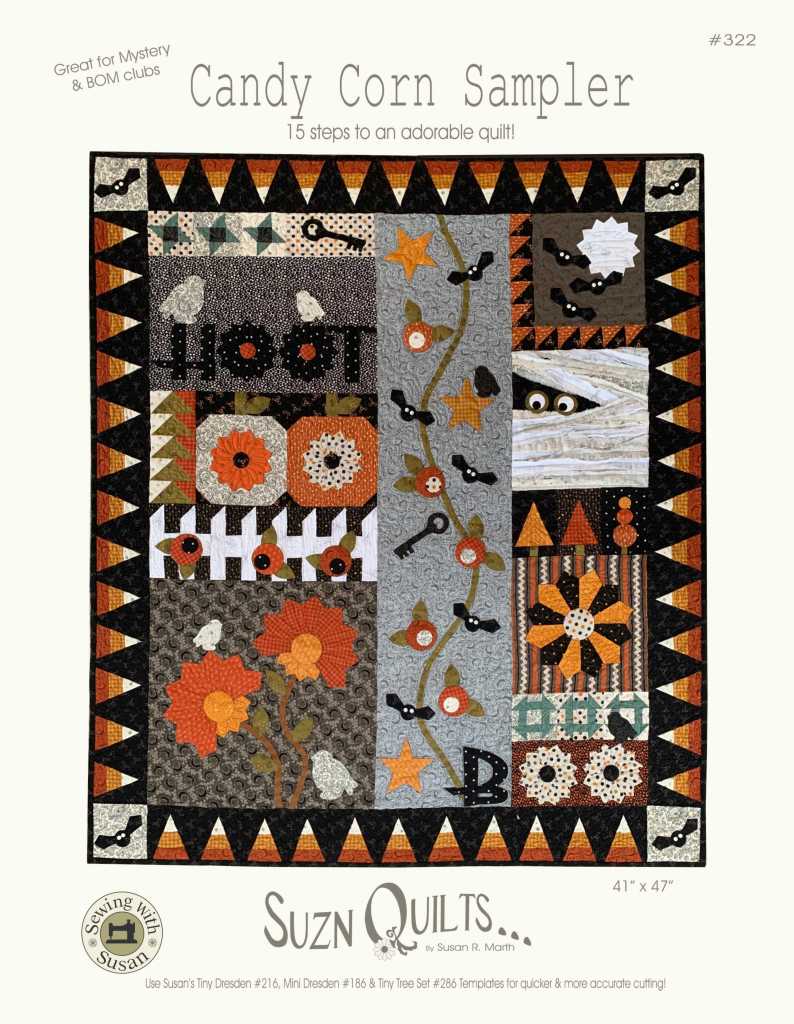
I loved the task of Step 12, Awesome Appliqué!
On page 18, you’ll find the templates to make each shape.
Having the right tools not only helps your quilting look great, it also helps you enjoy the process like I do!

All the tools that I use for appliqué can be found on the notions page on my website by clicking here.
Remember, you can use your favorite appliqué method if it’s not the freezer paper version that I love.
Also, remember when you need more than 1 of the same shape,
trace 1,
staple layers of freezer paper together & cut up to 6 at once.

Use a staple remover to remove the staple without tearing the templates.
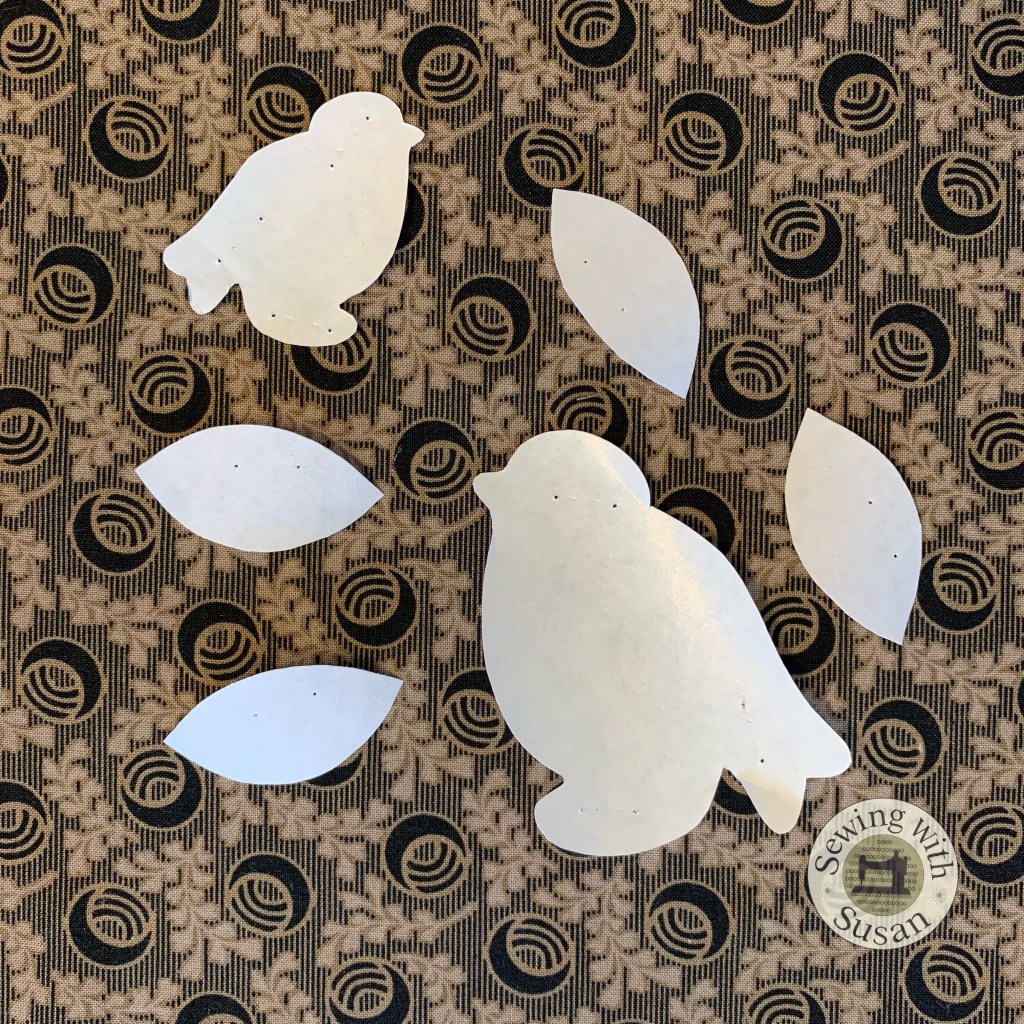
Since these pieces are small, remember to keep the seam allowance small & clip curves & corners.


In case you need a refresher, below is a leaf tutorial using the Apliquick bars for points & the round edges.
After circles, I think stars may be my favorite shape to make,
but really any of them that challenge me are fun.

Like any task, practice makes perfect!

You only need to make the shapes today & tomorrow.
Step 13 will be to glue & fuse the pieces to the background rectangle & stitch the appliqué.
I wish I’d taken a pic of all of the appliqué shapes ready to glue
but I guess I was so excited to start gluing that I forgot!

Instead I’ll show you cute little Emma enjoying being gma’s model. 😊
If you’re not already a member of my Sewing With Susan Facebook group, please join & share pics.
Find the group by clicking here to join.

Just Keep Sewing…
Susan w a bit of help from Emma!
