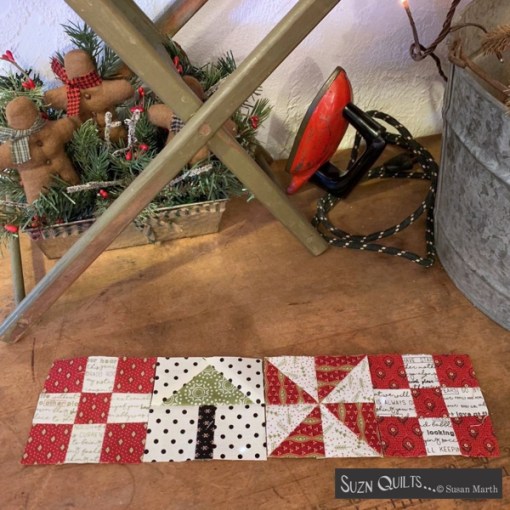
Welcome to Day 9!
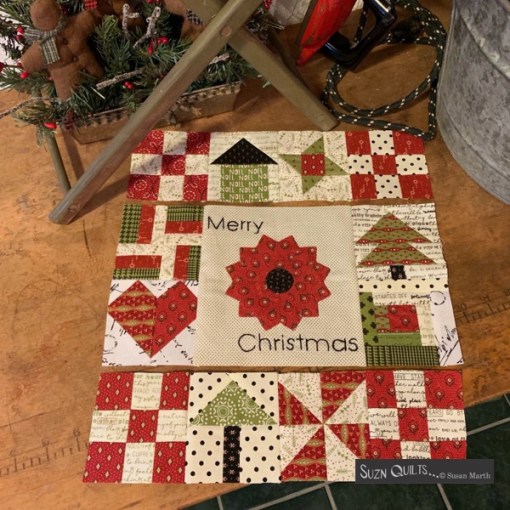
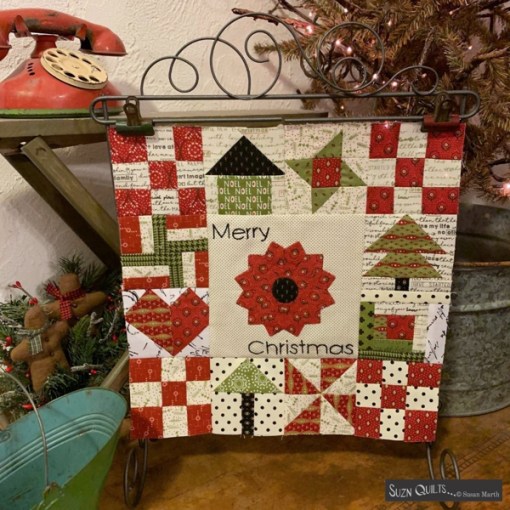
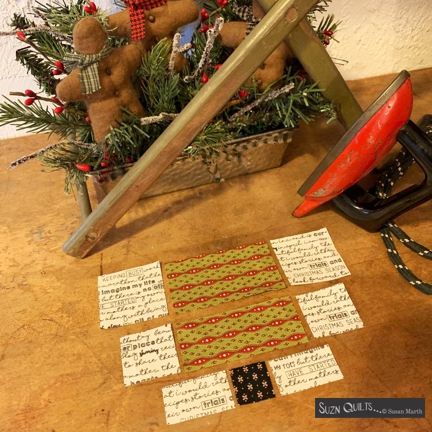
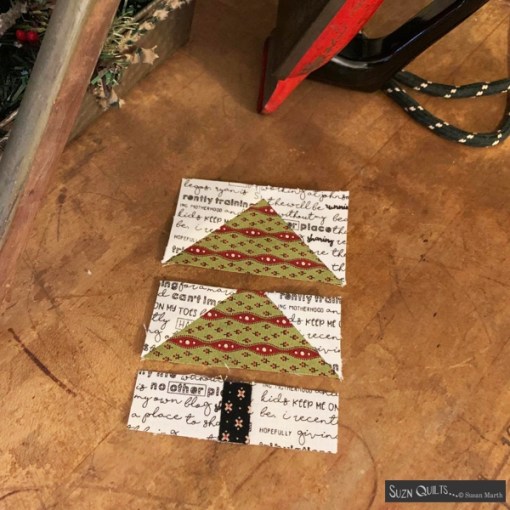
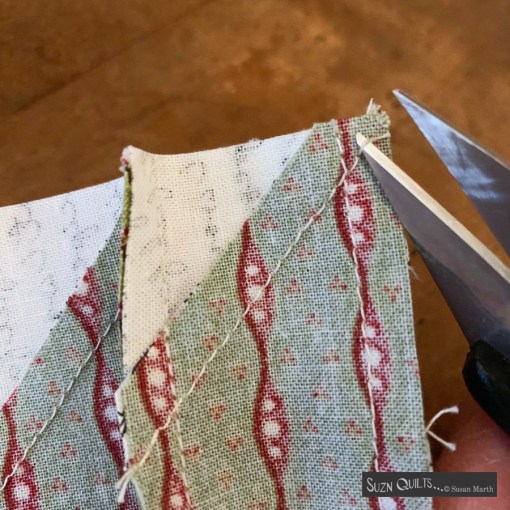
It’s appliqué day!
& there’s just a tiny bit…
I know some of you hate appliqué, but I love it.
I assure you that if you use the right tools & techniques,
then practice… you can love it too.

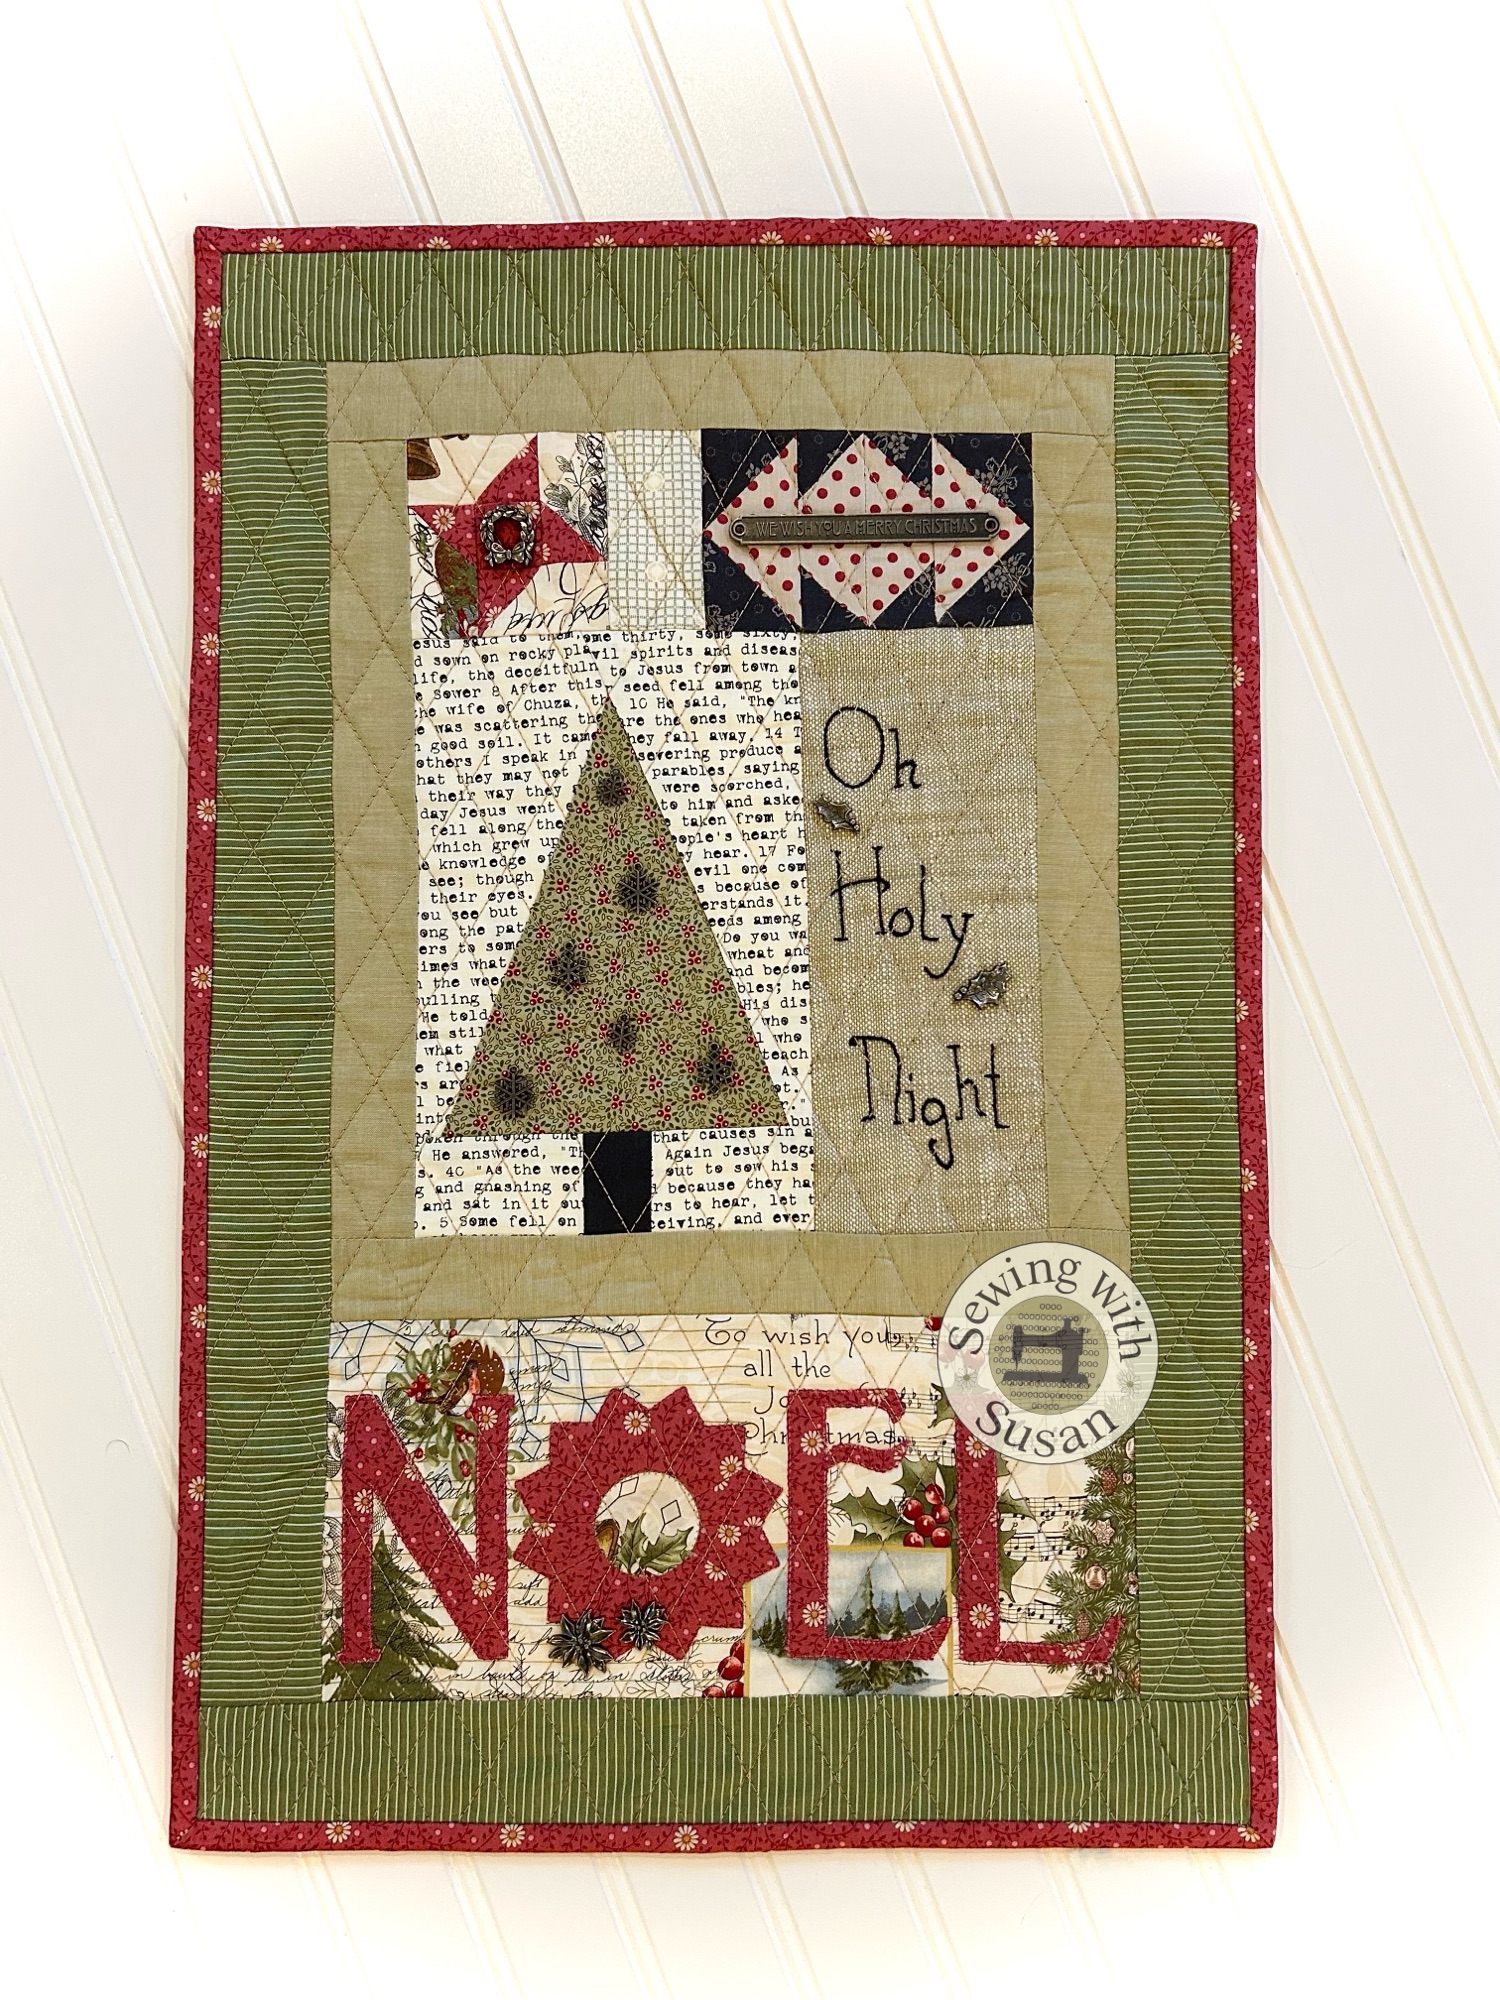
I used my 6″ x 24″ ruler to align the letters before I fused them in place.
You may want to add a stabilizer before you stitch around letters.
Some machines draw up the fabric when not using a stabilizer. If you don’t know if your machine will do that, try a sample with scraps. (If you don’t a have stabilizer, you can even use a piece of printer paper lightly glued behind your rectangle. It’s easy to remove.)
Follow the diagram on the PDF for proper alignment.
Again, no templates on this PDF today, so no worries on print scale.
Show us your finished blocks on my Sewing With Susan FB page here: https://www.facebook.com/groups/SewingWithSusan
Just Keep Sewing…
Susan