Week # 1


I’m so excited that you’ve decided to join the challenge
& sew my Dresden Quilt Workshop Sampler with me!

It is such an honor to have you join me.
You’re going to love the finished quilt.
It was so much fun to create & so beautiful too!
Everything you need is in the pages of my book;

Dresden Quilt Workshop.
I’m just going to help you realize it!
Each week, for 26 weeks, we will create a portion of the quilt
using bits of each of the 13 quilts in the book.
Today it’s finally time to get started with week #1!

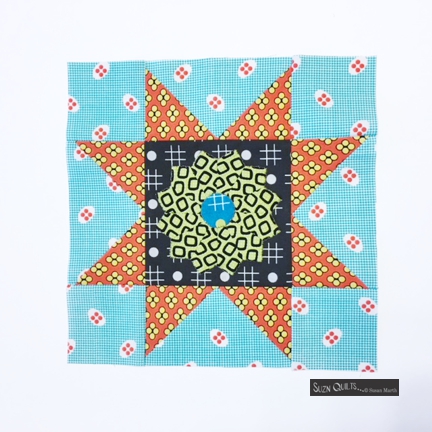
This week we will refer to
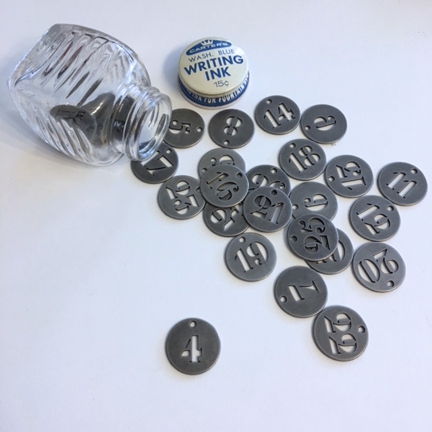
Button Box quilt, page 51.

This step was chosen first because the block touches so many other blocks in the quilt.
Whenever I make a sampler quilt I’m careful to plan
the fabrics so they will not blend into each other.
That can change or even ruin a design.
I had fun auditioning fabrics for this block.

In the end, my favorite lime green won out for more reasons that it’s my favorite.
I really liked the contrast of the black letters on the green.
This is the only block in the quilt where I changed the dimensions.
This block will fit on a fat 1/4 yd. (18″ x 22″).
Cut the background 9 1/2″ x 21 1/2″.
(Not as instructed for the actual Button Box quilt in the book!)
Follow the illustration below & the instructions on page 56 to make the applique.
If you purchased one of my kits,
you can use the “Authentic” black fabric
with words printed on it for the “Quilts” applique too.
Just remember, yours doesn’t need to match mine.
Use whatever fabric you want anywhere in the quilt.
Please note: I’m VERY FRUGAL when it comes to using sample fabric in a quilt.
Sample meaning, new and not yet available in quilt shops,
but if you follow my blog you already know that…
Many of my quilts are made with sample fabrics generously supplied by Moda.
I order what I think I need and if I need a bit more of something it may or may not be available so I use it very sparingly.
If you’re more liberal with your cutting you may not be able to use your kit the same way I used my sample fabrics.
You may also want add more fabrics to make it your own.
It’s your quilt!

I love using Sulky’s 12 wt. threads for my fusible web applique.
I like to say that it reminds me of when I was little & outlined everything with my black crayon!
(Most often I use this thread in black. This sample is an exception.)
It covers the raw edge of the fusible web really well & it makes my applique stand out.
That’s what we want, right?
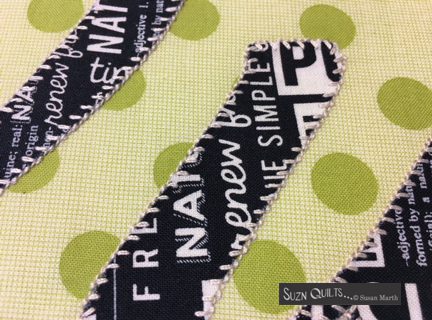
With the REALLY busy print in this fabric it’s hardly the best example,
but I love it just the same.
Once you’ve stitched around the letters you’re done with this week’s challenge.

I hope you enjoy week #1!
Just Keep Sewing…
Susan