Hot Tips, My Life

Hot Tip Tuesday #20, Fabric Shadows

I was working on something pretty darn cute last night and today.  If you know me, you know I can hardly make a quilt project start to finish without at least a bit of applique.  Well, this morning I decided to use a bit of fused applique with some pre-fused gold lame’ fabric.  I dug into my basket that you may remember from this post.

Anyway, after cutting out, tracing my words and fusing the piece down (in a bit of a hurry to have some relevant hand work to work on at my guild meeting this morning) to my annoyance I noticed the lame was very thin and the layer below was very obvious, ugh!!!
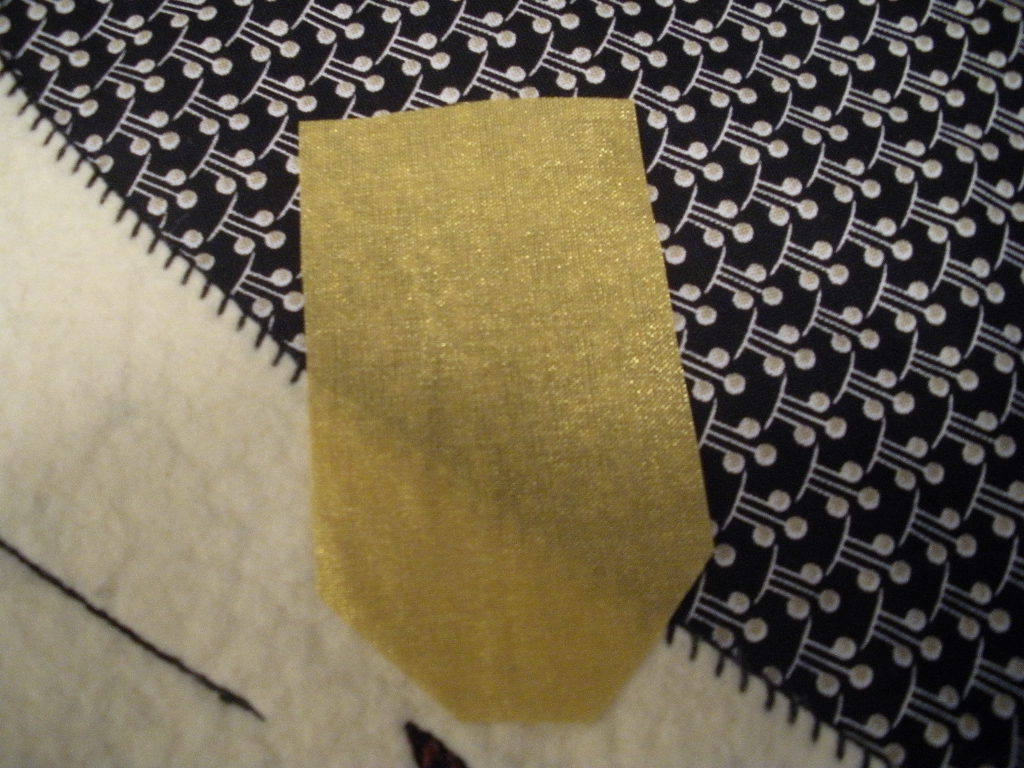
It’s was so obvious, even the stitching showed.  This is actually a reenactment, the original problem child has already been disciplined!

What did I do to remedy this you ask?

Well, like I said I was in a bit of a hurry and I’d already fused the piece of lame’ down tight and stitched it too!  So, I took the pre-fused lame’ from the basket again and cut yet another piece.  I then pulled my light box back out and quickly traced my design again, and fused the new piece right over the unsightly one.
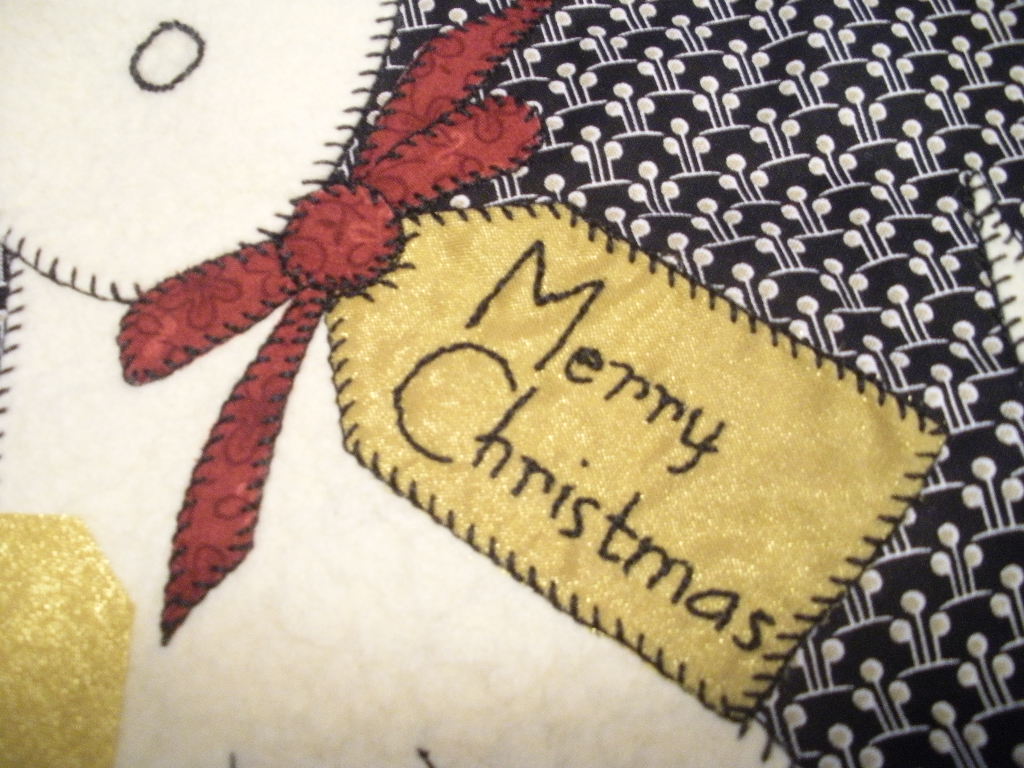
 See how nicely it turned out?  Isn’t the lame perfect for a Christmas tag? I did the stitching of the words during our meeting this morning. You can’t even tell that it’s actually two layers where the gift tag is, not even in real life where I sit, and I’m very particular.  You might even say I’m a bit determined!?!

This will be a new pattern for market soon and when I go to write the instructions for “Clare’s Christmas Puppy” (my daughter drew the dog a couple of years ago) I will write in the pattern to fuse two layers of fabric together if using thin lame like this so you don’t have the same issue that I faced this morning.  This is not an isolated case really.  I remember the first time I was faced with this scenario, it was when I created my “Bunnies in the Grass” pattern that is showing in my header above right now.  I used a white on white print originally for the bunnies and where the same fabric was layered over itself it was very unsightly!  I’ve steered away from very light applique shapes ever since.  Now you can be aware of this too. 

I just remembered the black fabric was just purchased yesterday, isn’t it cool?  It’s part of a new collection by Quilting Treasures and you know what I didn’t do?  Here’s a clue.  I gotta go, work to do…

Until next time,

Susan

My Life

How I get so much quilting done…

I finally realized today how I’m able to get so much quilting done. I’m sure you’re all thinking rotary cutter, but no!   It hit me like a lightning bolt as I was starting dinner at 2 p.m. as opposed to 3:30 p.m. for our 4:30 p.m. dinner time.  It’s all due to this wonderful man,

Do you know him?  You should, because we all are very blessed with his invention of the micorwave oven!  I know I use ours a lot, but you just take it for granted until it’s gone.  Ask me how I know…

Ours was working just fine, then one day the week after Christmas, the kitchen receptacle breaker started blowing. It did this perhaps 3-4 times since that time. So, last week with out of town company visiting, we went to the hardware store to pick up a new breaker. Sure I chose the $5.00 fix, who wants to think otherwise?

Well, yesterday morning the breaker blew several times while my DH was home.  The second time it went off, he installed the new breaker.  Then this morning our youngest daughter warmed her coffee cake and the microwave went off.  Unfortunately the breaker hadn’t blown.  Ugh, it’s not the $5.00 fix after all.  It’s the microwave!  Have any of you heard about the winter weather we’re having her in the midwest?  Well, I can do without milk and I can do without bread, (we won’t) but I cannot do without my microwave! 

So lickity split, out the door I went this morning to our local mom & pop appliance store to fetch a new one. 

Here it sits in all its glory, awaiting Mr. Tinker to slide it into its new home.  Want to know the best part, aside from the fact that my husband is handy enough to put it into our kitchen tonight?  The existing microwave was bought in 1996 for $388.00, and today’s model to replace it was just $200.00!  I’ll be pleased if it lasts just half as long as the original.

So this is why I started thawing hamburger on the stove at 2 p.m. today.  It’s a very slow process without a microwave.  Thank you Mr. Spencer, I’ll never take my microwave for granted again!

Until next time,

Susan

Hot Tips, My Life, Quilting Accessories I Love

Quilt-as-you-go Lap Quilt Tutorial & A Few of my Favorite Things

Being a quilt pattern designer and going to International Quilt Market at least once a year for the last six years, I’ve met a LOT of quilters; quilt shop owners and their employees, other quilt designers, fabric reps, distributor reps, notions reps, batting reps, thread company reps, and the list goes on and on. I’ve learned so much from these quilters’ experiences, plus I’ve experimented a lot myself.

This morning while mindlessly ironing my DH’s dress shirts I got an idea, (I get some of my best thinking done while doing these types of monotonous tasks, and don’t you dare tell him or he might get some of his own great ideas such as thinking that I enjoy said tasks) anyway… I thought I would list some of my favorite things and perhaps they might become some of your favorites too.

If you check out my website you’ll see a tab for “Quilt-as-you-go”.  These are all lap quilts that I’ve created using my own technique, a form of foundation piecing.  These are a few of them:

 The “foundation” is actually the batting and backing fabric cut to the size of the finished quilt, then basted together.  I like to use Sullivan’s basting spray for this.  It keeps the foundation together nicely, doesn’t gunk up my needle and there are no pins to move as I sew.  Below is a small-scale of what the “foundation” looks like basted and ready to start sewing.

The only batting I use and recommend for these quilts is Warm & Natural.  It has its own “velcro” type properties that eliminates all slipping while I sew these quilts together.

 It’s time to start sewing the strips on.  The first strip is lined up with the edge of the foundation,


The second strip is lined up on top of it, right sides together. 

 Pin and sew 1/4″ away from the inside edge of strip.  The seam is going all the way through the foundation creating the “quilting”.

Two important things to remember while stitching, 1) use a walking foot and 2) use a long stitch length.  I set my machine to the longest stitch setting (8 stitches per inch).  You’re quilting, not just sewing a seam.

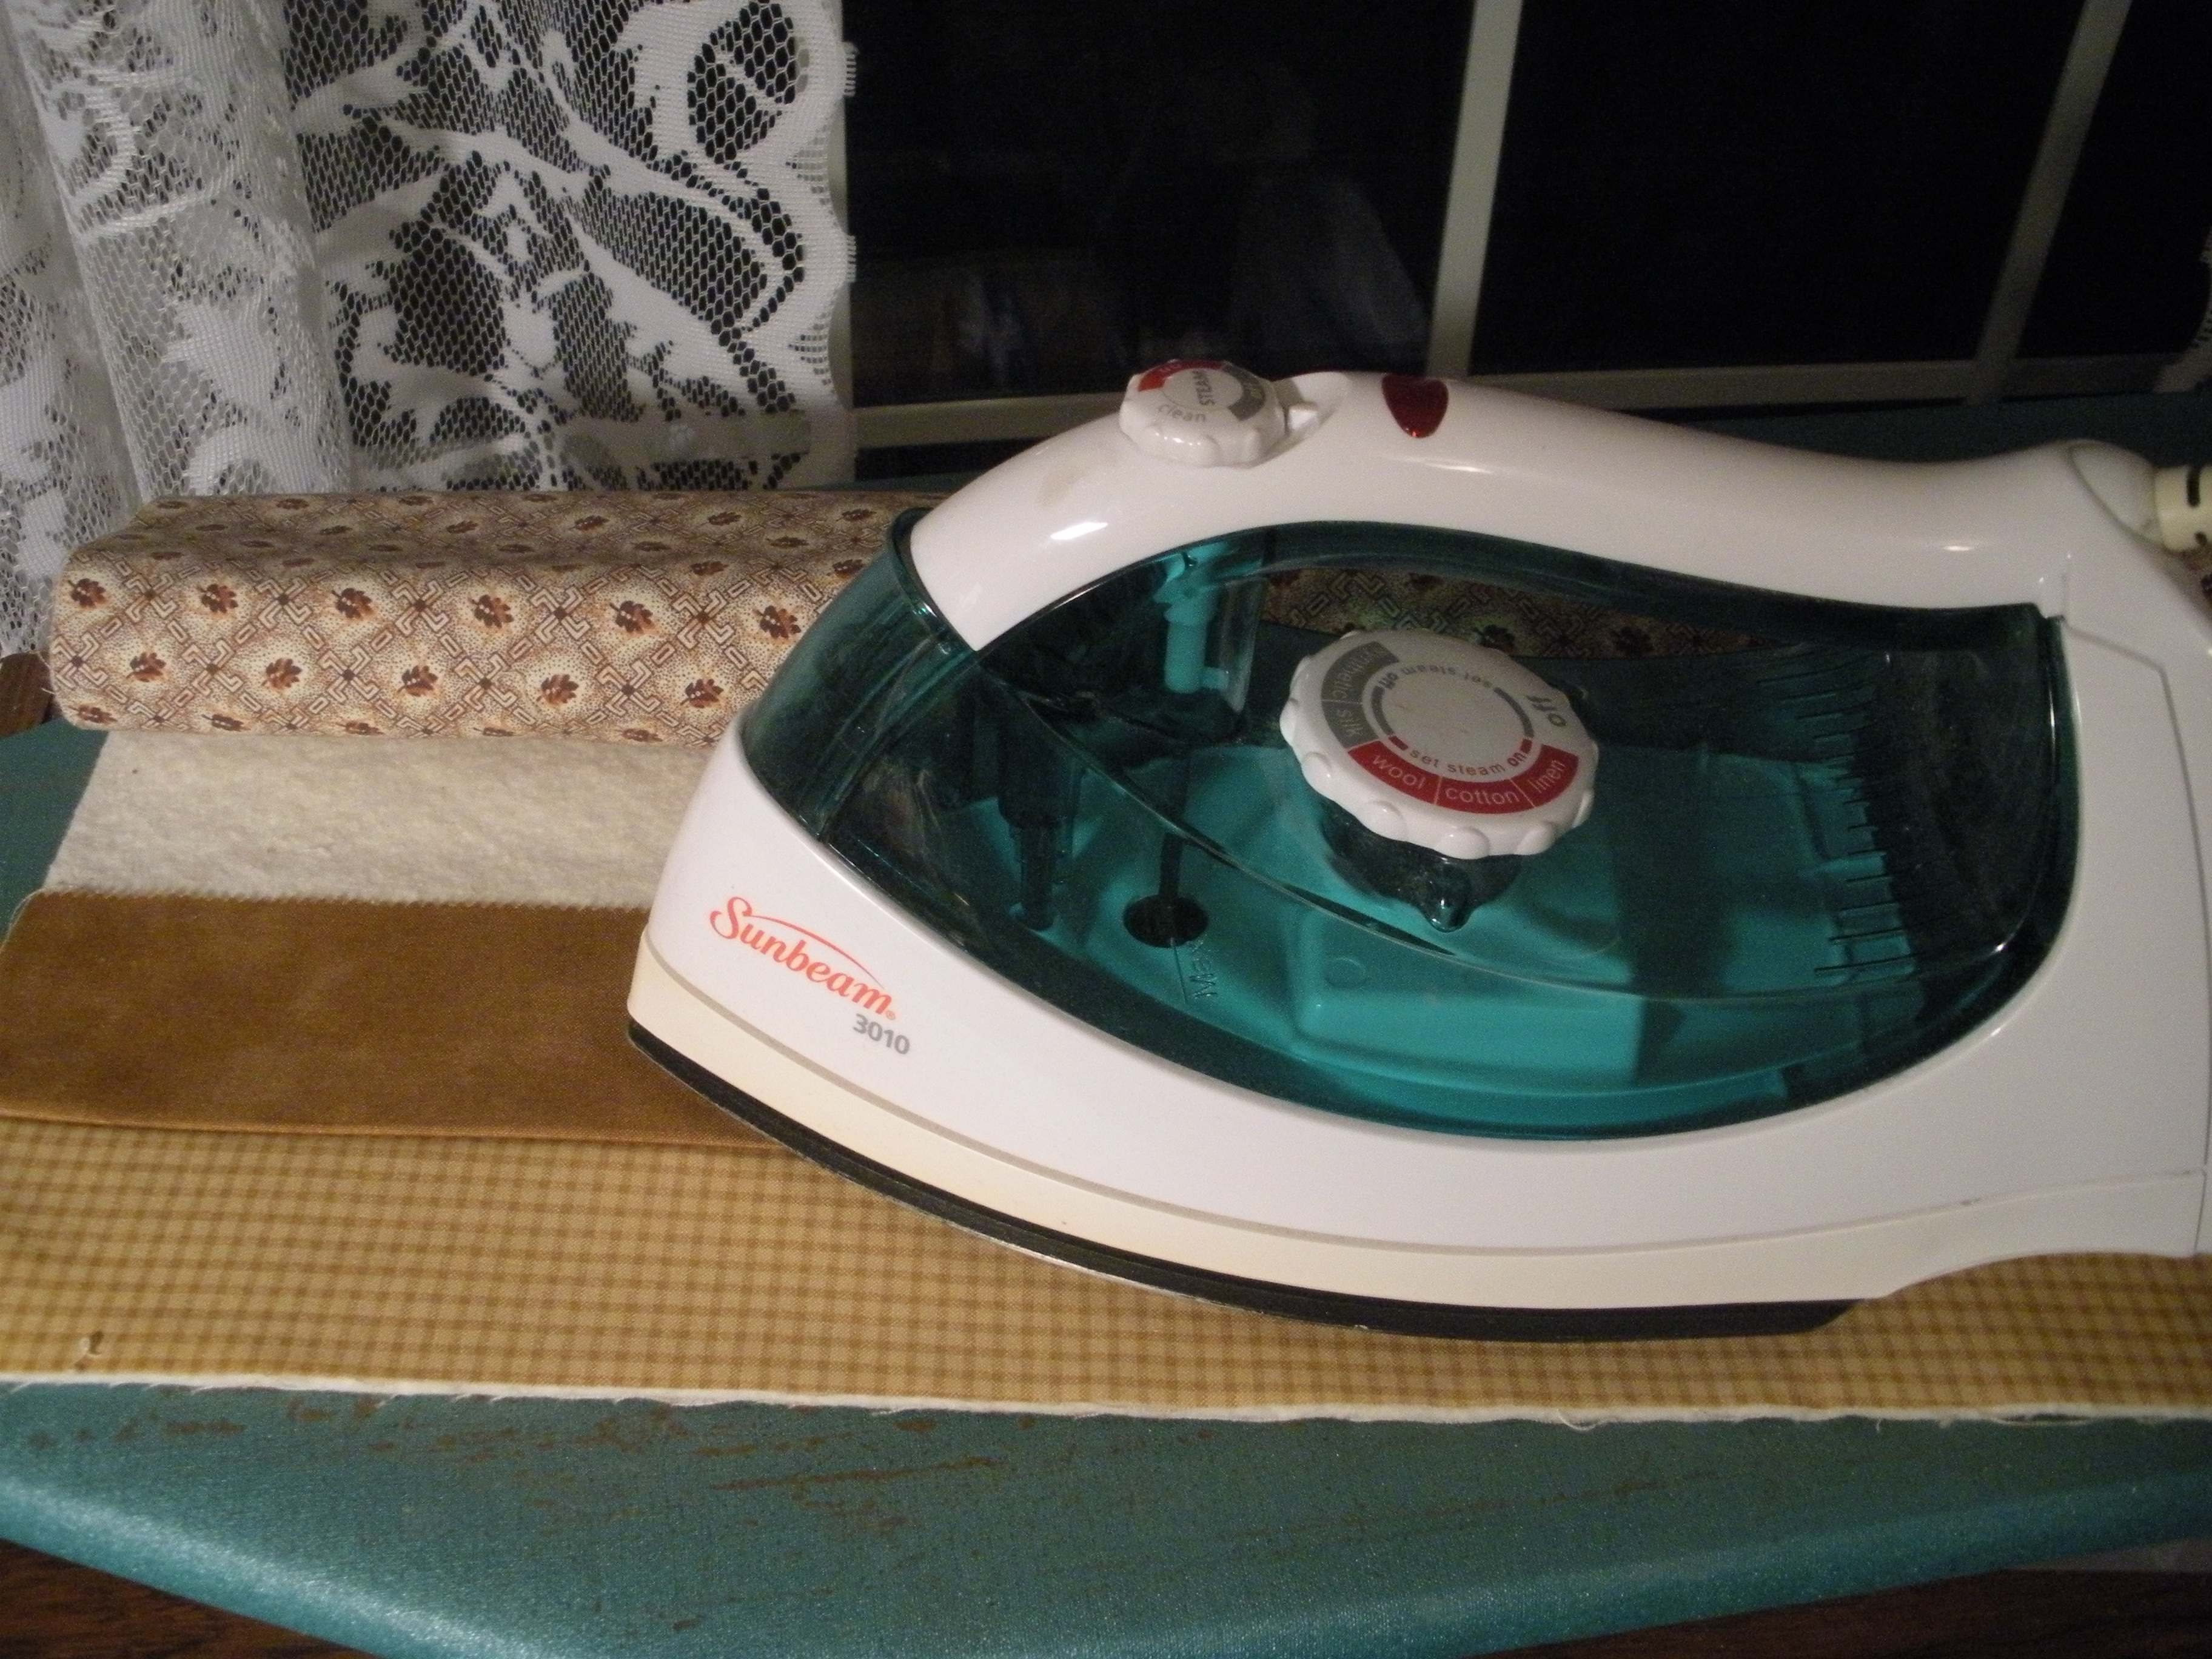
 Next comes the pressing. With the strips still flat as sewn, press, picking up the iron as you work down the strip not sliding it.  I also do not use any steam, notice empty iron!

Open the top strip out, then press again.  Be sure to not slide the iron, pick it up instead.  Continue sewing strips on in this manner.Once all of the strips are sewn onto the foundation your quilting is done.  Add the binding and the quilt is finished. 


One last favorite thing I’d like to note is a finger pin cushion.  This keeps my pins with me at my sewing machine, at the iron, and at my pinning table.  This is a big time saver for these projects.

Some of the quilts have fusible applique and therefore require a bit of stitching to add before the binding.  This stitching acts as more quilting. 

These quilts truly can be made in one day, 6-10 hours depending on which pattern you choose. Several of the patterns are designed for jelly rolls and charm squares which really minimizes your cutting time.  They make great gifts because they’re not a huge time or money commitment.

If you don’t already use my favorite things, go to your local quilt shop and ask for them. Perhaps my favorites will become your favorites.

Until next time,

Susan


Family Time, Hot Tips, My Life

Hot Tip Tuesday #8, Artificial Memory

Ok, this is not a quilting tip BUT I’m a quilter and it’s a tip that has helped me from year to year to get my Christmas decorations in order.  With the help of family & friends, my Christmas decoration stash is really robust.  Over the years I’ve adjusted how I decorate for Christmas based on my favorite decorations and the energy levels of me and my helper(s) at the time.  This digital era that we live in has helped me “remember” or perhaps helped me with what I can’t seem to remember!

Several years ago I decided to photograph some of my Christmas favorites and how I displayed them.  This was actually before my digital cameras.  I had the photos printed and put them in various boxes with their decorations so I could recreate an idea that I could barely bring myself to disassemble the year before.

So getting to my tip, I suggest taking photos of these settings or vignettes of sort and store printed copies until next year.  Today I took some photos to show you some of my favorites.

This is the top of our refrigerator.  It’s one of two collections that prompted me to start these photos.  I made the lighted buckets several years ago for one of my Christmas open house events.  Fortunately for me I made enough that I had leftovers!

 This is a shelf full of Christmas also in our kitchen.  This menagerie is full of handmade goodies from Heidi, Ruthann and myself, plus little things I’ve picked up here and there that I absolutely love!

This is atop the pie safe of sorts that my father-in-law made for me several years ago.  The folk art building trio is a newly acquired Christmas gift from my good friend Kathy.  They will stick around after the Christmas decorations are put away, I just couldn’t help but tuck it into this selection of red and green delight.

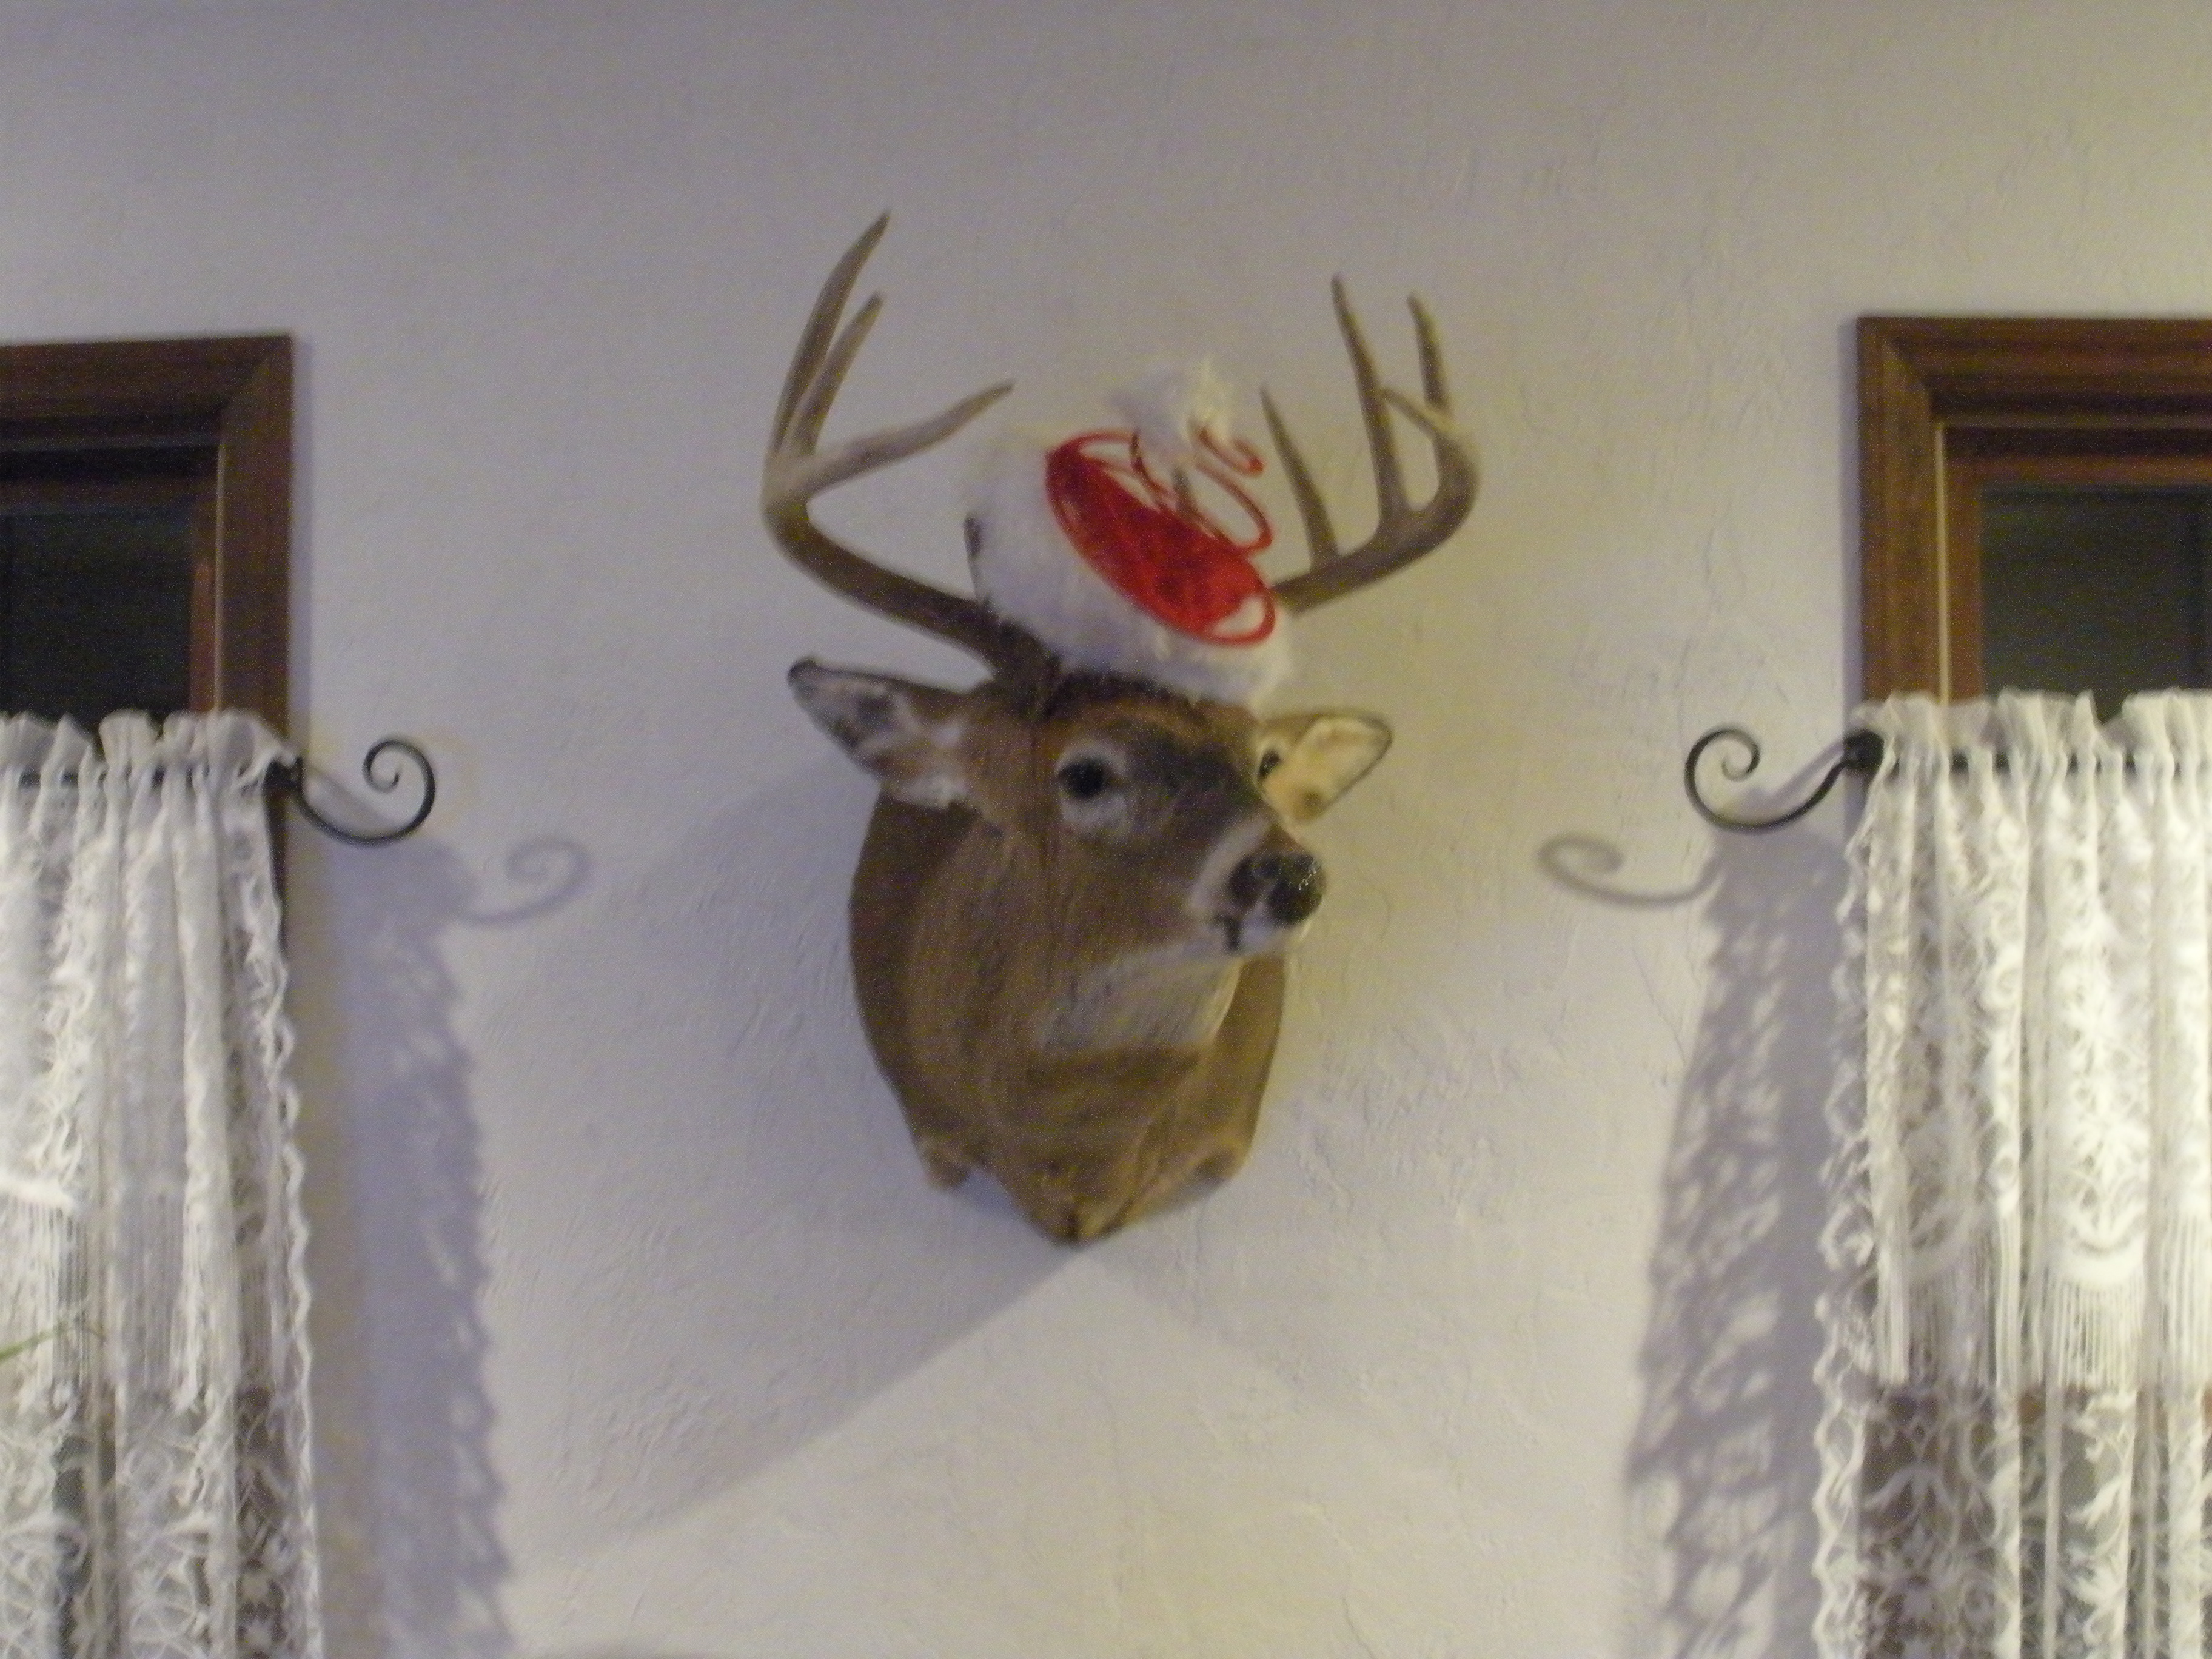
And last but not least, I couldn’t resist putting a bit of Christmas cheer on this guy (much to my husband’s chagrin).  He has no name, but he hangs proudly in our livingroom. For those of you who’ve never met my husband David, he enjoys hunting almost as much as I enjoy quilting!

I hope you’ve enjoyed my artificial memory.  As one of my college professor’s signs so accurately stated, “Artificial intelligence is better than none at all!”  Funny how I can’t remember what I had for breakfast most mornings (not this one though it was iced sugar cookies at my MIL’s house) but I remember this clever quote from 25 years ago!

Until next time,

Susan 


Family Time, My Life, New quilt pattern

Day #4, 5 New Patterns in 5 Days!

Well, Carol Burnett was fun.  My mom and I laughed, and then we laughed some more. They showed clips from some of her favorite shows and it’s funny that I remember them.  That’s been well over 30 years ago, how can that be?  It was fun to hear Carol tell stories of things that happened behind the scenes during that time period as well.  A classy lady that carol!

On to New Pattern #4, #172 In Season for Christmas

I love this scene on the black background, don’t you?  You can purchase all of my patterns on my website, just give a click.

Until next time,

Susan

My Life, New quilt pattern

Day #3, 5 New Patterns in 5 Days!

It’s been a great day so far. 

1.) Dropped off new pattern instruction files at the printer (covers will be done Monday).

2.) Met my BFF Kathy Sands, very talented artist, at Lota Wota Creek for lunch, show & tell and loaned her some of my pattern samples along with extra patterns because she’s headed to Columbia, MO to vend her artsy quilt paraphernalia at a quilt show this weekend.

3.) Went to  JoAnn’s and purchased this:

because my BFF Robin Koehler has a quilt, Ginkgo Romance,  featured on page 60, too cool!

Also bought this,

because another BFF Celine Perkins has a quilt, Sweet Morsels, on page 60!  Isn’t it amazing that I have such talented friends?  AND their quilts are both featured on page 60???  I just had to recheck that, I thought I made a mistake, weird!  Way to go girlfriends! And all three of us are featuring blocks in Quiltmaker’s 100 Blocks Volume 2 this month, remember yesterday’s post?

4.) Went to Dillard’s and bought myself a much-needed new pair of everyday shoes for winter.  But I’ll have to wear them around the house on carpet for a while just to make sure my feet are going to like them.  I tell ya, the older I get, the pickier my feet get.  Here’s hoping in a year or two I can kick myself for not buying two pair when I had the chance.

5.) Went back by printer on the way home and picked up several thousand copies of my new patterns.  Now I just have to fold them and pick up new covers Monday and get to stuffing bags.  I just made arrangements to hire my MIL Monday to help me get my order out.  OK, hire is a strong word, much more like slave labor, but don’t tell her it’s just lunch that she’s earning!

So as not to bore you anymore, here’s new pattern #3:

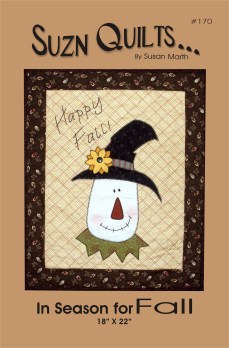
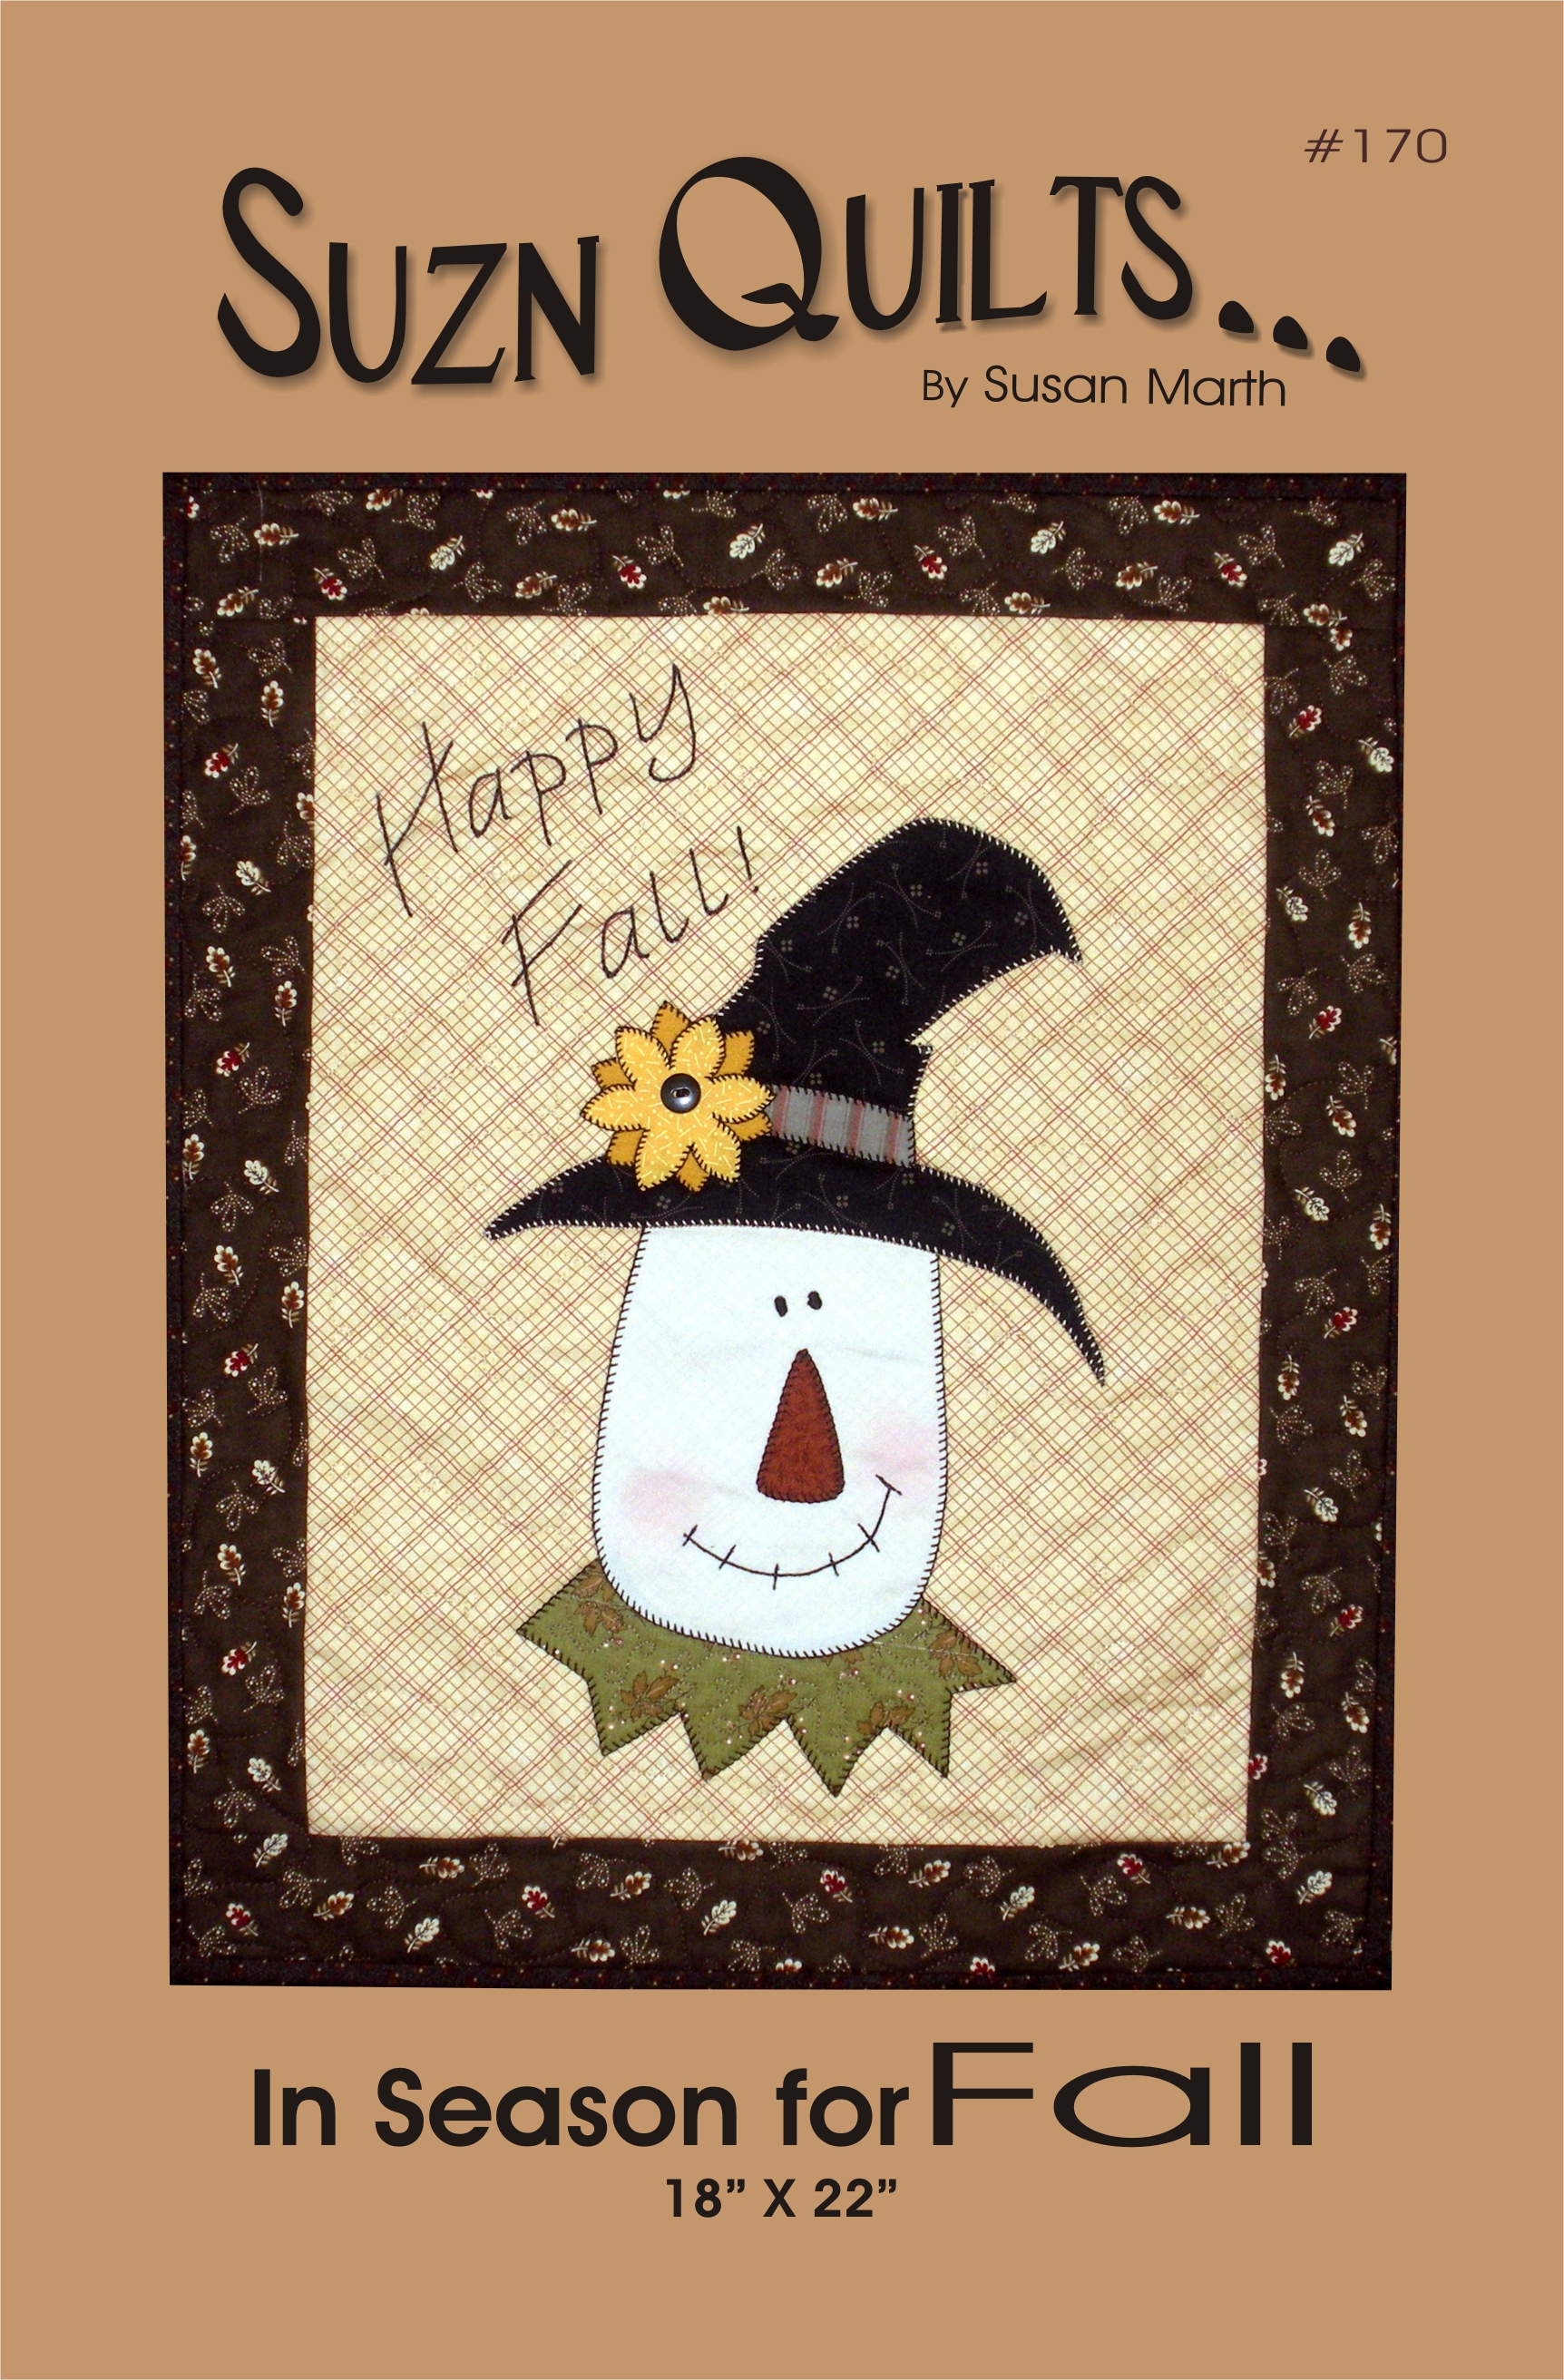
#170 In Season for Fall

Isn’t he cute?  He’s probably one of my favorites.  Once again, he’s a product of a Fall Crafts Open House of mine.  I dug out my original sketch of him and it was dated 2003.  I didn’t realize until now that these new patterns are products of my past open houses, again weird.  So they’re new patterns, but they’ve already been open house tested and approved!  I hope you like my scarecrow.  You can buy him on my website now.

Now I’m off to get dinner on the table and then to see Carol Burnett at the Fabulous Fox!  Can’t wait to tell you all about her.

Until next time,

Susan

My Life, New quilt pattern

Day #2, 5 New Patterns in 5 Days

Announcing:

I, along with 99 other designers, am featuring a block in Quiltmaker’s 100 Blocks Volume 2!  It contains 100, original 12″ blocks by different designers and contains full size patterns and setting ideas too. It is scheduled to be out Mid-November, but the blog hop that you’ll want to join in on starts Monday, November 8.  So, mark you calendar, because Quiltmaker is giving away lots of nice prizes.  Among the prizes will be the 100 autographed blocks featured in the issue.  You’ll have a chance to win a copy of the collector’s edition publication right here on my blog, Monday.

Now, back to my originally scheduled “5 new patterns in 5 days” blog…  This next pattern,

#169 Welcome to my Home

  It’s made using fusible applique.  The houses are two different sizes and the larger one I’ve also shown appliqued  on a tea towel.  I love making quick little projects like applique tea towels for gifts.  Like yesterday’s pattern, 3 Little Words, this quilt and towel were also featured at one of my holiday open houses.  I recently visited a friend of mine and she had one of these towels hanging in her kitchen.  I had stopped in unannounced at Vi’s house to give her some Christmas baking dishes for our upcoming smorgasbord bazaar for church. so I know she didn’t hang it on my account!  That got me thinking I needed to turn this design into a pattern too. 

If you’re so inclined, stop by my website and shop a bit.  More patterns in the next coming days. And don’t forget to drop by Quiltmaker’s Website and get ready for the blog tour!

Until next time,

Susan

My Life

Me, a Millionaire?

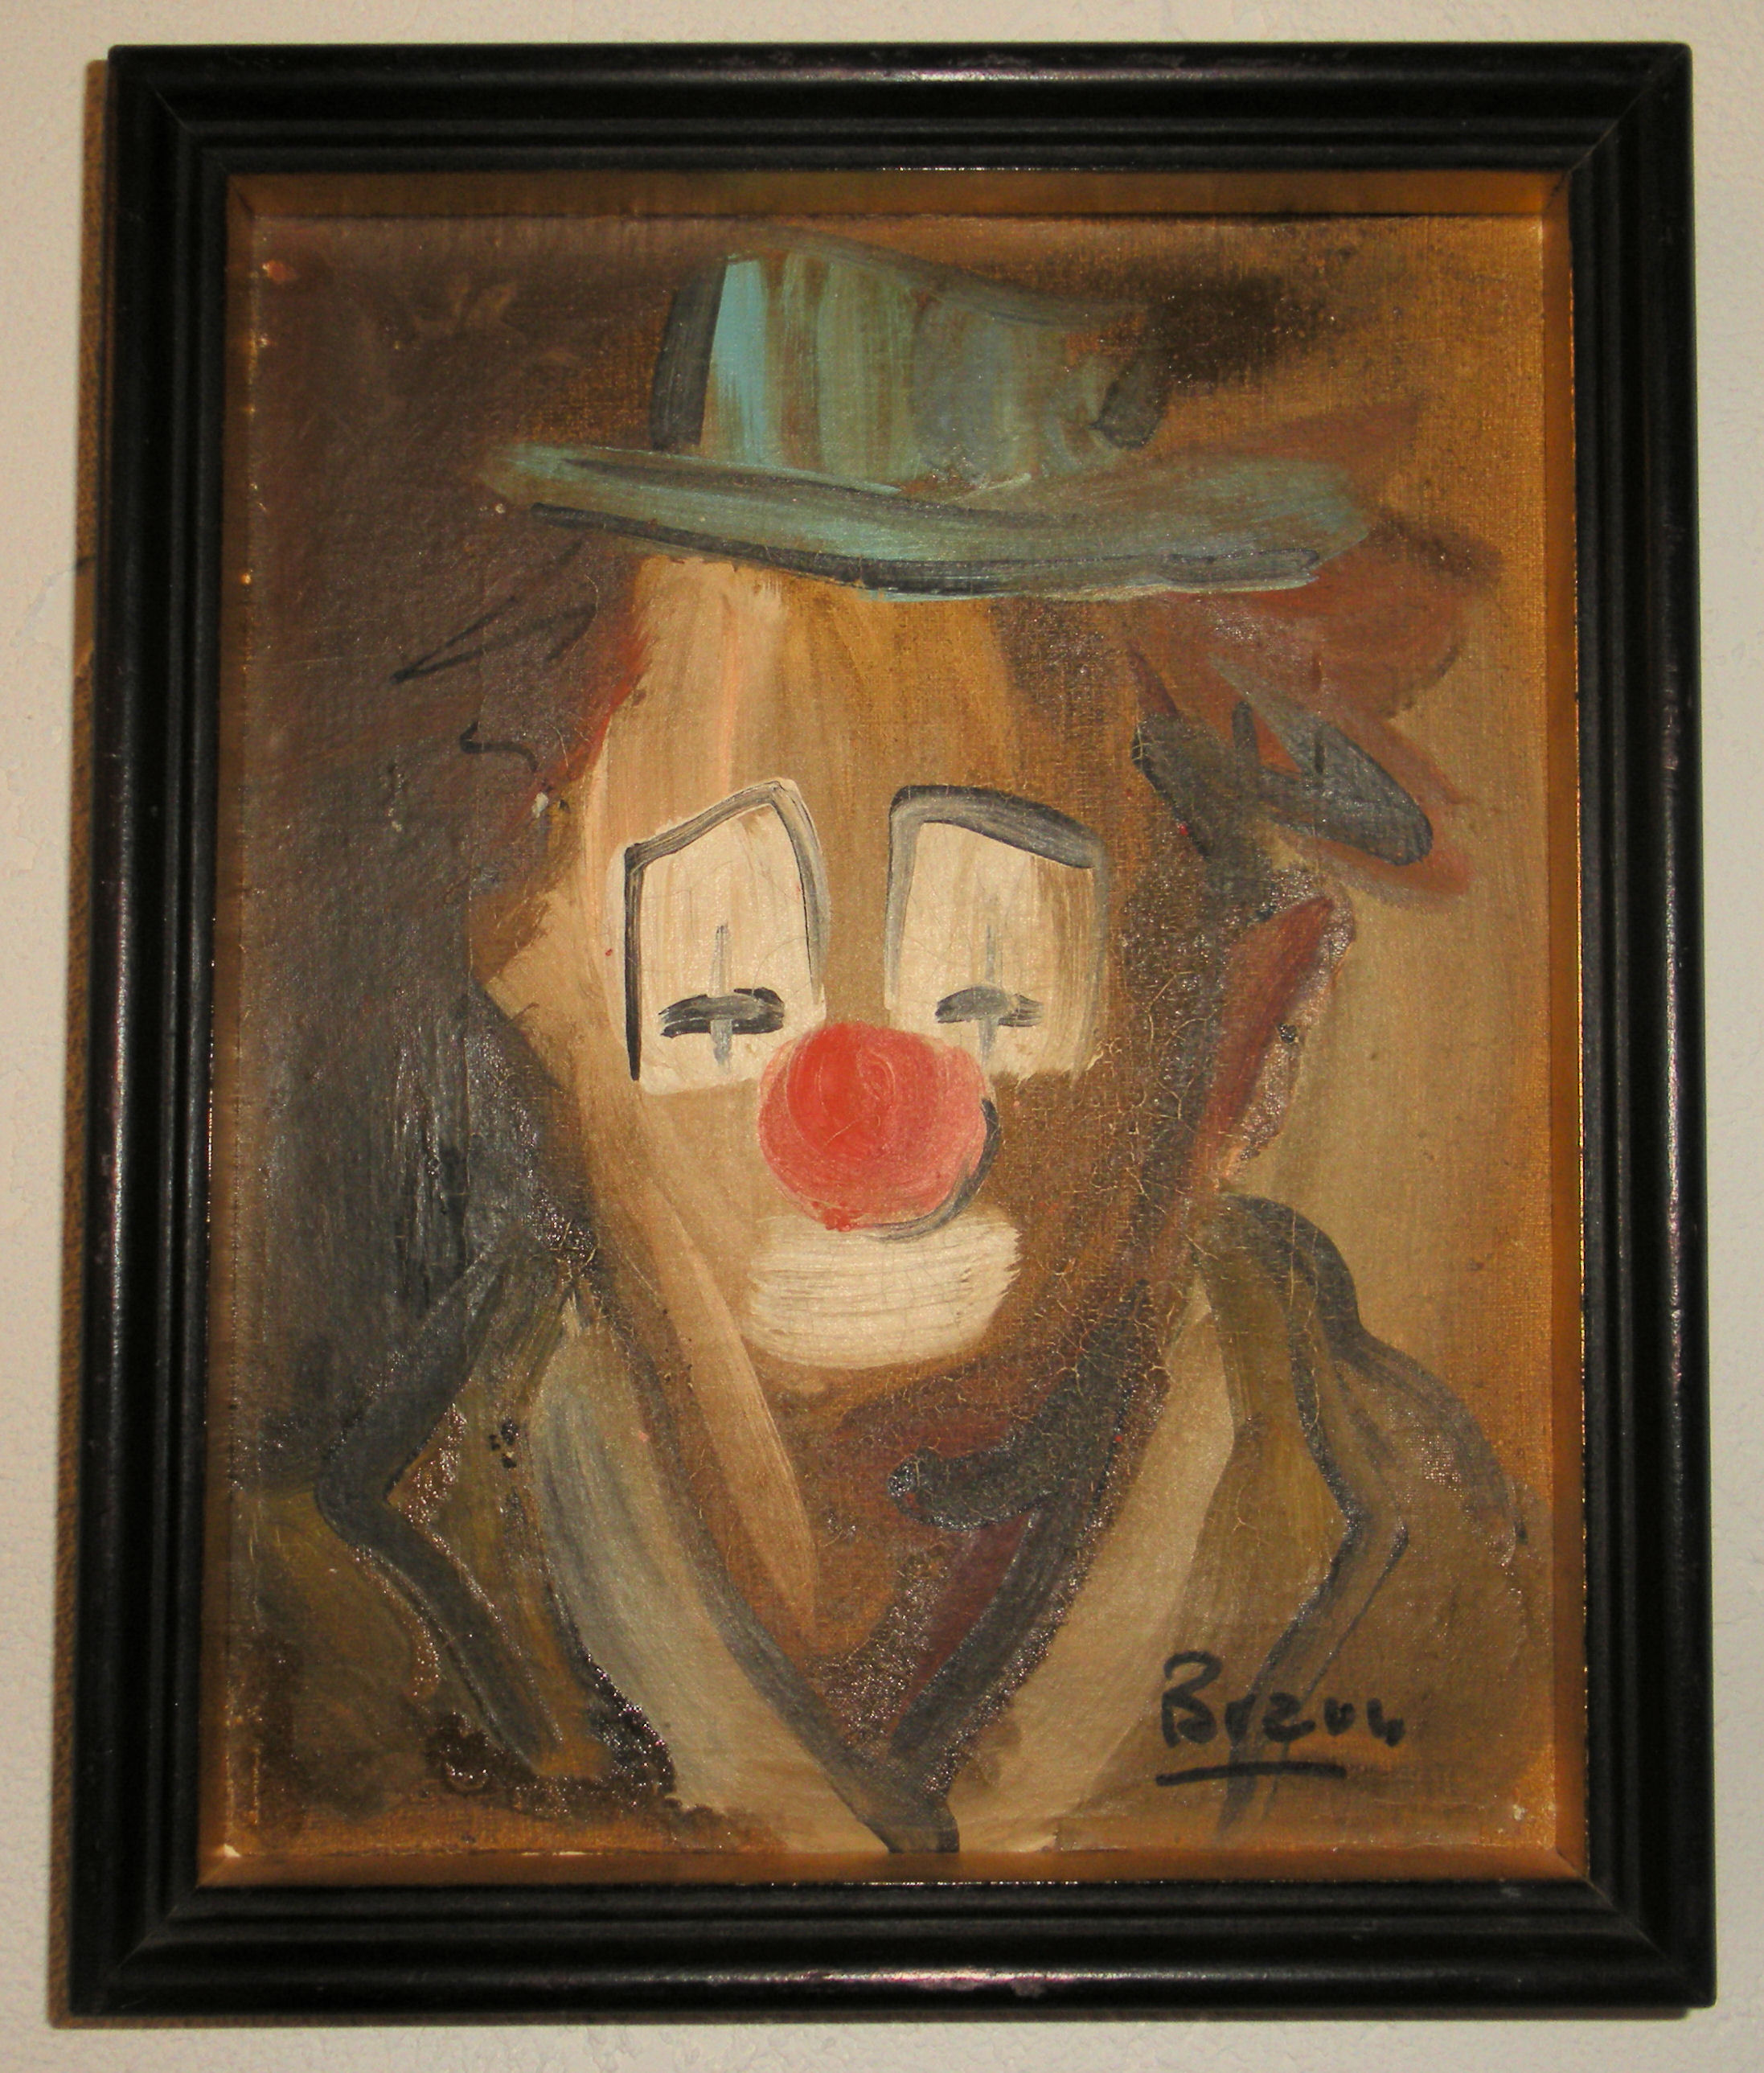
My favorite of favorite TV shows is, hands down, Antiques Roadshow.  I love watching to see if someone’s treasure is actually worth something, or if it only has personal value.  I have fun guessing out loud what the item could be worth and when I guess it right, my family swears I’ve seen that particular episode before.  OK, I’ve probably watched too many episodes when I can guess exactly how much something is worth, but really they’re just guesses.  And usually the appraisers kind of give it away. Well, it’s one thing when Great Aunt Gert’s antique turns out to be valuable, it’s not like they’re going to sell it anyway. BUT being the junker that I am, I’m a lot more excited when that $2-$10 garage/estate sale item turns out to be worth thousands or even better, tens of thousands of dollars.  That’s why last week when I helped our church sort donations for a rummage sale, and noticed the painting of a clown set amongst other priceless treasures, I decided I needed it. I first of all couldn’t believe another sorter of said treasures didn’t choose to take it home themselves instead of putting it with other like treasures, or better yet, someone else gave it away!!!   I’m sorry to admit that I know nothing about paintings.  The only thing I knew is that this was an original work of art.  The paint is a bit crackled, but if I put $1,000 into it for restoration, that could increase the value upwards of another $10,000. I couldn’t read the signature. Can You? 

Then, when I turned it over, thankfully there was a plate, and that I could read, sort of!

It says the painter’s name is Braun, I think, it’s a bit worn.  He was born in Italy, 1934.  I tried to find out something about him online, but found nothing.  I would assume he is still living.  Perhaps when I have more time, and drive, I will try again to find out more about this artist. 

For now, I’m content with the idea that this is as close as I will come to owning a Rembrandt, Van Gogh, or any other valuable painting.  That’s OK with me.  He’s a cute little clown.  The true value is really what it means to the owner, right?

Until next time,

Susan