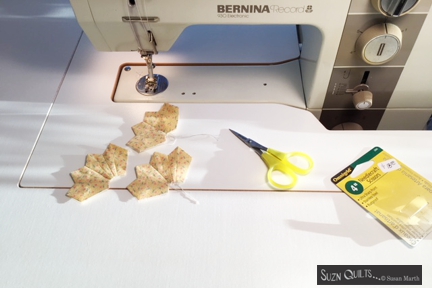
It has been fun sewing my Grunge, Seeing Stars rainbow these past two days.

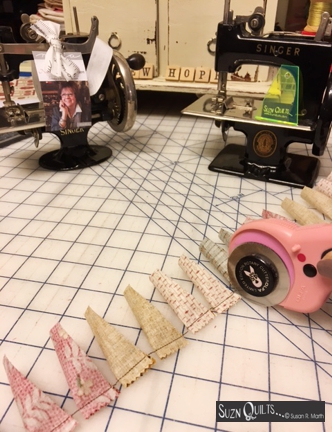
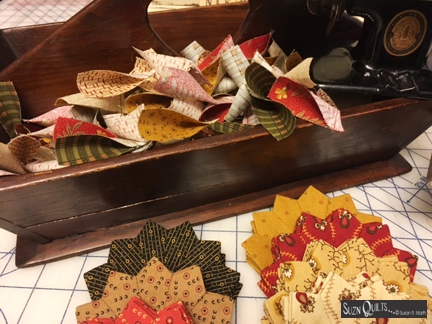
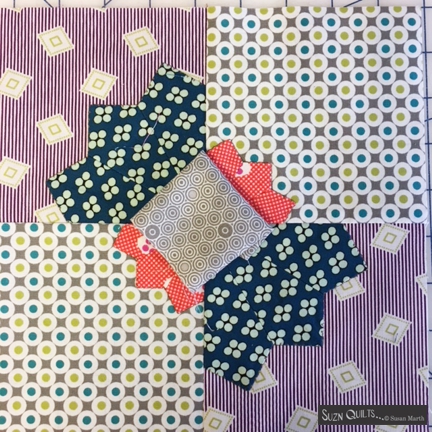
I finished the plates, then made the centers at our guild meeting yesterday.
When I got home I appliqued the centers in place
(after I replaced Mr. Too Dark Blue… he’ll have to wait for a different project)

You can see for yourself that there was no contrast between him & the pretty black center fabric.
So, I replaced him with a grey plate,
then I stitched the centers in place & dampened the centers to remove the paper templates.
During dinner we got to watch them dry.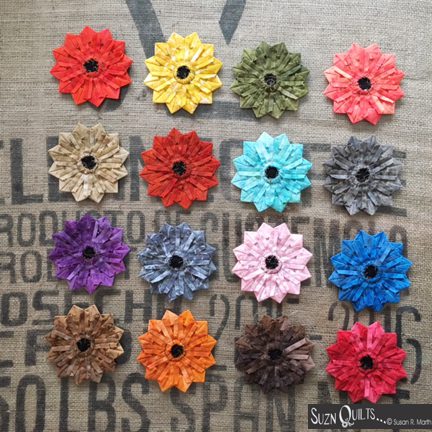
I put them on our kitchen table & turn on the ceiling fan.
It makes the drying time quick!
(An advantage of the kids growing up & moving on is that
we don’t need the whole kitchen table for dinner anymore.
I also spend less money on food… but at times the quiet is deafening!)
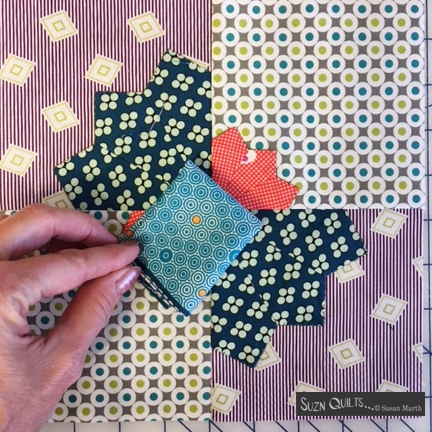
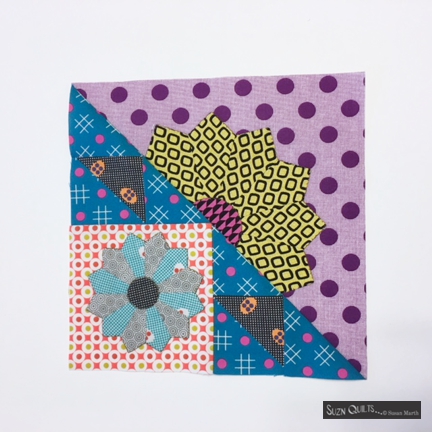
After our dinner was cleaned up I glued the plates to the background squares
then got out my box of Sulky threads & played the matching game.

That was fun!
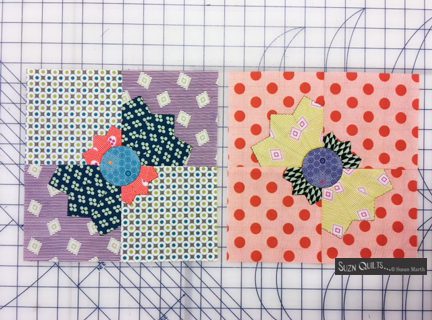
Typically I use one spool of thread, Sulky Medium Taupe #1180.
It blends with all of my “muddy” colors so well,
but these bright fabrics read as solids & all 12 petals are the same
so I wanted to match them as closely as possible.
Did you know that if your thread color is a little darker than your fabric that it actually matches better?
Try it!

Next, I stitched the plates in place.
Theresa asked about my applique stitch,
so I’ve added a couple of close-up pics here:

It’s a tiny blind hem stitch.
It takes a few straight stitches, then a zag to the left.
I adjust the stitch length really short & the width really narrow.
I had a hard time getting a pic where you could actually see the stitches
because they’re so small & the thread matches so well.
That’s the reason I use this stitch.
In my opinion it resembles a hand stitch.
In fact I’ve had multiple quilters with their noses close to my quilt adamant that I’d done the stitching by hand!
(Obviously they don’t know me at all! They just see my work!)

The stitch shows up better on this aqua plate
where the color of the fabric changes to a lighter shade.
BTW, the Sulky thread is 30 wt. cotton.
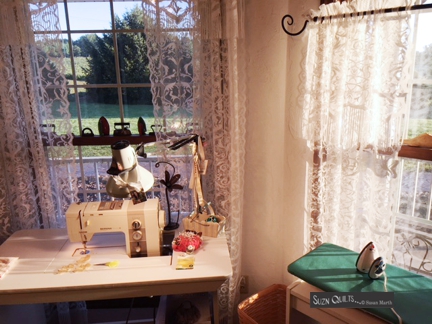
Now this morning I’m ready to assemble the rest of the blocks.
I can’t wait to see them all come together.
Must get off computer & go sew lol!!!
I hope you’re doing some stitching today too.
Just Keep Sewing…
Susan


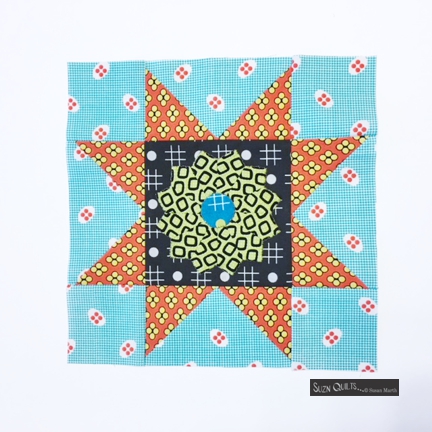
 One of my BOO patterns,


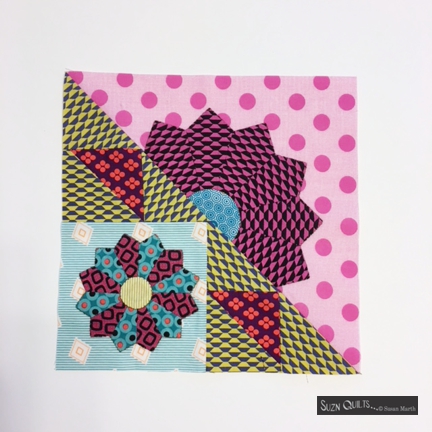


 As of this morning, this is the progress that I’ve made