Dresden Quilt Workshop Quilt-Along

Dresden Quilt Workshop Quilt-Along Week #8

Week #

Please keep posting & sending me pics of your blocks!

If you’re not part of my Facebook group, Dresden Quilt Workshop,

head over there & sign up so you too can share & see all the progress.
This week we will a refer to

Crossroads page 40.

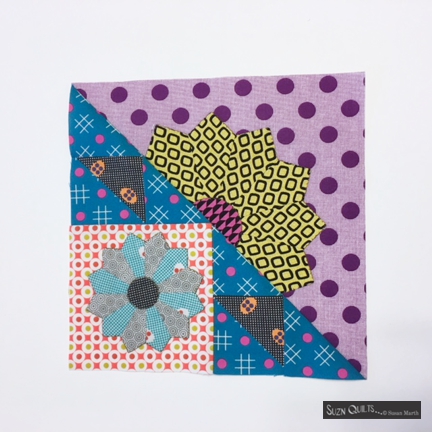
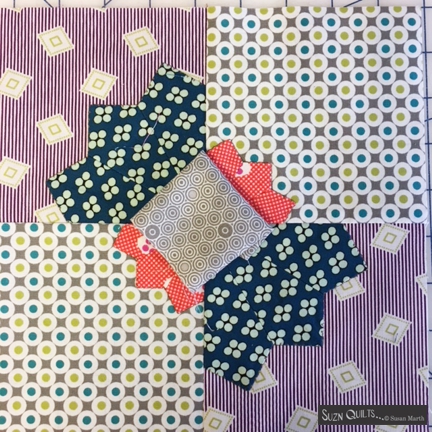
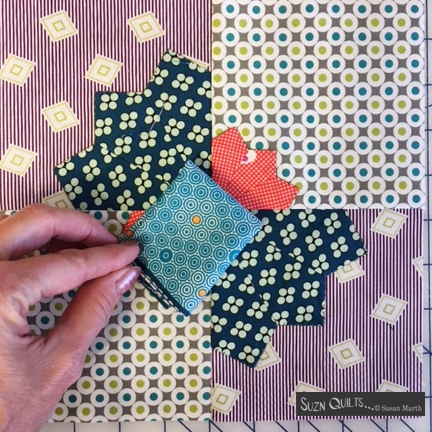
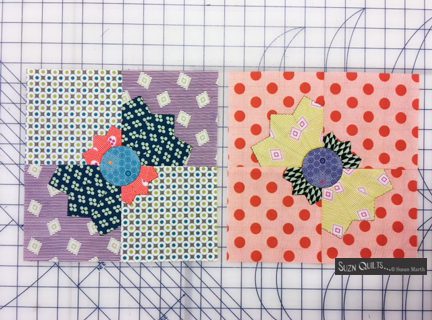
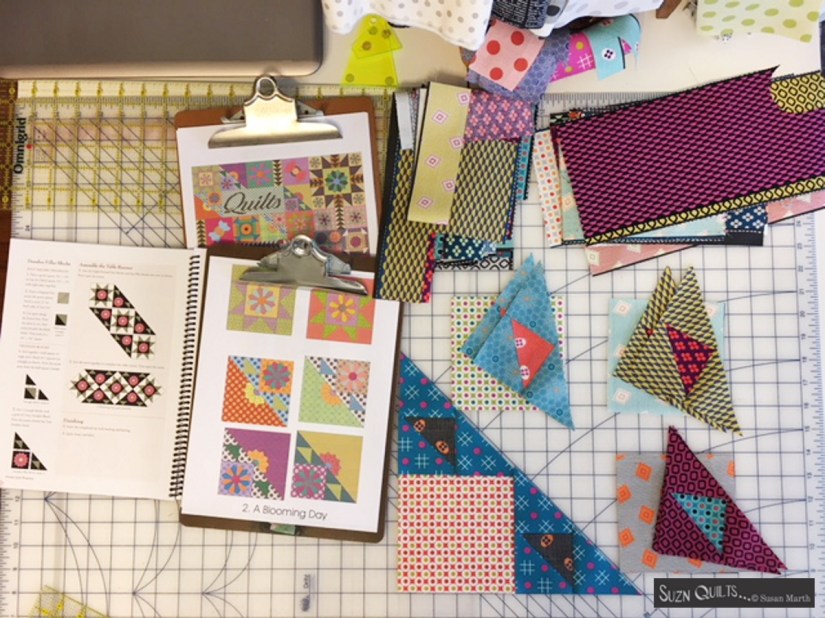
We will be making just 1 measly Tiny Dresden block

& 2 very simple 9-Patch blocks.

Simple, simple, simple.

It was so simple that I didn’t even take any pics of fabric choices.

You’re seasoned little Dresden plate makers now,

so you’ll be able to do this week’s work with 1 hand tied behind your back. Lol!

Perhaps you can use some of your extra time this week getting caught up with some of your other quilting projects.

Just Keep Sewing…

Susan


My Life, Quilt Show Vendor

Ozark Piecemaker’s Quilt Show This Week

Image may contain: text

Chloe and I will be vendors at this week’s show.

Admission is just $10 a day or $18 for all 3 days

& parking is free!

Come join the fun! See hundreds of fabulous quilts and special exhibits! Shop our vendor mall, guild boutique, and silent auction! Attend inspiring, free lectures and antique quilt bed turnings! Document your treasured quilt with a quilt appraisal! Need a short break? Visit our on-site concession areas! Hourly door prizes too!

Click here for more info if you need it.

Hope to see you there!

Just Keep Sewing…

Susan

A Giveaway!, Dresden Quilt Workshop Quilt-Along

And The Winner Is…

It’s fun to see all of the color combinations of your

Dresden Quilt Workshop Samplers

that are being sewn & shown!

Thanks for participating in my very first Quilt-Along!

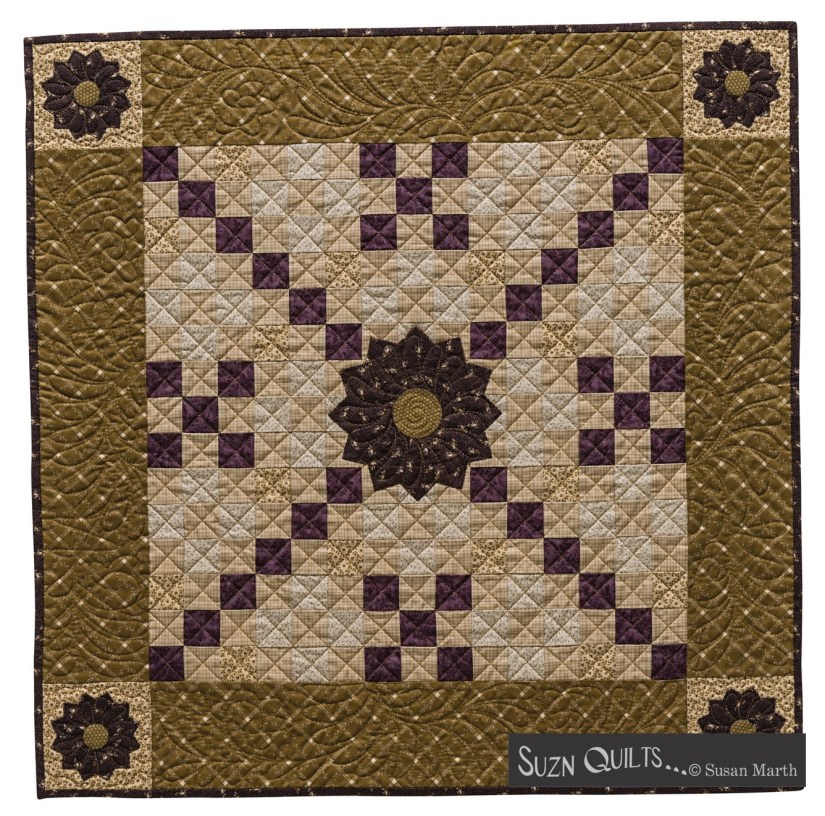
I absolutely love my quilt!!!

Jen Kingwell’s fabric is perfect &

Tamara’s quilting is stunning as always!

I know there are more of you sewing but not showing and that’s OK,

but it sure is fun watching your quilts grow a block or 2 at a time.

I decided to draw the old fashioned way,

with slips of paper with everyone’s names

& I decided to draw from my Michigan souvenir!

According to the Shedd’s happy elf,

the winner is:

I know where you live & work Karen so I can deliver!

Just let me know if the BOO pattern is OK or if you’d rather have a different $10 pattern.

There are many to choose from on my website.

Thanks again to all of you Dresden Quilt Workshop Sampler quilters!

I appreciate your support!

Just Keep Sewing…

Susan

A Giveaway!, Dresden Quilt Workshop Quilt-Along

A Give-Away For Our Dresden Quilt Workshop Quilters!

Anybody want to win some quilting loot?

(Sorry but you must be a U.S. resident to participate.)

To participate, you’ll need to:

be sewing the weekly steps of my Dresden Quilt Workshop Sampler

 &

be a member of my Dresden Quilt Workshop” Facebook Group.

Just show us your Dresden Quilt Workshop Sampler pieces Week #1-Week #6 completed.

That’s it!

If you’ve not already become a member of Dresden Quilt Workshop click & go now.

For those of you who are already caught up,

you’ll just need to comment on the post I’ll be drafting over there.

What’s the loot, you ask?

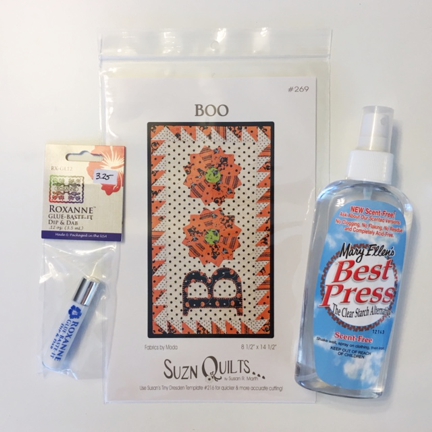
One of my BOO patterns,

A single-finger pump bottle of Mary Ellen’s Best Press

& A Dip & Dab Roxanne Glue-Baste-It.

If you already have one of my Boo patterns, another pattern will be substituted.

In case you have a bit of catching up to do…

The drawing will not be until Sunday at 6 p.m. (CST).

Yes, it’s going to interrupt my Sunday football, Lol!

Just Keep Sewing…

Susan

Dresden Quilt Workshop Quilt-Along

Dresden Quilt Workshop Quilt-Along Week #7

Week #

Please keep posting & sending me pics of your blocks!

If you’re not part of my Facebook group, Dresden Quilt Workshop,

head over there & sign up so you too can share & see all the progress.

This week we will a refer to

Widgets page 35.

We will be making 2 Widgets blocks.

The cutting instructions will be for 4 blocks, but you only need to make 2.

That’ll be enough decisions for 1 week, huh???

Lol!

Decisions, decisions…

Too light…

Too dark…

Just right!!!

Once you find “the one”

Apliquick Bars & Roxanne Glue Baste It  can help you immensely!

Just look at those seemingly perfect 2″ circles!!!

These actually come together really quickly!

Widgets #1

& Widgets #2.

I guess this one didn’t give me any static trying to work out the fabrics,

or maybe it just beat me down, because I didn’t take any pics of those decisions.

I hope you’re enjoying the process as much as I did.

Don’t forget to post your pics.

We all want to see your progress!

Just Keep Sewing…

Susan


Dresden Plates, My Sewing Room, New Notion

Sewing In The Sunshine

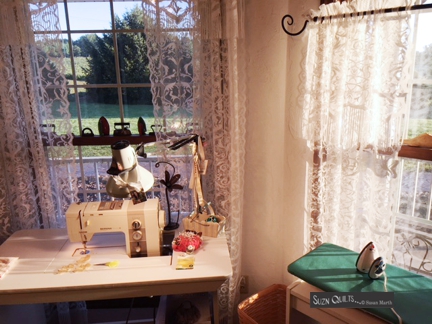
I love bright sunny days, especially when they come into my sewing room!

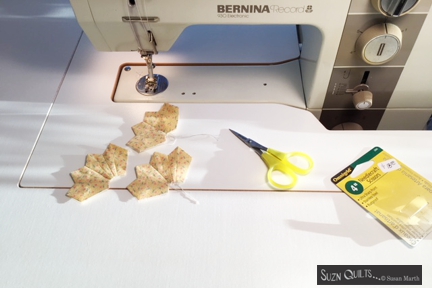
This morning I’m making a Tiny Dresden plate with the sun literally on my shoulder!

I love it when the sun comes into my sewing atelier.

It makes me smile.

Much better thoughts than when I’m thinking about summer being almost over and winter on the horizon…ugh.

Happy thoughts, happy thoughts!!!

I have a new fave tool too.

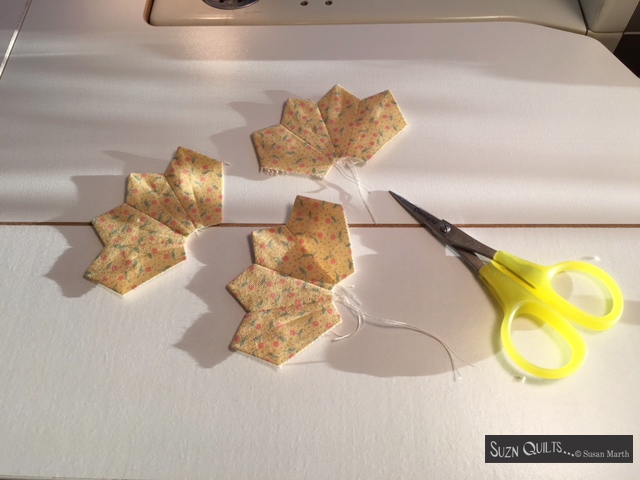
Kimberly Jolly of Fat Quarter Shop mentioned these scissors on one of her IG live sessions a while back so I thought I’d try them.

Very nice!

I know why they’re her favorite now.

They’re perfect for trimming my little Dresdens.

The very small, sharp point gets right up there next to the seam.

No thread tails here!

This morning in the sunshine I also finished sewing the binding onto the two preemie quilts that I demonstrated straight & bias binding on for our guild last night.

I made them quickly yesterday morning with a couple of orphan blocks from my Baby Love book.

Since Sue H. didn’t know I had a “baby” book I’ve added pics of the covers & a link.

It’s on my website’s “Book” page.

Lots of baby quilts including; pieced, appliqued & one of my signature quilt-as-you-go quilts plus a bag perfect for a diaper bag & bonus pillow that the applique is “free” when you make the “Baby” quilt. The letters are the negative shape that results from cutting out “Baby” for the quilt.

The preemie quilts are ready for some TV time.

Do you make charity quilts?

Our guild is very good about making all sizes of charity quilts.

I don’t do as much as I should, but I did make this one and donate it last month.

They can be quick & easy (or not so much)

& fun too when you have nice tools!

I’m so glad I also found this Dritz Might Steam Iron.

It’s so light-weight & HOT!

Perfect for the hours of repetitive ironing on my Tiny Dresden petals.

I just added the scissors ($18.50+ shipping) to my notions page on my website

& the iron ($32.00 + shipping) is there as well.

Back to the sunshine!

Just Keep Sewing…

Susan

Dresden Plates, New Pattern Sample

Have I Told You Lately, That I Love Little Dresdens???

Absolutely, cannot get enough!

I took the weekend off.

OK, at least from sewing & designing.

I still filled orders & chatted about upcoming workshops… & possible workshops.

Would your group like me to come teach for you?

I do that you know?

Check my website for ideas & pricing then send me an email or call to schedule.

Today, it’s back to business!

Betsy’s load became a lot lighter toward the end of last week.

Remember how she looked?

I have enough plates to work on at least one design.

My Flower Garden Gatherings bouquet is growing prettier each day.

So much fun!

What are you working on?

Are you sewing along with me on my Dresden Quilt Workshop Sampler quilt?

It’s not too late to join in the fun.

If you are sewing along, you’ve got one more day until I show you Week #5, so chop, chop!

Back to work for me.

Just Keep Sewing…

Susan


Dresden Quilt Workshop Quilt-Along

Dresden Quilt Workshop Quilt-Along Week #4

Week #

Please keep posting & sending me pics of your blocks!

If you’re not part of my Facebook group, Dresden Quilt Workshop,

head over there & sign up so you too can share & see all the progress.

This week’s blocks are not really in Dresden Quilt Workshop per se.

We will a refer to

Tiny and Mini Dresden Plate

Assembly Techniques, starting page 16.

We’ll be making the other half of the 4 Dresden Filler blocks from Week #3.

As per cutting instructions, page 17,

cut 4 matching sets of

6 Mini Dresden petals each.

You’ll need to cut 4 strips approx. 3 1/2″ x 12″

& use the Mini Dresden Plate Template to cut the 6 petals (24 total).

Sew the 4 sets of 6 petals each together to make the 4 half plates.

For a bit more visual to do this, refer to

Construction, page 47, following steps 2-5,

EXCEPT note that you’ll need to applique a 2″ center circle to the half plates.

(The instructions there are for Tiny Dresden half plates.)

Remember I called this a “challenge” from the start… no whining!!!

It’s fun though, right?

After you’ve removed the paper centers as directed,

cut 2 squares for the block backgrounds 10 1/2″ x 10 1/2″

that have been sprayed & pressed with Mary Ellen’s Best Press.

These will get trimmed later.

Cut them both in half diagonally.

This will yield 2 background triangles each of 2 fabrics.

CAREFULLY press each triangle in half to find the center.

You don’t want to stretch the bias edges.

Next, align then glue each half Mini Dresden plate to the center of each triangle.

Stitch in place with a tiny blind hem stitch,

or whatever stitch you’ve decided to use for applique,

with thread matching the Mini Dresden petals.
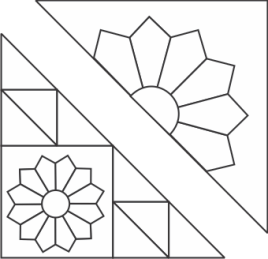
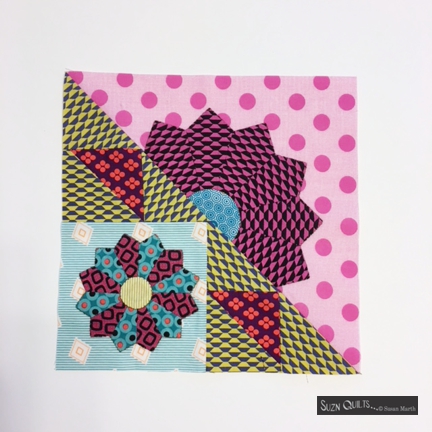
Align the center of the triangle with the center of a Dresden Filler block.

Stitch together with a scant 1/4″ seam.

Trim blocks to 9 1/2″.

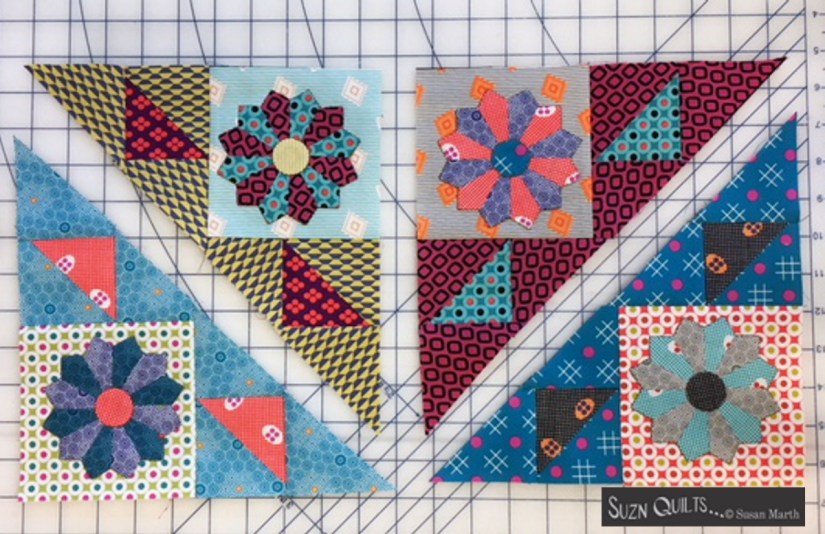
Here are my 4 blocks.
That’s all for this week.

I hope you’re enjoying making your quilt as much as I enjoyed making mine!

Email me if you have any questions.

SuznQuilts@aol.com

Just Keep Sewing…

Susan
 

Dresden Quilt Workshop Quilt-Along

Dresden Quilt Workshop Quilt-Along Week #3

Week #

Thanks for more posting & sending me pics of your first blocks!

If you’re not part of my Facebook group, Dresden Quilt Workshop,

head over there & sign up so you too can share & see all the progress.

This week we will refer to

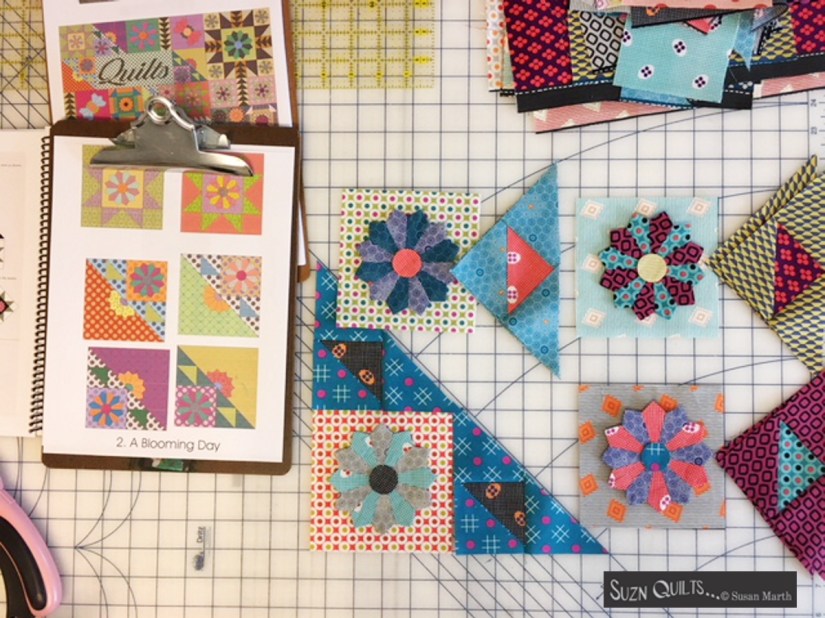
A Blooming Day quilt, page 27.

You’ll be making 4 blocks that are adjacent to our “Quilts” block from Week 1.

This is why I thought it was important to start with that block.

Do you see that now?

Between the 4 blocks,

there could be up to a dozen fabrics bumping into that block’s fabric.

The designer in me doesn’t want the same fabric bumping into itself!

This week you’ll make:

4 Dresden Filler Blocks, assembly on page 30.

Each block has a Tiny Dresden plate in the corner.

Lots of fabric selections this week, yay!

& more Tiny Dresden blocks too, double yay!

All I can say is Mary Ellen’s Best Press is one of my best friends

because it helps to keep the bias edges of these blocks stable

so my blocks will be the right size

(& the shape of a triangle, Lol!!)

when they’re finished.

My blocks & I aren’t perfect,

just precise, because of the nice tools available.

I hope you’re able to find them, but if not, I have them on my website SuznQuilts.com.

BTW, I still have kits available on my website too.

FYI, you might notice that I didn’t applique the plates to the background squares

until I was ready to assemble the blocks unlike how I made A Blooming Day in the book.

The reason is because of all the different fabrics that I used in each block.

I wanted to be able to audition the fabrics again before the final assembly.

Sometimes things don’t turn out the way I picture them in my head!

Here are the 4 complete Dresden Filler Blocks.

Spoiler alert… we may be making the other half of these blocks next week.

Come back next week & see for sure.

Just Keep Sewing…

Susan


Dresden Quilt Workshop Quilt-Along

Just 1 week ’til the start of DQW Quilt-Along

Just 1 more week!

Are you sharpening your little Dresden skills???

I recommend that you prep your fabrics

like I mentioned a couple of weeks ago.

In case you’re just now joining us,

that means spraying & ironing them with Mary Ellen’s Best Press.

I also mentioned for those of you that are using the same

Circulus & Lollies Sweet fabric collection like I used,

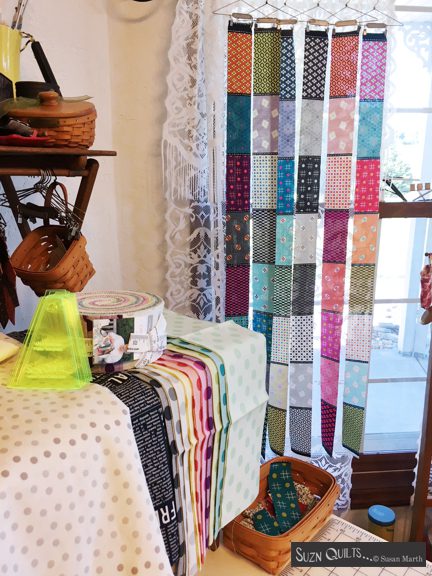
to cut 3″ strips of each of the stripe fabrics & hang

them like I did on these adorable little hangers so you can see them all at once.

Those 3″ strips of the stripe fabrics

can be used for the border.

The finished quilt is 62″ x 62″.

You’ll need a bit more than 6 strips for the border.

Do you see the one strip that is all black & gray stripes?

I didn’t want to use that one in the border.

If you don’t want to use that one either,

you’ll want to cut another strip

to use in its place as well.

(7 strips total)

Thanks Heather for reminding me to note that to everyone here!

I suggest hanging the extra strips on a hanger too

so you don’t accidentally use them before you get to the border!

Am I the only one that in a few weeks would wonder…

hmm… why did I cut this? & then use it for another part of the quilt???

Lol… NOT!

My memory stinks, so any little trick I can use to

remind myself of something I better use it…… NOW!!!

Another prep step you can do now:

(Circulus & Lollies Sweet users)

cut all of those stripe fabrics apart on the black & white or blue & white lines that separate the stripes.

Aside from the border strips I didn’t use any of the stripe prints more than 1 print at a time.

So, I cut them apart to make them more convenient to use.

But hey, it’s your quilt!

Do your own thing!

In case you already cut all of the stripes apart BEFORE cutting off enough 3″ strips for your border,

contact me & I can probably help you with that!

Aside from prepping your fabrics, please read in Dresden Quilt Workshop:

  • Perfect Tools for Perfect Little Petals, starting page 9
  • Mini Classroom, starting page 12
  • Tiny & Mini Dresden Plate Assembly Techniques, starting page 16

This will help you to jump right in next week when we start cutting & sewing.

Learning how & why I do what I do for perfect little Dresden plates will help you to have similar results!

Send me an email if you have any questions.

SuznQuilts@aol.com

Just Keep Sewing…

Susan