

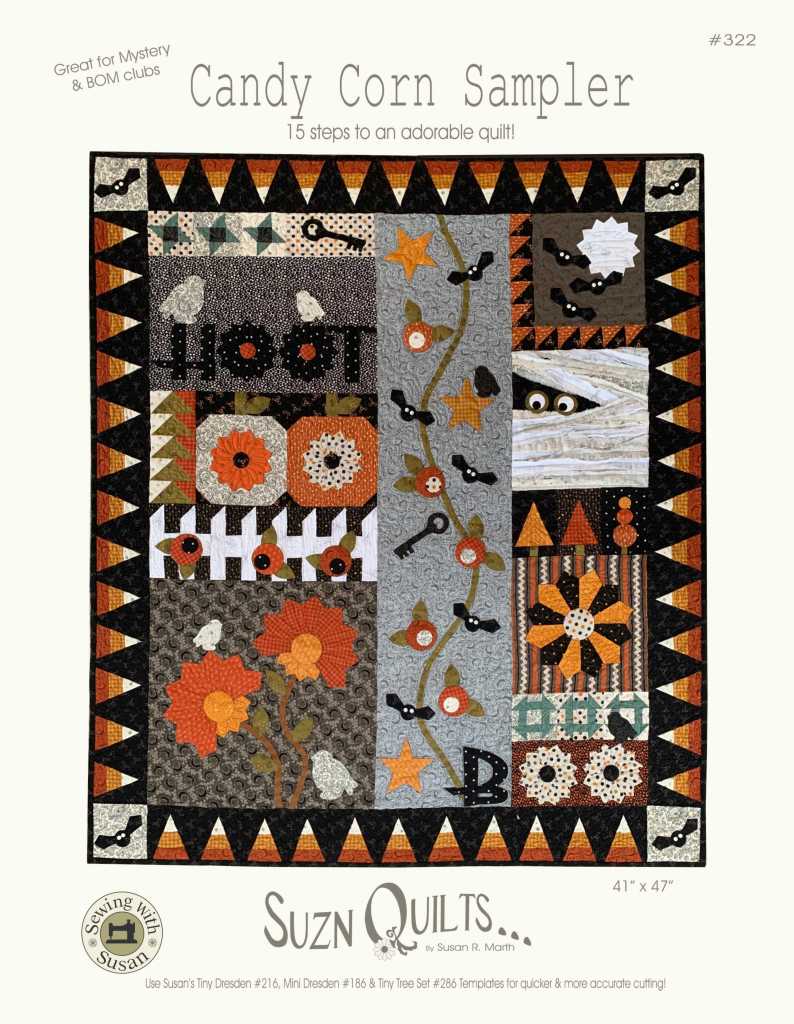
Welcome to Step 3 of making your Candy Corn Sampler!
Thanks for sharing pics on our FB group, Sewing With Susan!
Let’s start Step 3!
Tiny Dresden plates are the main topic for today.
Tip for today is to spray & iron all of your fabrics with Mary Ellen’s Best Press. Your plates will lie flatter when they’re complete.

I use the hand pump bottle when spraying yardage & the finger pump bottle when I’m spraying my finished plates or blocks. Its spray is really fine & won’t super saturate the small pieces & make them go wonky.
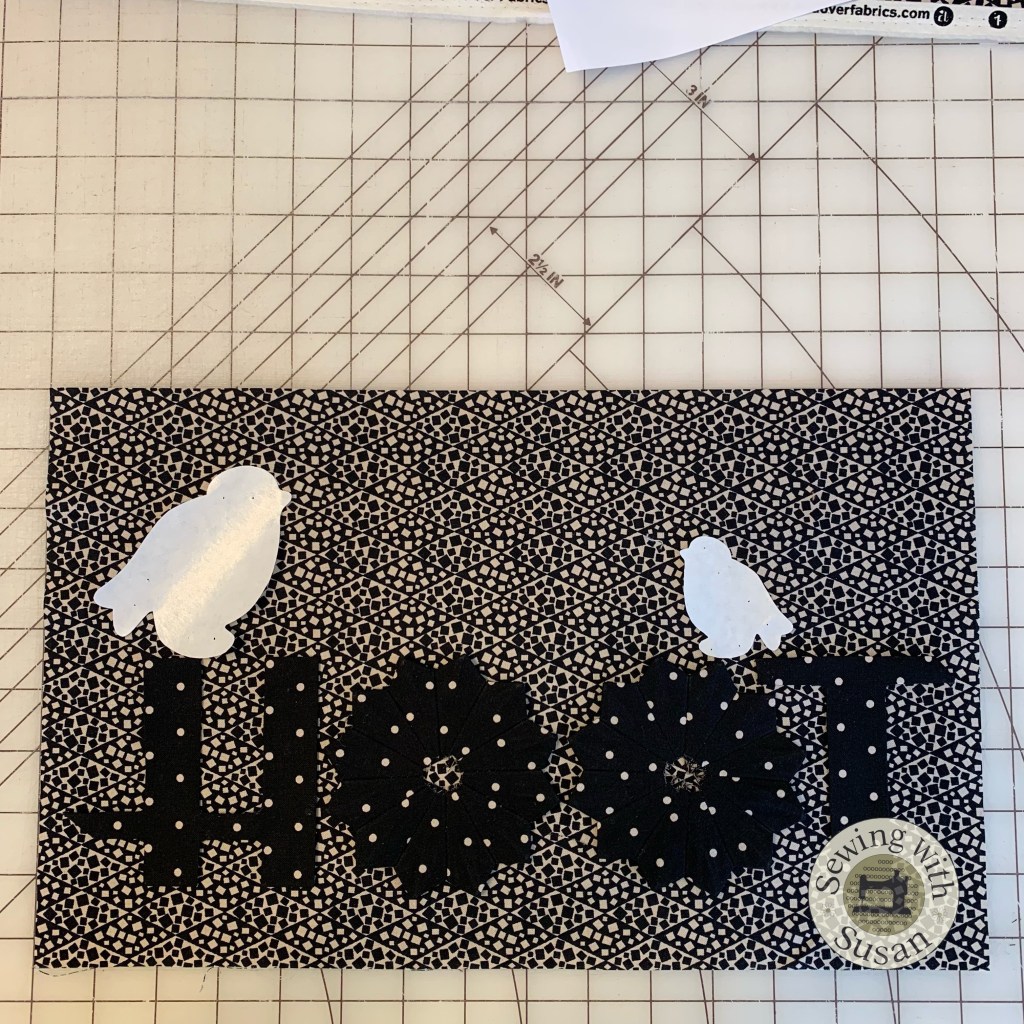
Refer to page 7, “HOOT Block” to get started.
Good news, Step 4 will be a lighter load, so if you’re feeling overwhelmed, sorry, but maybe you can use Thursday & Friday to get caught up.
I again chose to use freezer paper machine appliqué method for this block.

If, like I mentioned in Step 2, you cut multiple appliqué templates at once for the birds, you’re saving time! If not, you can still do so since there are more birds on this quilt.
Just stack up to 6 layers of freezer paper a bit larger than the shape to cut out & staple a template on top.
(Be sure the freezer paper is stacked up correctly. Notice some birds on the quilt face right & some face left, but you can cut them all at once. See notes on each block’s instructions)
Using serrated scissors helps to cut through lots of layers. I use a staple remover to remove the staple without tearing the paper layers.
You know I love this part of the quilt!
Having the right tools makes all the difference!

Use your favorite appliqué method!
Below I show how to manipulate a point with my favorite tools; Apliquick Bars. Use this short video to help with the birds.
Here I show how simple it is to manipulate a circle. Yes, simple! Just practice.
You’ll need them for the Tiny Dresden plates.
If you don’t already have Apliquick Bars & Bohin glue you can find them & all the tools that I use for my appliqué on my website by clicking here.
Be sure you have enough contrast between the background fabric and appliqué pieces then position all the appliqué on the background fabric then glue (or fuse) it in place.
“HOOT” is going to be a tight fit, just be sure you position the letters inside the 1/4″ seam allowance.

I do A LOT of fabric auditioning while designing a quilt. I originally designed this quilt with white birds so that’s where I went with them.
Choosing the right center circles is yet another decision…

My double guessing of myself just wastes time!
For some reason I thought the white birds were too stark so I made black birds.

Obviously they were too dark for me!

As you can see, my original idea of white birds was perfect! I think what makes it work is the pretty black designs in the light cream fabrics.
What I’ve learned over the years is that I like low contrast in fabrics across my quilts. You may think my quilts are too busy, if so, you probably like high or at least more contrast. Make your birds stark white, or maybe orange! lol

Good grief, grandma!!! Lol

I love of the tiny blind hem stitch* for plates & freezer paper appliqué. Done small enough it resembles hand stitching. If you don’t know what I mean, use the blind hem setting, but make the stitch length & width very small. *IF your machine won’t let you adjust the blind hem stitch, use a different one!
#1 rule, have fun oh, & ask questions!

If you’re not already a member of my Sewing With Susan Facebook group, please join & share pics.
Find the group by clicking here to join.
I can’t wait to see your HOOT blocks & your bird fabric choices!
If you have any appliqué questions you can ask them there too.
If you’re still undecided on your fabrics
you can order your Candy Corn Sampler kit today from Need’l Love by clicking here.


Just Keep Sewing…
Susan

1 thought on “Candy Corn Sampler Quilt-Along Step 3, HOOT Block”