Hot Tips

Hot Tip Tuesday #9, Keeping your Machine Clean

How many of you maintain your machine regularly?  How many of you even know you’re supposed to?  When my mom bought her Singer in the early 60’s, the man who sold it to her knew his stuff.  He taught her to maintain her machine and surprisingly enough even taught  her basic repair.  Who does that today?  Most machines are so complicated, most of them computerized, that you dare not mess with them unless you have a license! 

Well, my mom taught me some of those basics, but if I have any real trouble I call her down.  Fortunately for me she lives just down the way and is happy to help me out!  I got my love of Berninas from her.  Actually the 930  that I sew on and have been using for over 20 years was hers originally.  My mom sewed my wedding gown on it, that was a huge undertaking.  Of course being of the design mind that I am, I had all kinds of neat ideas, but no pattern was on the shelf, so…  I had bridal magazines with pictures of this sleeve, this bodice, this bottom, and a button-off train (that one was in my head! Could I be any bigger of a pain?).  Like I said, no pattern would accommodate this dress, so we went pattern shopping and bought several patterns with basic shapes of some of my big ideas, then my mom’s creative brain set to work.  Any idea where my brain came from??? 

Anyway, I’d come home from work, and she’d created a new sleeve prototype, ruffled bottom prototype, you remember the “mermaid” style dresses of the late 80’s?  Well, some days they’d be just right and some days it was back to the drawing board, but she took it as a creative challenge.  What a mom I have!  Did I mention she also sewed the whole wedding party’s dresses?  Uh ya, three bride’s maids dresses, plus my two SIL dresses who were cake cutters, and last but not least my only niece was two and so adorable that she got a green dress too! 

Oh but I digress…  Well, when my mom wanted to upgrade to Bernina’s computerized machine, I bought her 930 and have loved it ever since.   The first thing my mom showed me was this.
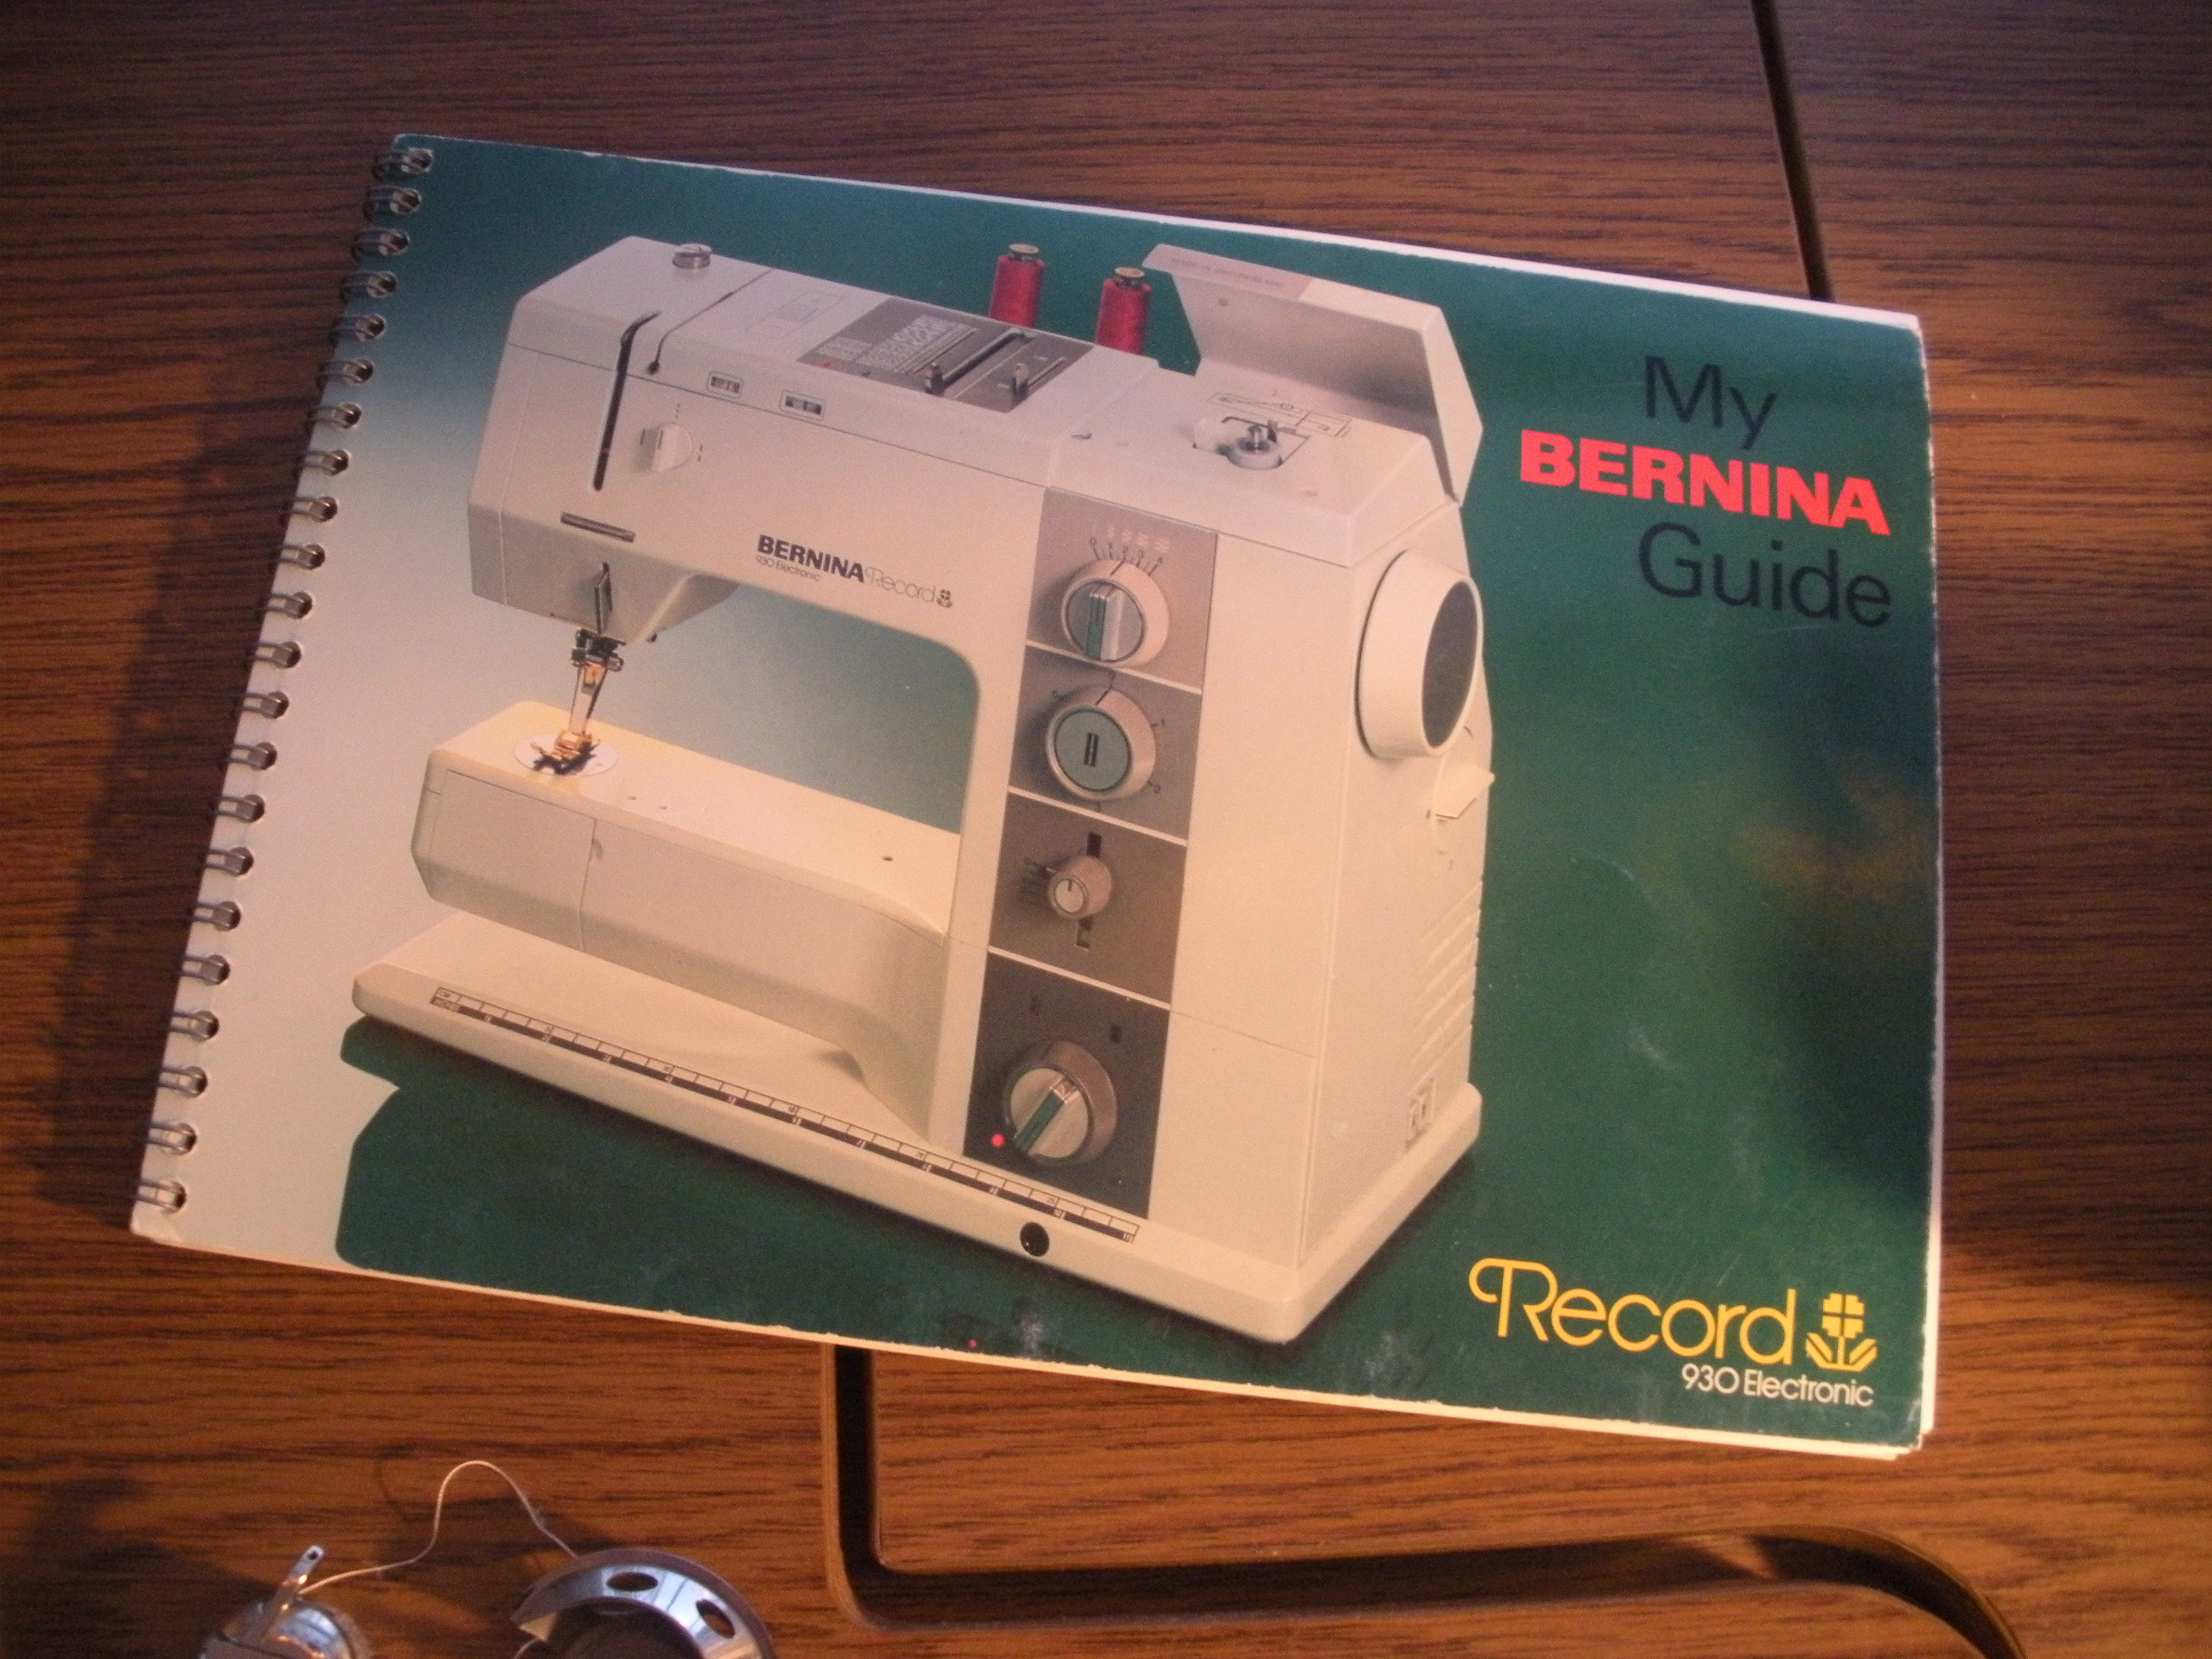
There’s a section on cleaning.  I was amazed at one of my classes several years ago when a quilter’s machine was not sewing well.  Obviously the needle was not making connection with the bobbin thread for some reason, so I opened her bobbin case and was amazed at all the lint under her stitch plate.  She had no idea she was supposed to clean the lint from the area and her machine was several years old!!!  Since that class ten years ago, I’ve encountered more quilters with the same amazement about their machine.  Some had bought their machines at big box stores, but some had bought their machine from a dealer.

So, today I’m urging you if you don’t know how or you can’t remember the last time you cleaned out your stitch plate area do it now! 

Open that little door,

Some machines open even more.  This makes cleaning all the easier.  Look at all that lint!  I just finished quilting a little quilt last night, so I knew it needed cleaning.  AND, I just cleaned this all out two days ago!!!
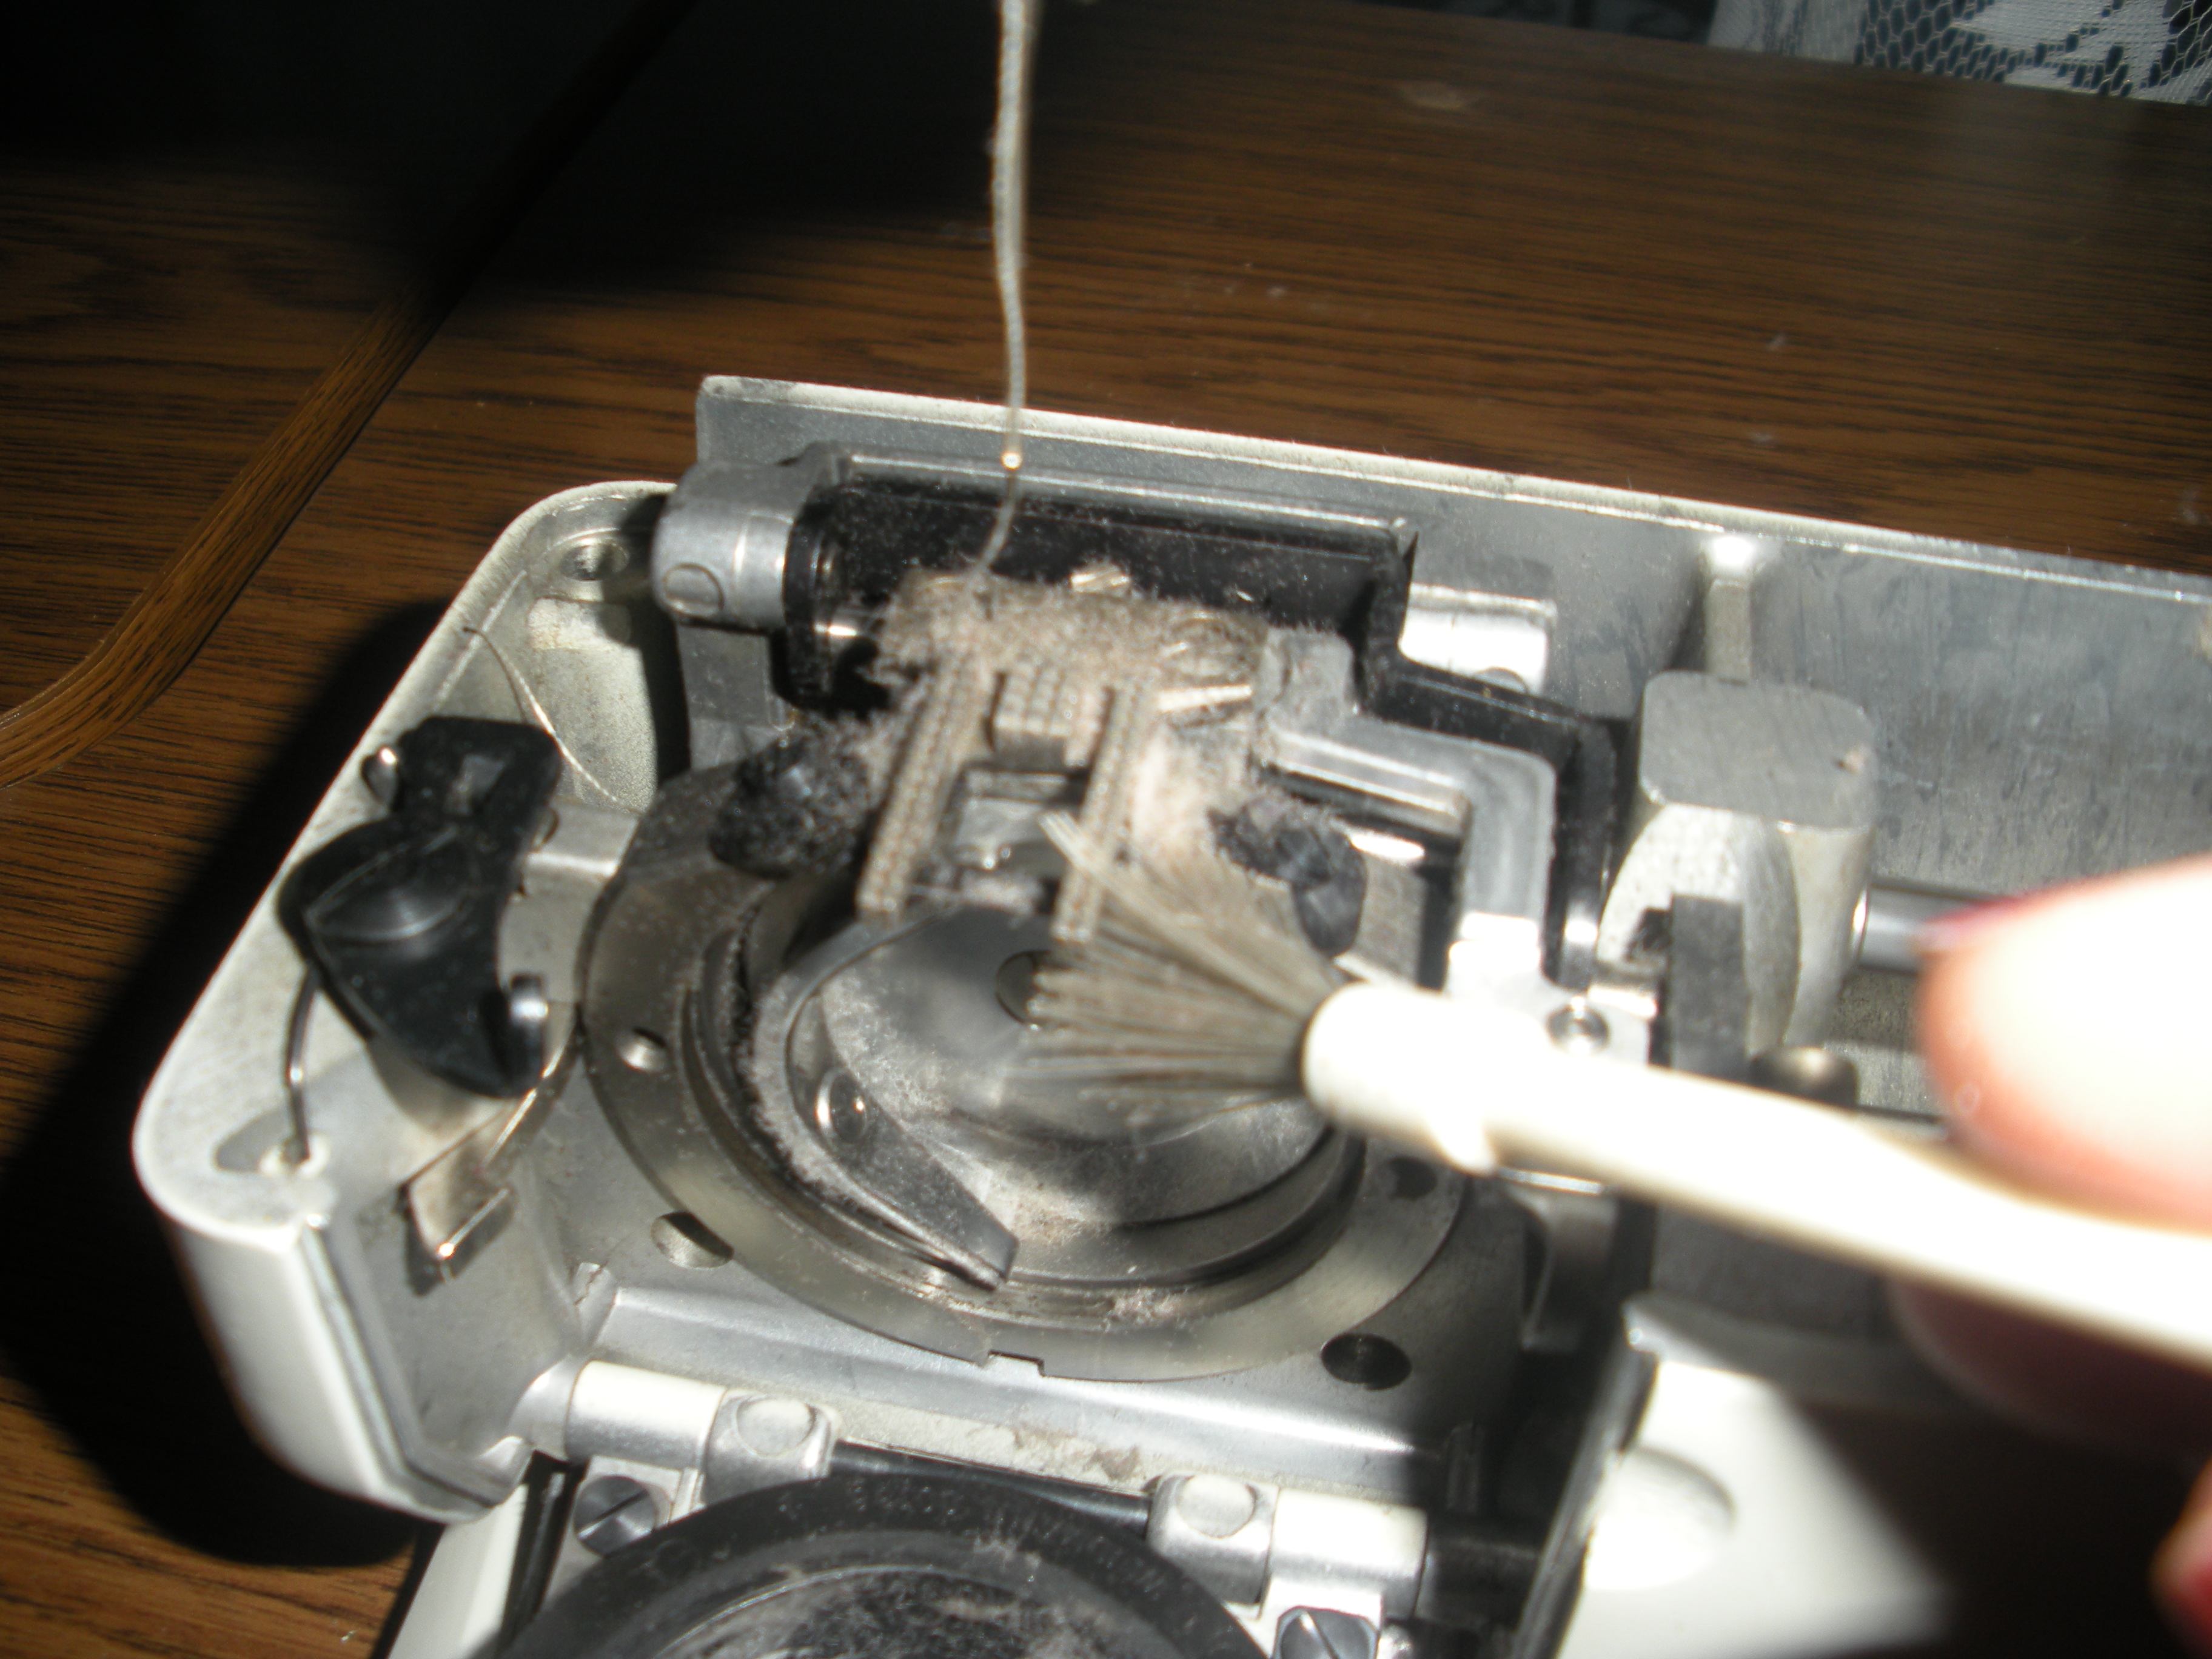
 

 My owner’s manual states that I need to do this cleaning after every 3-4 hours of sewing.  It also tells me where to put a couple drops of special oil at the same time.  My machine is basically all metal, so it needs oil to run smoothly.  Some machines do not need oil, that’s why it’s important to get out your manual.

 In addition to this cleaning, do you realize you should have your machine professionally cleaned by a reputable professional once a year?  The pros can get into your machine and deep clean it. If you do this your machine should run for a very long time. 

Until next time,

Susan

Hot Tips, My Life, Quilting Accessories I Love

Quilt-as-you-go Lap Quilt Tutorial & A Few of my Favorite Things

Being a quilt pattern designer and going to International Quilt Market at least once a year for the last six years, I’ve met a LOT of quilters; quilt shop owners and their employees, other quilt designers, fabric reps, distributor reps, notions reps, batting reps, thread company reps, and the list goes on and on. I’ve learned so much from these quilters’ experiences, plus I’ve experimented a lot myself.

This morning while mindlessly ironing my DH’s dress shirts I got an idea, (I get some of my best thinking done while doing these types of monotonous tasks, and don’t you dare tell him or he might get some of his own great ideas such as thinking that I enjoy said tasks) anyway… I thought I would list some of my favorite things and perhaps they might become some of your favorites too.

If you check out my website you’ll see a tab for “Quilt-as-you-go”.  These are all lap quilts that I’ve created using my own technique, a form of foundation piecing.  These are a few of them:

 The “foundation” is actually the batting and backing fabric cut to the size of the finished quilt, then basted together.  I like to use Sullivan’s basting spray for this.  It keeps the foundation together nicely, doesn’t gunk up my needle and there are no pins to move as I sew.  Below is a small-scale of what the “foundation” looks like basted and ready to start sewing.

The only batting I use and recommend for these quilts is Warm & Natural.  It has its own “velcro” type properties that eliminates all slipping while I sew these quilts together.

 It’s time to start sewing the strips on.  The first strip is lined up with the edge of the foundation,


The second strip is lined up on top of it, right sides together. 

 Pin and sew 1/4″ away from the inside edge of strip.  The seam is going all the way through the foundation creating the “quilting”.

Two important things to remember while stitching, 1) use a walking foot and 2) use a long stitch length.  I set my machine to the longest stitch setting (8 stitches per inch).  You’re quilting, not just sewing a seam.

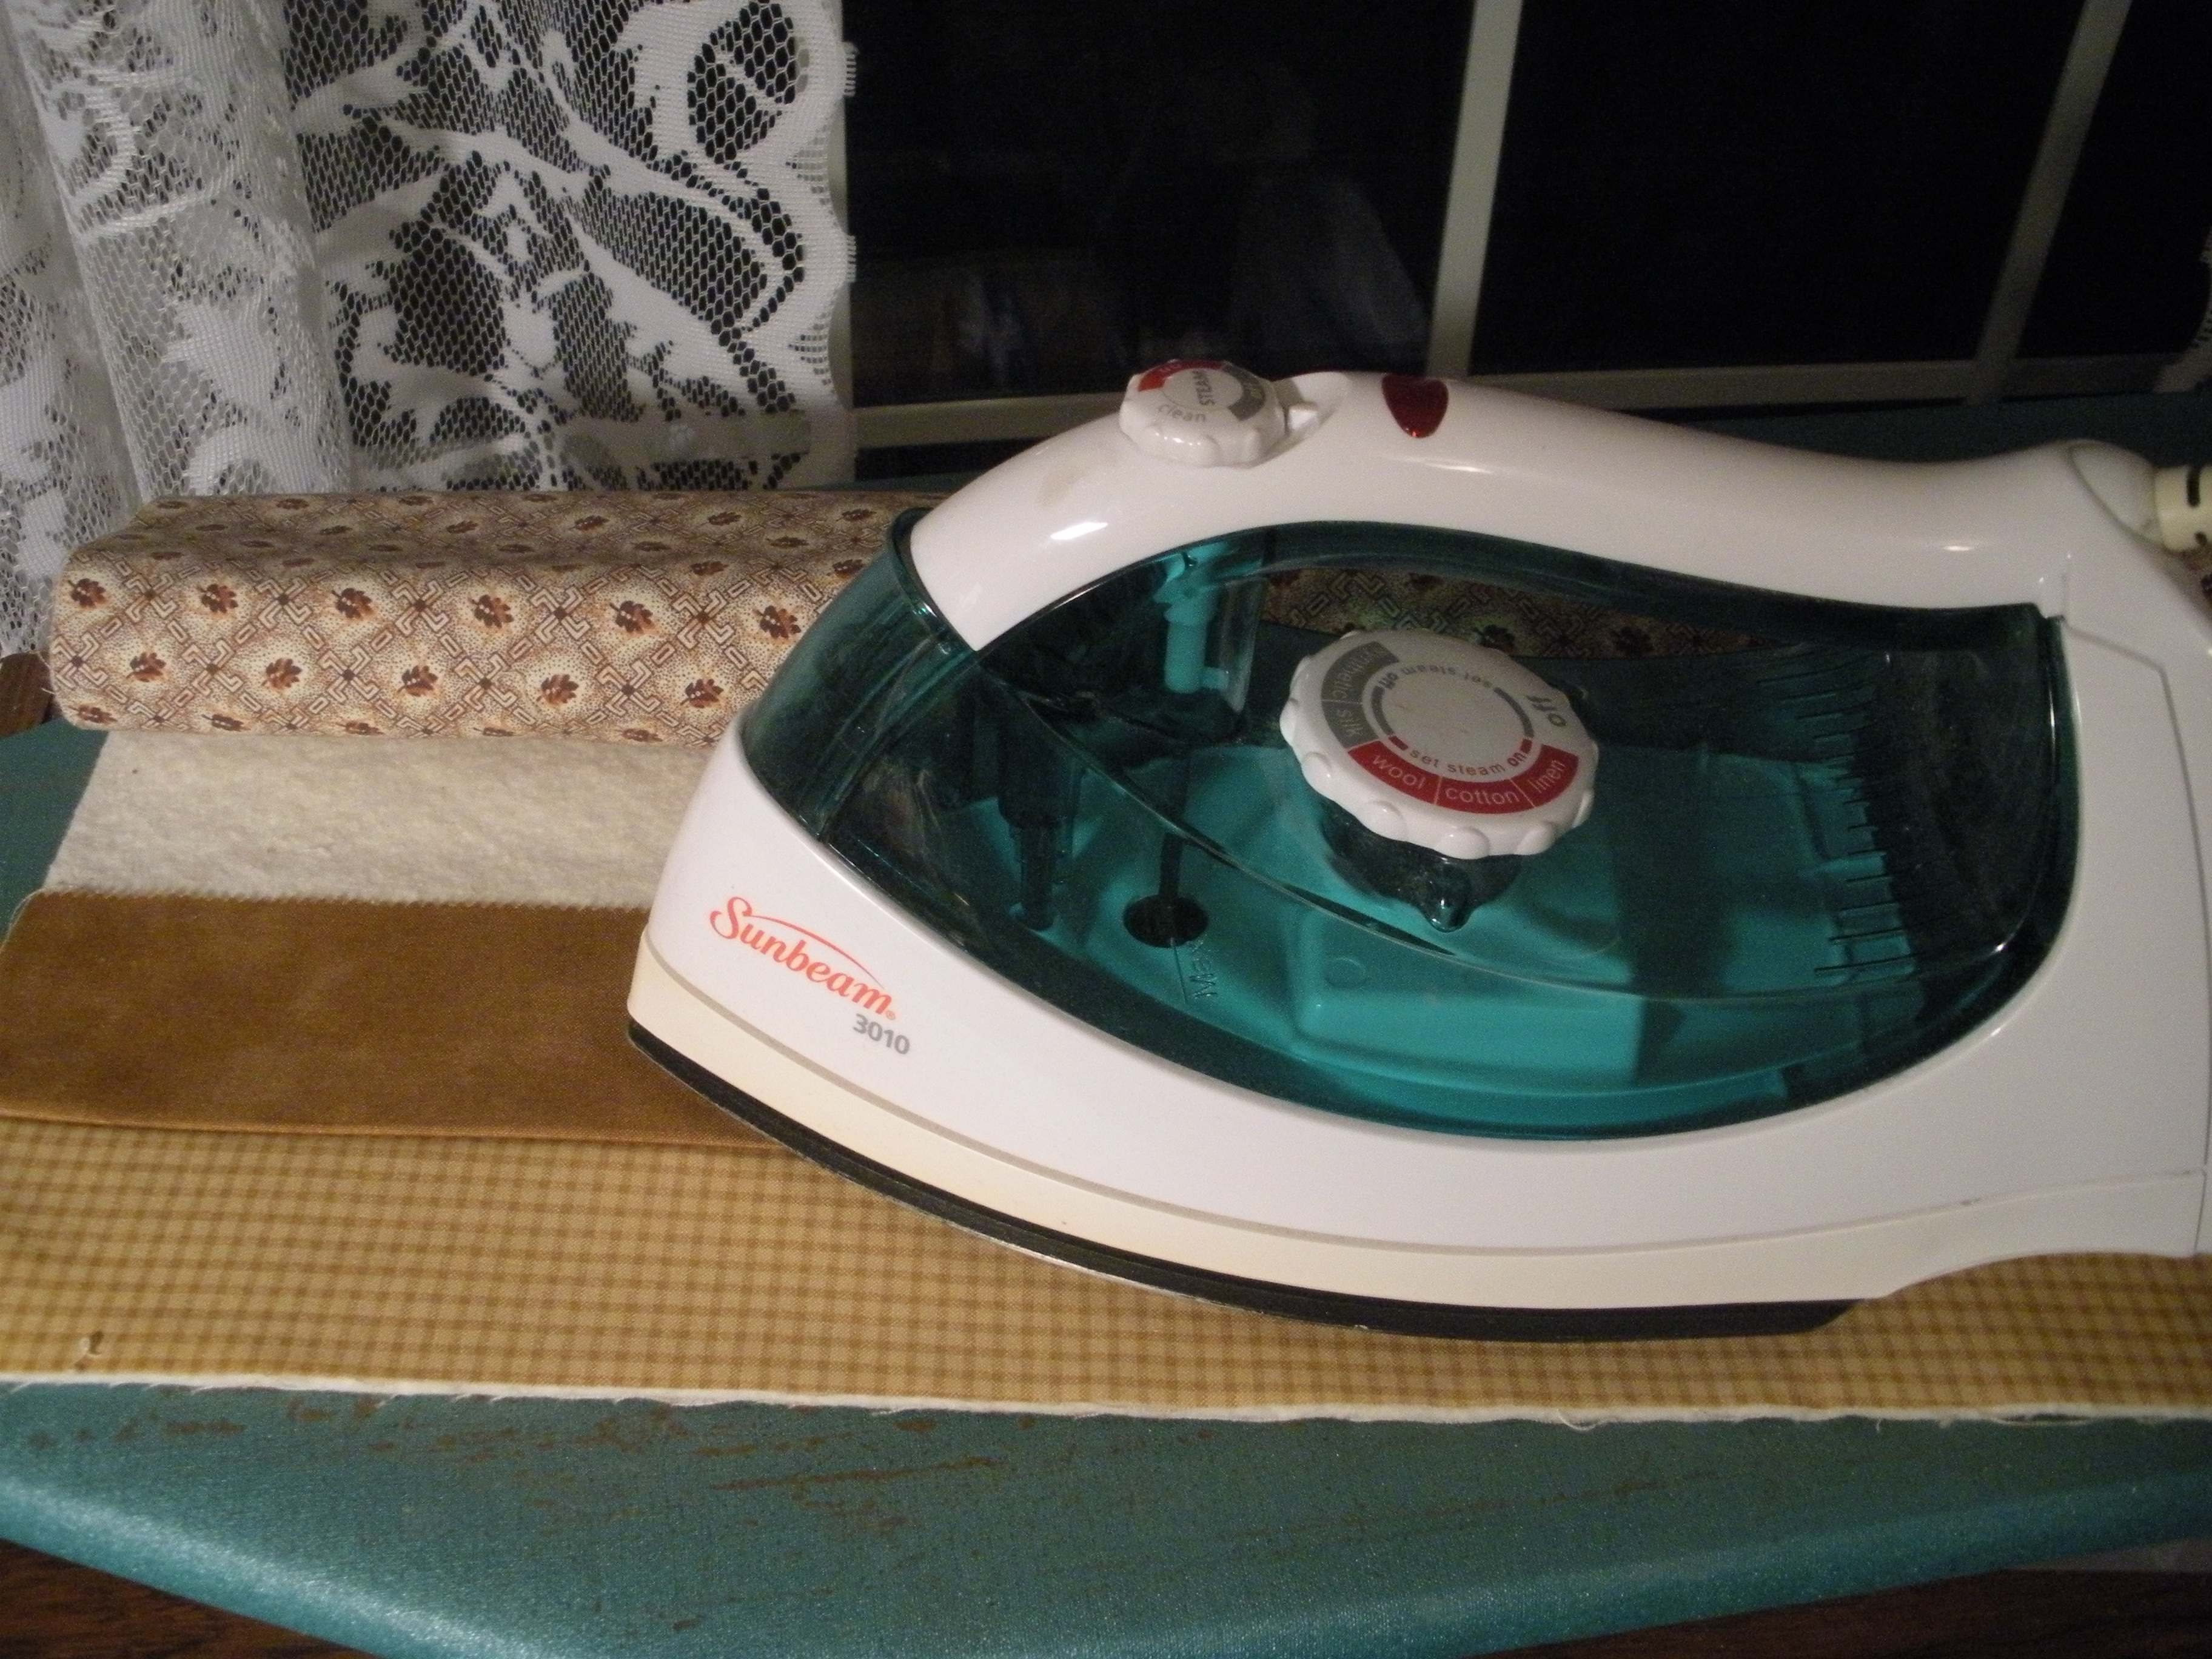
 Next comes the pressing. With the strips still flat as sewn, press, picking up the iron as you work down the strip not sliding it.  I also do not use any steam, notice empty iron!

Open the top strip out, then press again.  Be sure to not slide the iron, pick it up instead.  Continue sewing strips on in this manner.Once all of the strips are sewn onto the foundation your quilting is done.  Add the binding and the quilt is finished. 


One last favorite thing I’d like to note is a finger pin cushion.  This keeps my pins with me at my sewing machine, at the iron, and at my pinning table.  This is a big time saver for these projects.

Some of the quilts have fusible applique and therefore require a bit of stitching to add before the binding.  This stitching acts as more quilting. 

These quilts truly can be made in one day, 6-10 hours depending on which pattern you choose. Several of the patterns are designed for jelly rolls and charm squares which really minimizes your cutting time.  They make great gifts because they’re not a huge time or money commitment.

If you don’t already use my favorite things, go to your local quilt shop and ask for them. Perhaps my favorites will become your favorites.

Until next time,

Susan
 

Family Time, Hot Tips, My Life

Hot Tip Tuesday #8, Artificial Memory

Ok, this is not a quilting tip BUT I’m a quilter and it’s a tip that has helped me from year to year to get my Christmas decorations in order.  With the help of family & friends, my Christmas decoration stash is really robust.  Over the years I’ve adjusted how I decorate for Christmas based on my favorite decorations and the energy levels of me and my helper(s) at the time.  This digital era that we live in has helped me “remember” or perhaps helped me with what I can’t seem to remember!

Several years ago I decided to photograph some of my Christmas favorites and how I displayed them.  This was actually before my digital cameras.  I had the photos printed and put them in various boxes with their decorations so I could recreate an idea that I could barely bring myself to disassemble the year before.

So getting to my tip, I suggest taking photos of these settings or vignettes of sort and store printed copies until next year.  Today I took some photos to show you some of my favorites.

This is the top of our refrigerator.  It’s one of two collections that prompted me to start these photos.  I made the lighted buckets several years ago for one of my Christmas open house events.  Fortunately for me I made enough that I had leftovers!

 This is a shelf full of Christmas also in our kitchen.  This menagerie is full of handmade goodies from Heidi, Ruthann and myself, plus little things I’ve picked up here and there that I absolutely love!

This is atop the pie safe of sorts that my father-in-law made for me several years ago.  The folk art building trio is a newly acquired Christmas gift from my good friend Kathy.  They will stick around after the Christmas decorations are put away, I just couldn’t help but tuck it into this selection of red and green delight.

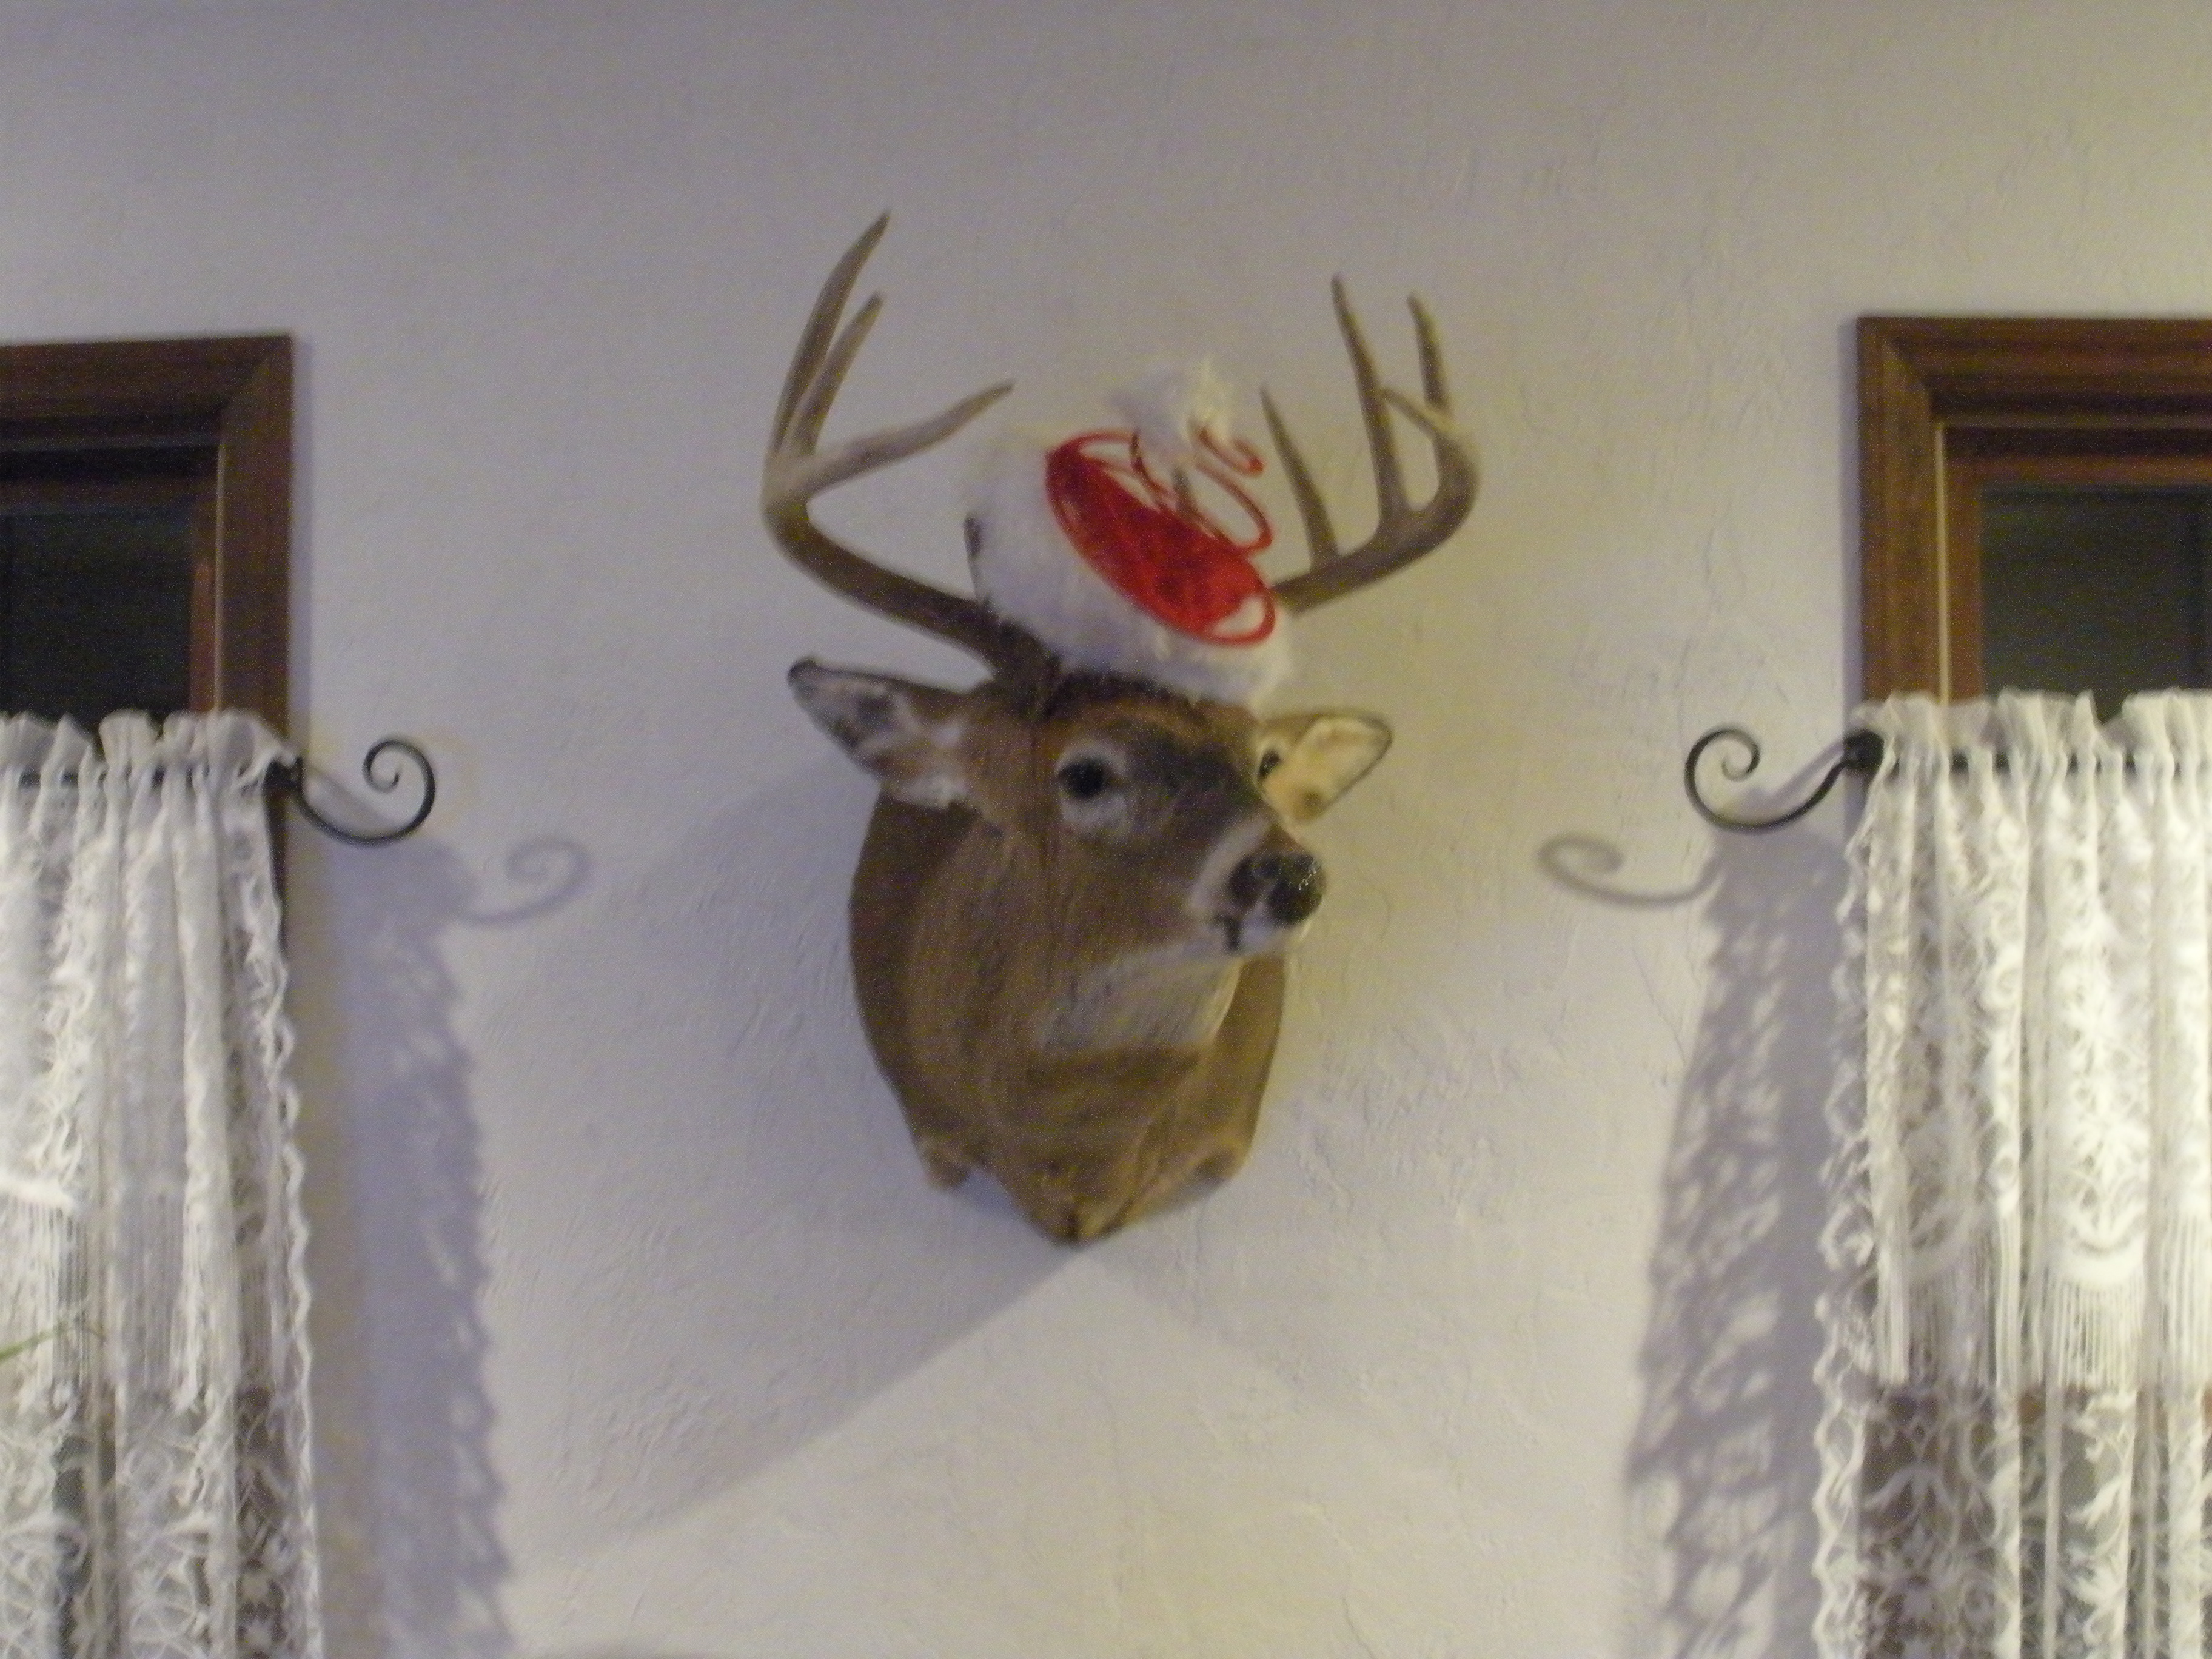
And last but not least, I couldn’t resist putting a bit of Christmas cheer on this guy (much to my husband’s chagrin).  He has no name, but he hangs proudly in our livingroom. For those of you who’ve never met my husband David, he enjoys hunting almost as much as I enjoy quilting!

I hope you’ve enjoyed my artificial memory.  As one of my college professor’s signs so accurately stated, “Artificial intelligence is better than none at all!”  Funny how I can’t remember what I had for breakfast most mornings (not this one though it was iced sugar cookies at my MIL’s house) but I remember this clever quote from 25 years ago!

Until next time,

Susan 
 

New Quilt Pattern Magazine

Happy New Year 2011 & And The Winner Is…

Happy New Year!

Thank you to everyone that checked out The Quilt Pattern Magazine website and commented on my blog these pasts weeks.  I know it’s going to be fun to receive an on-line magazine full of new projects and not worry about clutter or recycling.

Using a number generator, the lucky winner of a year’s subscriptions is:

 M  Rosemary Dempster, Congratulations!

You have until January 31st to claim your prize of a year’s free subscription at The Quilt Pattern Magazine.  To those of you who are not winners, you can still get a great magazine at a wonderful price just by subscribing.

Until next time, Happy New Year!

Susan


New quilt pattern

New Pattern, In Season for Love

I’ve been showing bits & pieces of my latest pattern sample with previous posts, and now the sample and pattern are complete:

In Season for Love is now available on my website and possibly your local quilt shop too!  When I took the patterns to a local shop, a quilter bought a pattern as soon as she saw it!  She has a wedding coming up and thought it would make a nice wedding gift.  She already had one of my “In Season for Fall” patterns in her possession to buy.

Start to finish, it took me longer to choose the fabrics than to make the whole sample! 

What do you think???

Until next time,

Susan

Hot Tips

Hot Tip Tuesday #7, Cameras as Help

Having a design wall in your sewing room can be a real handy tool to have, but my sewing room does not have enough wall space to devote to one.  I typically use the floor just outside my room to lay out quilts in progress. Since I can only get so far away from the project I’m working on, I use my digital camera and take a photo of my project.  I then look at the project on the monitor of the camera to make decisions.  The photo gives the illusion of standing back from the design.  It’s easier for me to use this perspective to make decisions of fabric choices, border sizes, etc.

For quick decisions, I also use the film camera (no film anymore) just to “stand back”.  Looking through the viewfinder, I can check progress of small aspects of a design, or for choosing quilting thread colors.  If I can’t see detail in this manner, I know I need to step things up a notch.

I hope this helps you with your next decisions!

Until next time,

Susan 
New Quilt Pattern Magazine

New Quilt Pattern Magazine!

Welcome to:


In case you’ve not yet heard, there’s a new quilt magazine;

It’s totally on-line, totally new, starting in January and it could be yours totally free for the first year!!!  What’s up, you ask?

Well, for just $11.99 you’ll get a 1 year subscription of 12 issues, plus one extra issue!  It will be sent in pdf format so that you’ll instantly be able to access each issue “hot off the press”.  It’s totally green and fast.  And if you subscribe by Dec. 31st you will receive 14% discount!  But if you go to The Quilt Pattern Magazine website right now and then come back here and leave me a comment, you could win a year’s subscription for FREE!!!

Please note, my comment tab is at the top of my post, near the date & post title.  I’ll be drawing a name January 1st.

Good luck & until next time,

Susan
Hot Tips

Hot Tip Tuesday #6, Binding Clips

I love putting the binding on a quilt.  Wanna know why?  When I get to the binding, that means the quilt is almost finished.  Nothing is better than finishing the quilt and standing back to take a look.

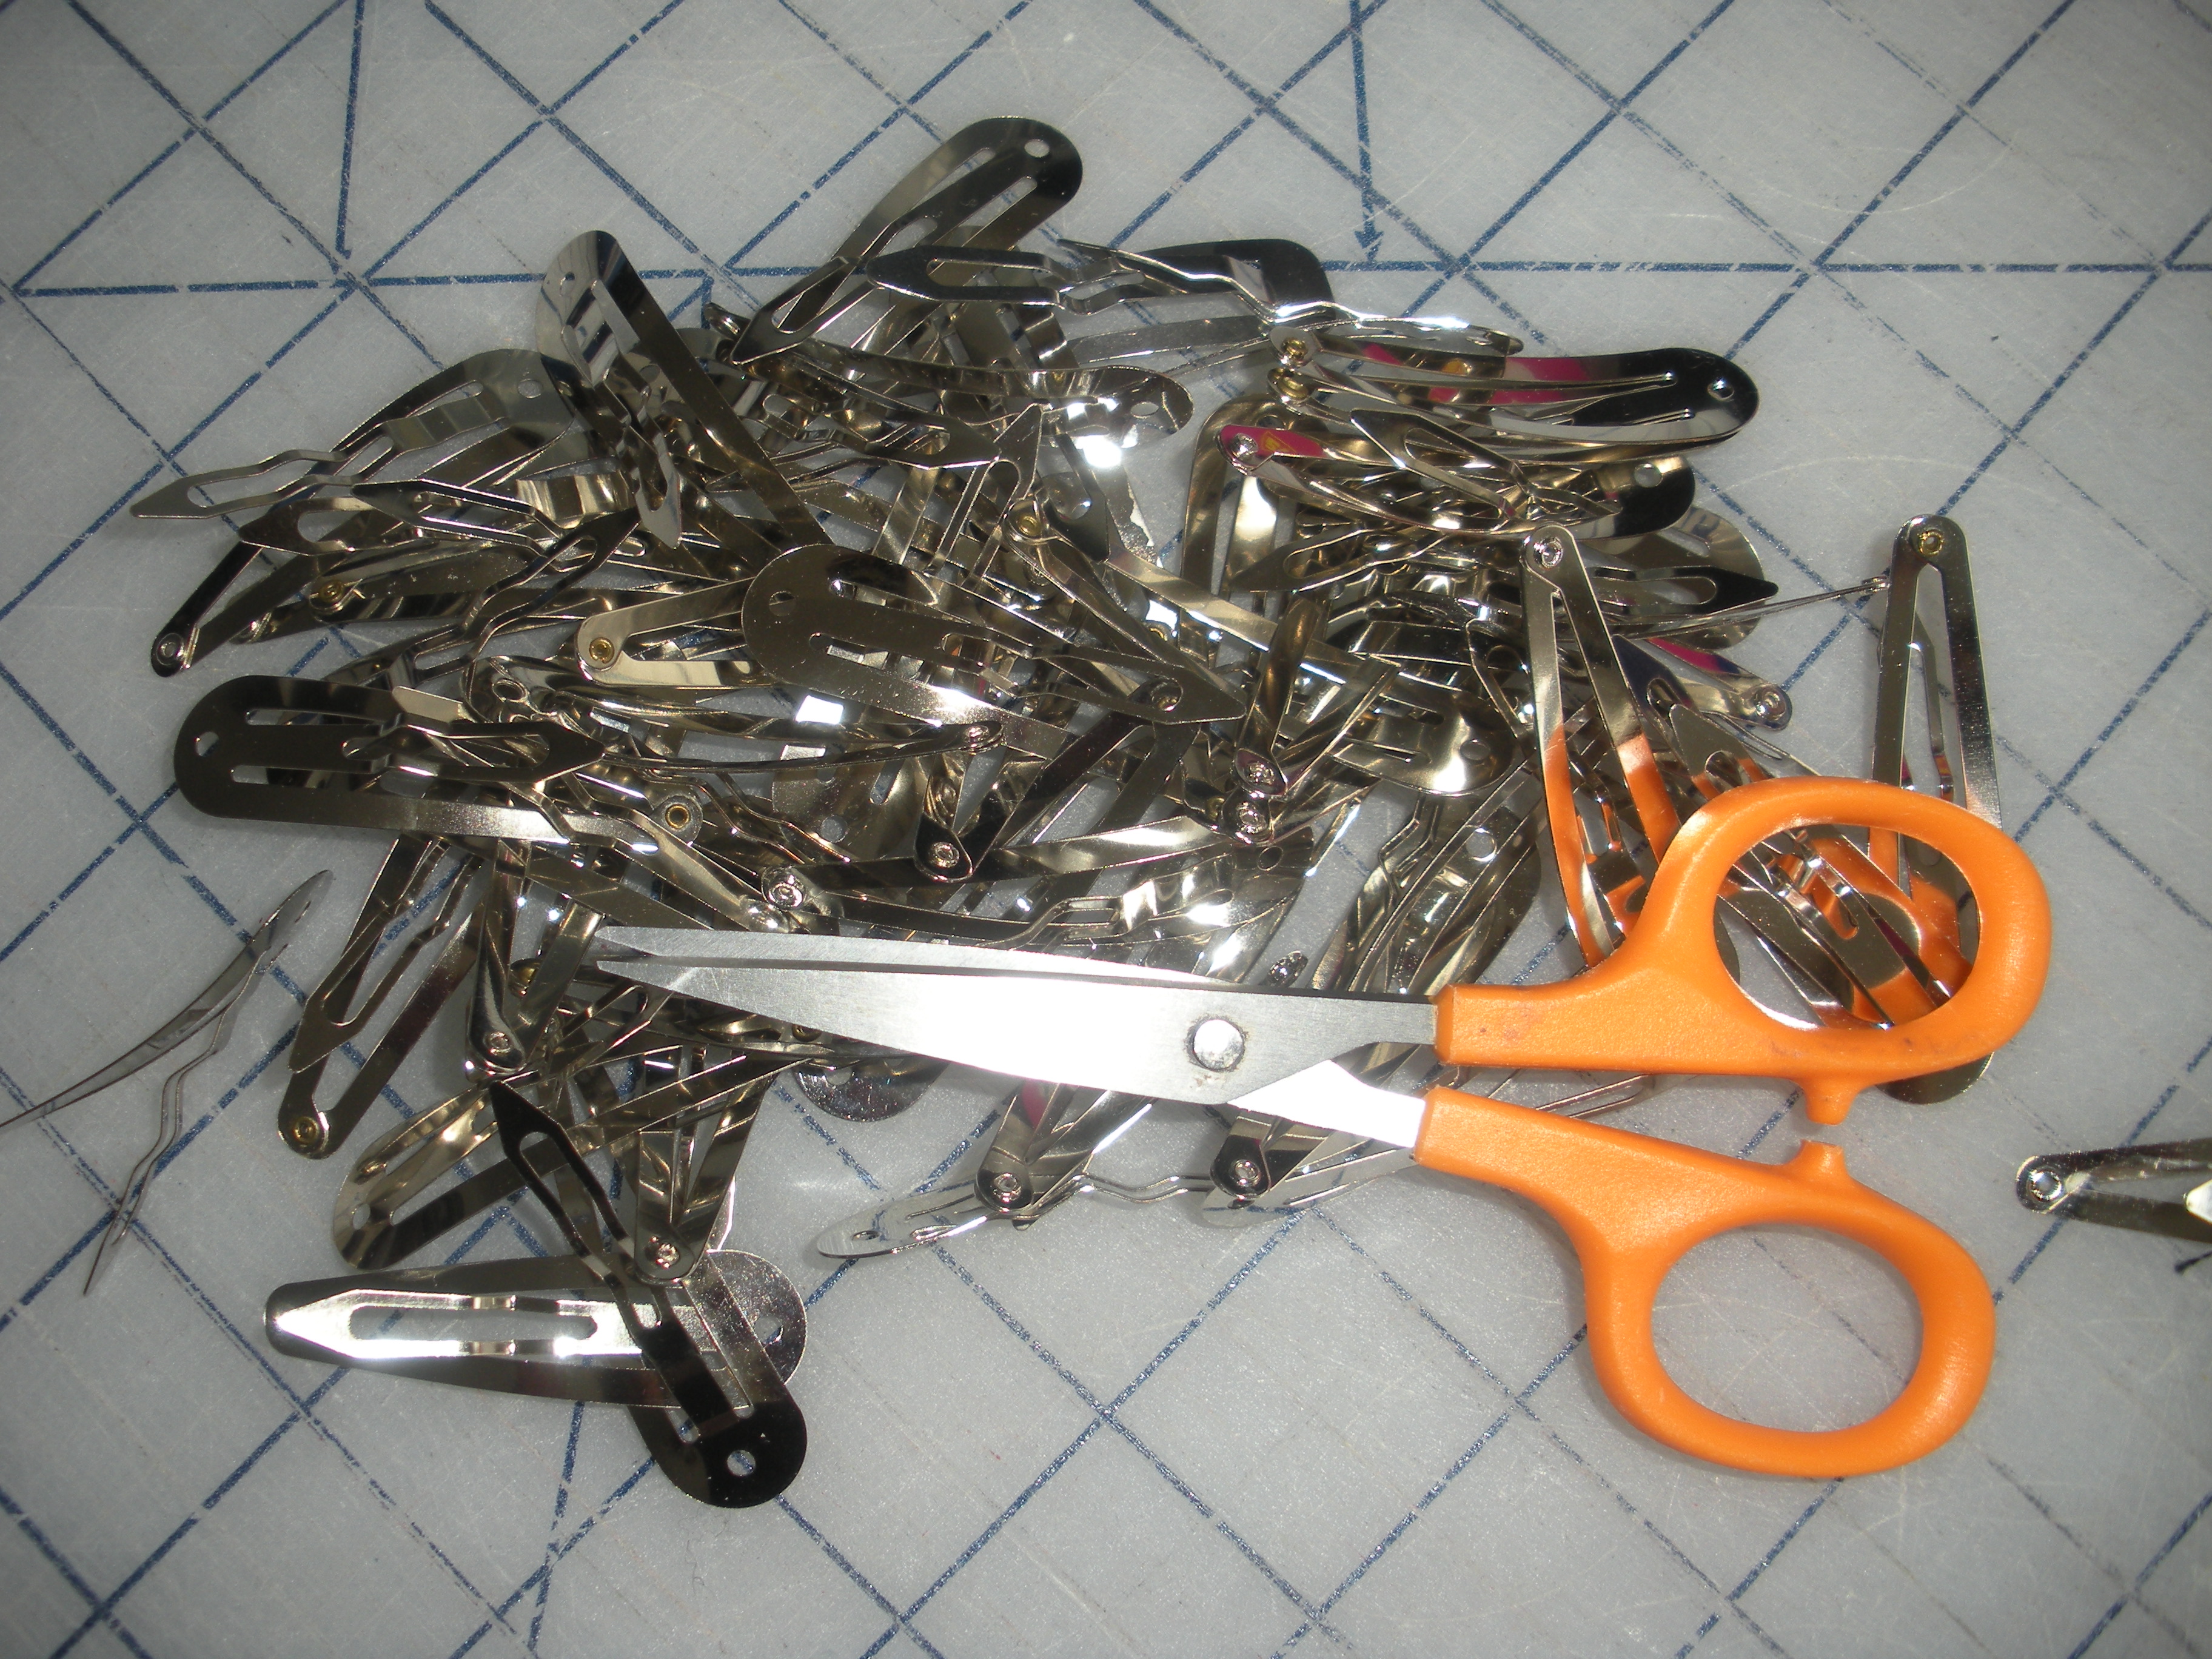
Do you all know about binding clips a.k.a. hair clips from decades ago?  

They’re the best thing to hold your binding folded to the back of your quilt until you can hand sew (yes, hand work) it into place.

That’s where this week’s tip comes from.  I’m almost finished with a new pattern, yeah! 

When I do the hand stitching on a quilt, I usually do it one of two ways; either in front of the TV or while I’m out of the house sitting and waiting for something. You know, something that I can listen to, but don’t have to watch 100%.  It makes the binding time seem almost non-existent. 

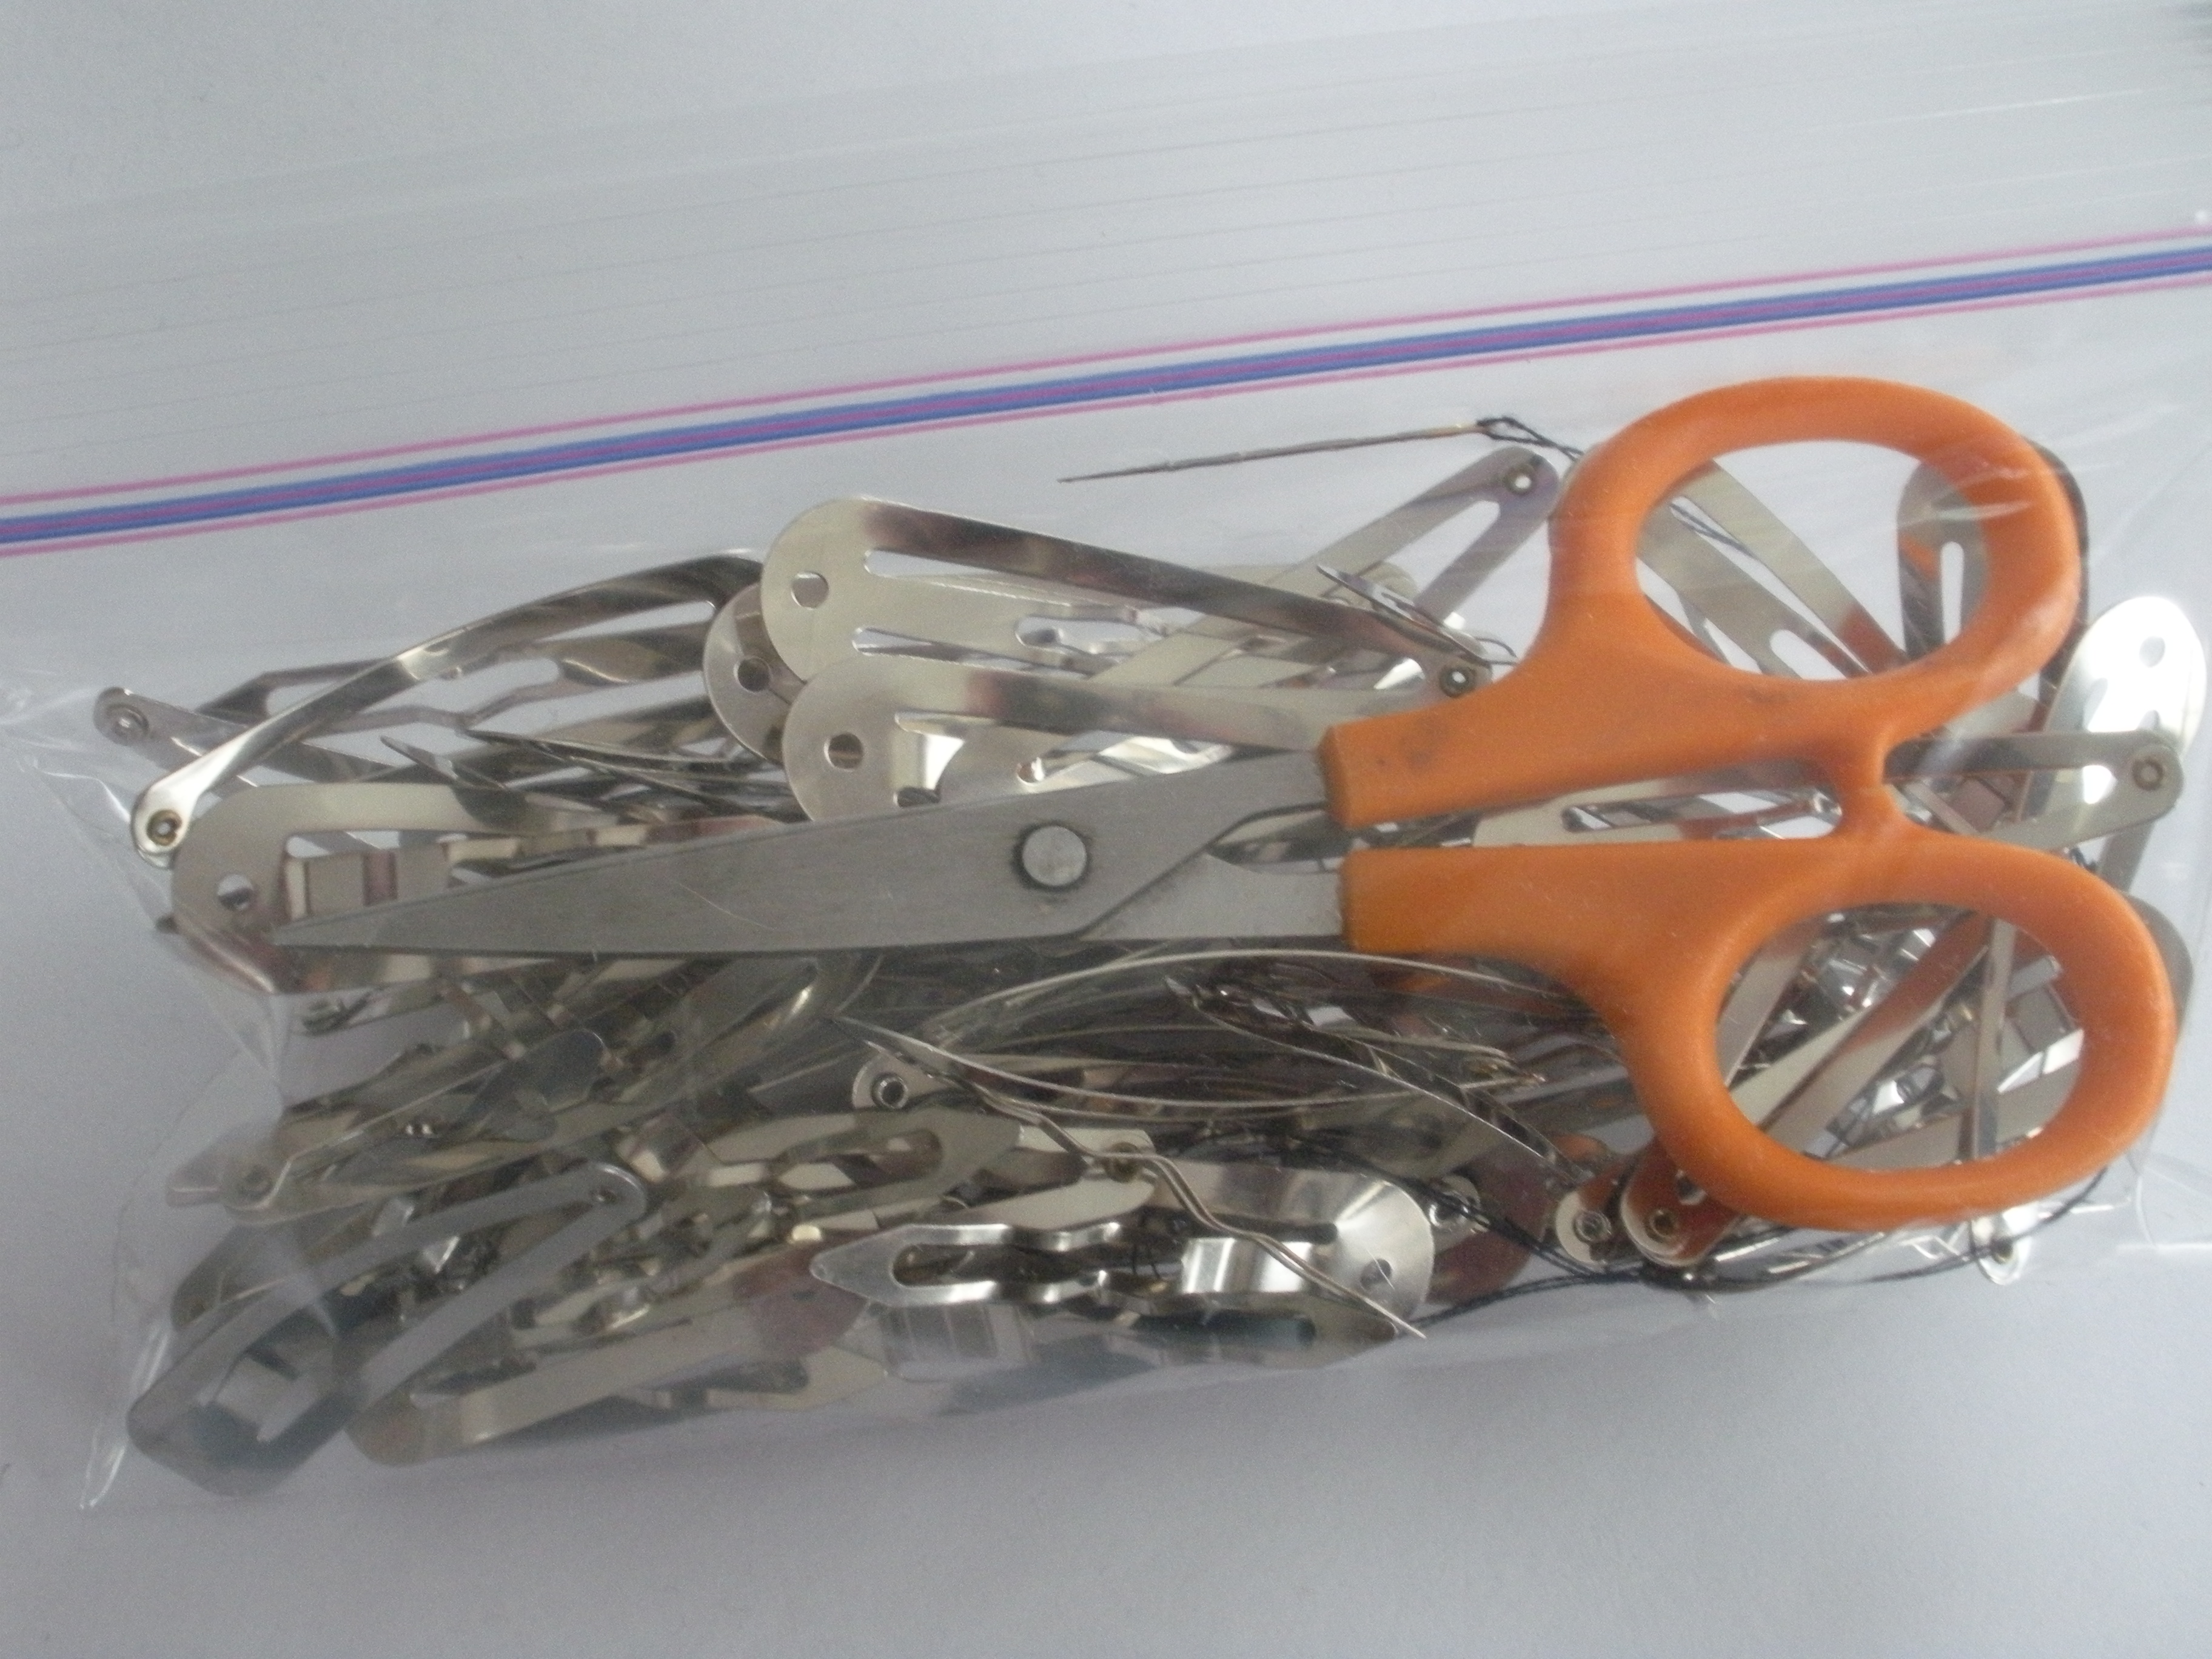
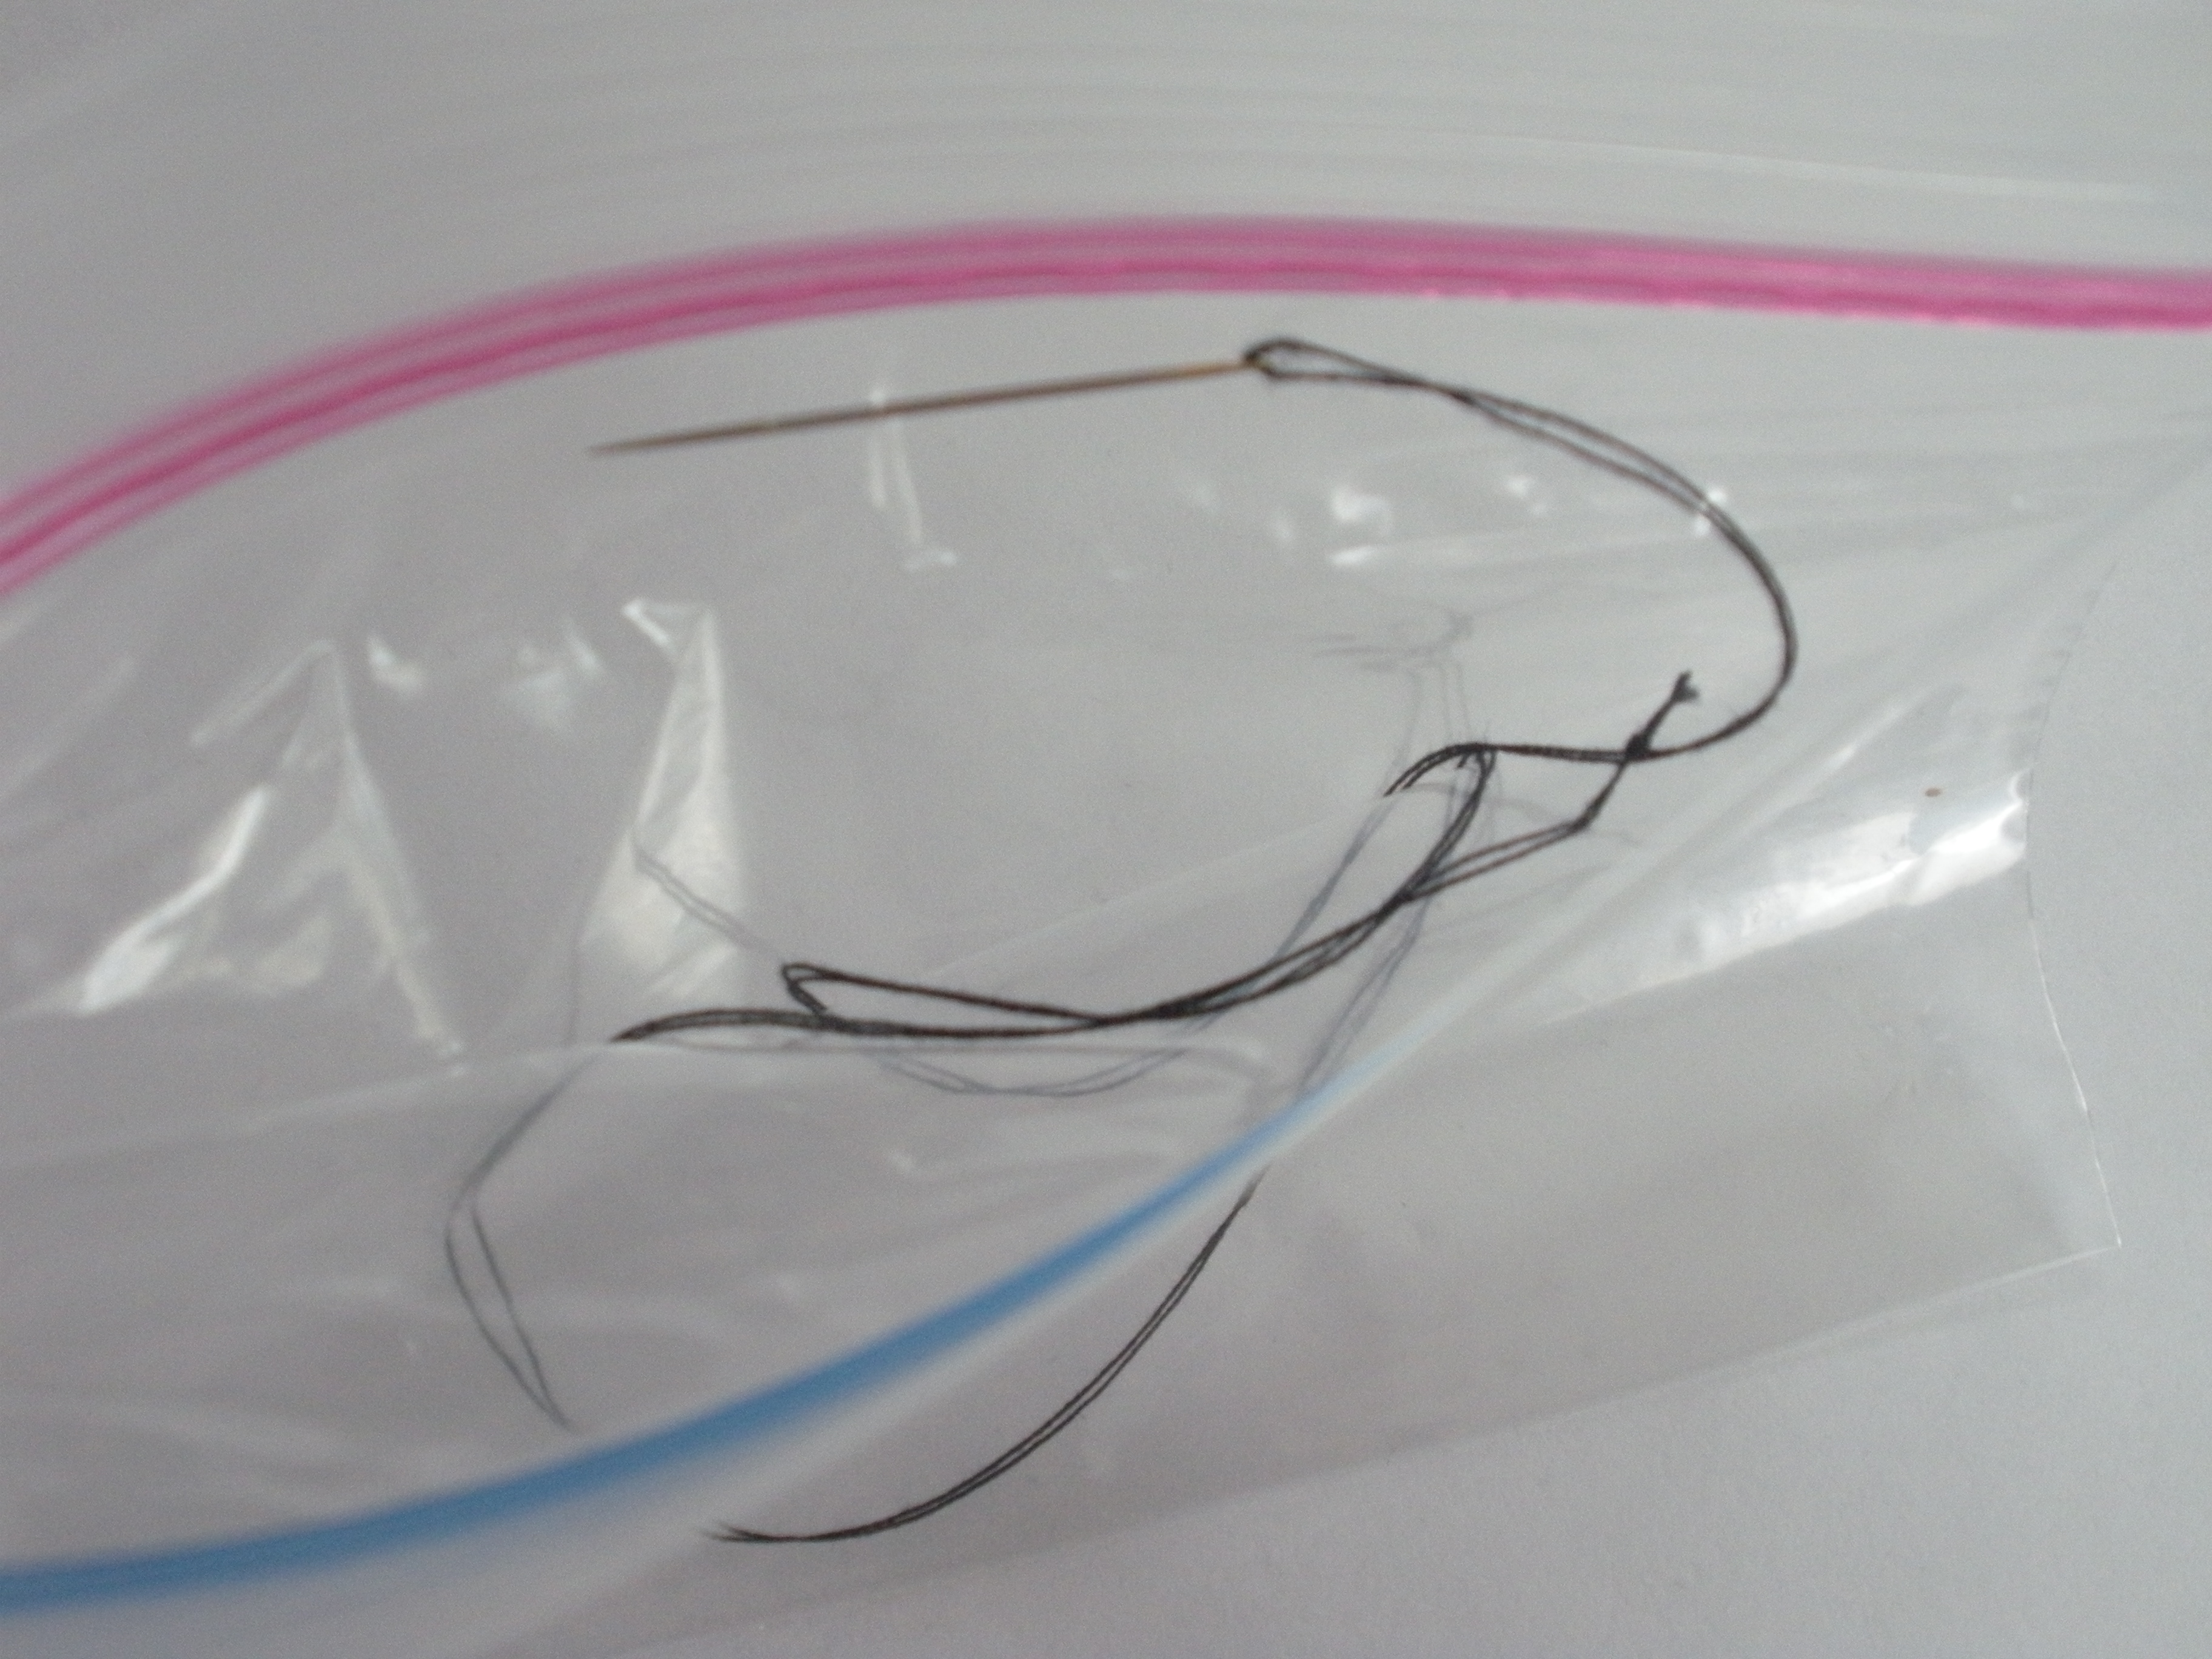
I keep my binding clips in a snack size Ziploc bag along with a pair of scissors and a threaded needle. 

When I’m ready to use them, I grab a spool of matching thread and the bag of clips along with my quilt with the binding already sewn on and I’m set. 

Note, I slide the treaded needle into the side of the bag near the zipper.  This keeps the needle where I can easily find it.  I use the same bag for years, until I decide it’s getting pretty used up where I poke the needle.

I especially like this tip because it “works” for me.  If I’m on the way out the door and in a hurry, I can pick up the bag, quilt and thread and know that I have everything that I need to work.

Until next time,

Susan
Hot Tips

Hot Tip Tuesday #5, Fused Scraps

With yesterday being a snow day here in the midwest, today has felt like Monday all day instead of Tuesday!  Today I went Christmas shopping and to lunch with my college student daughter between her finals.  These rare solo times spent with my kids are priceless! It wasn’t until I was making dinner that I realized I needed to post another hot tip.

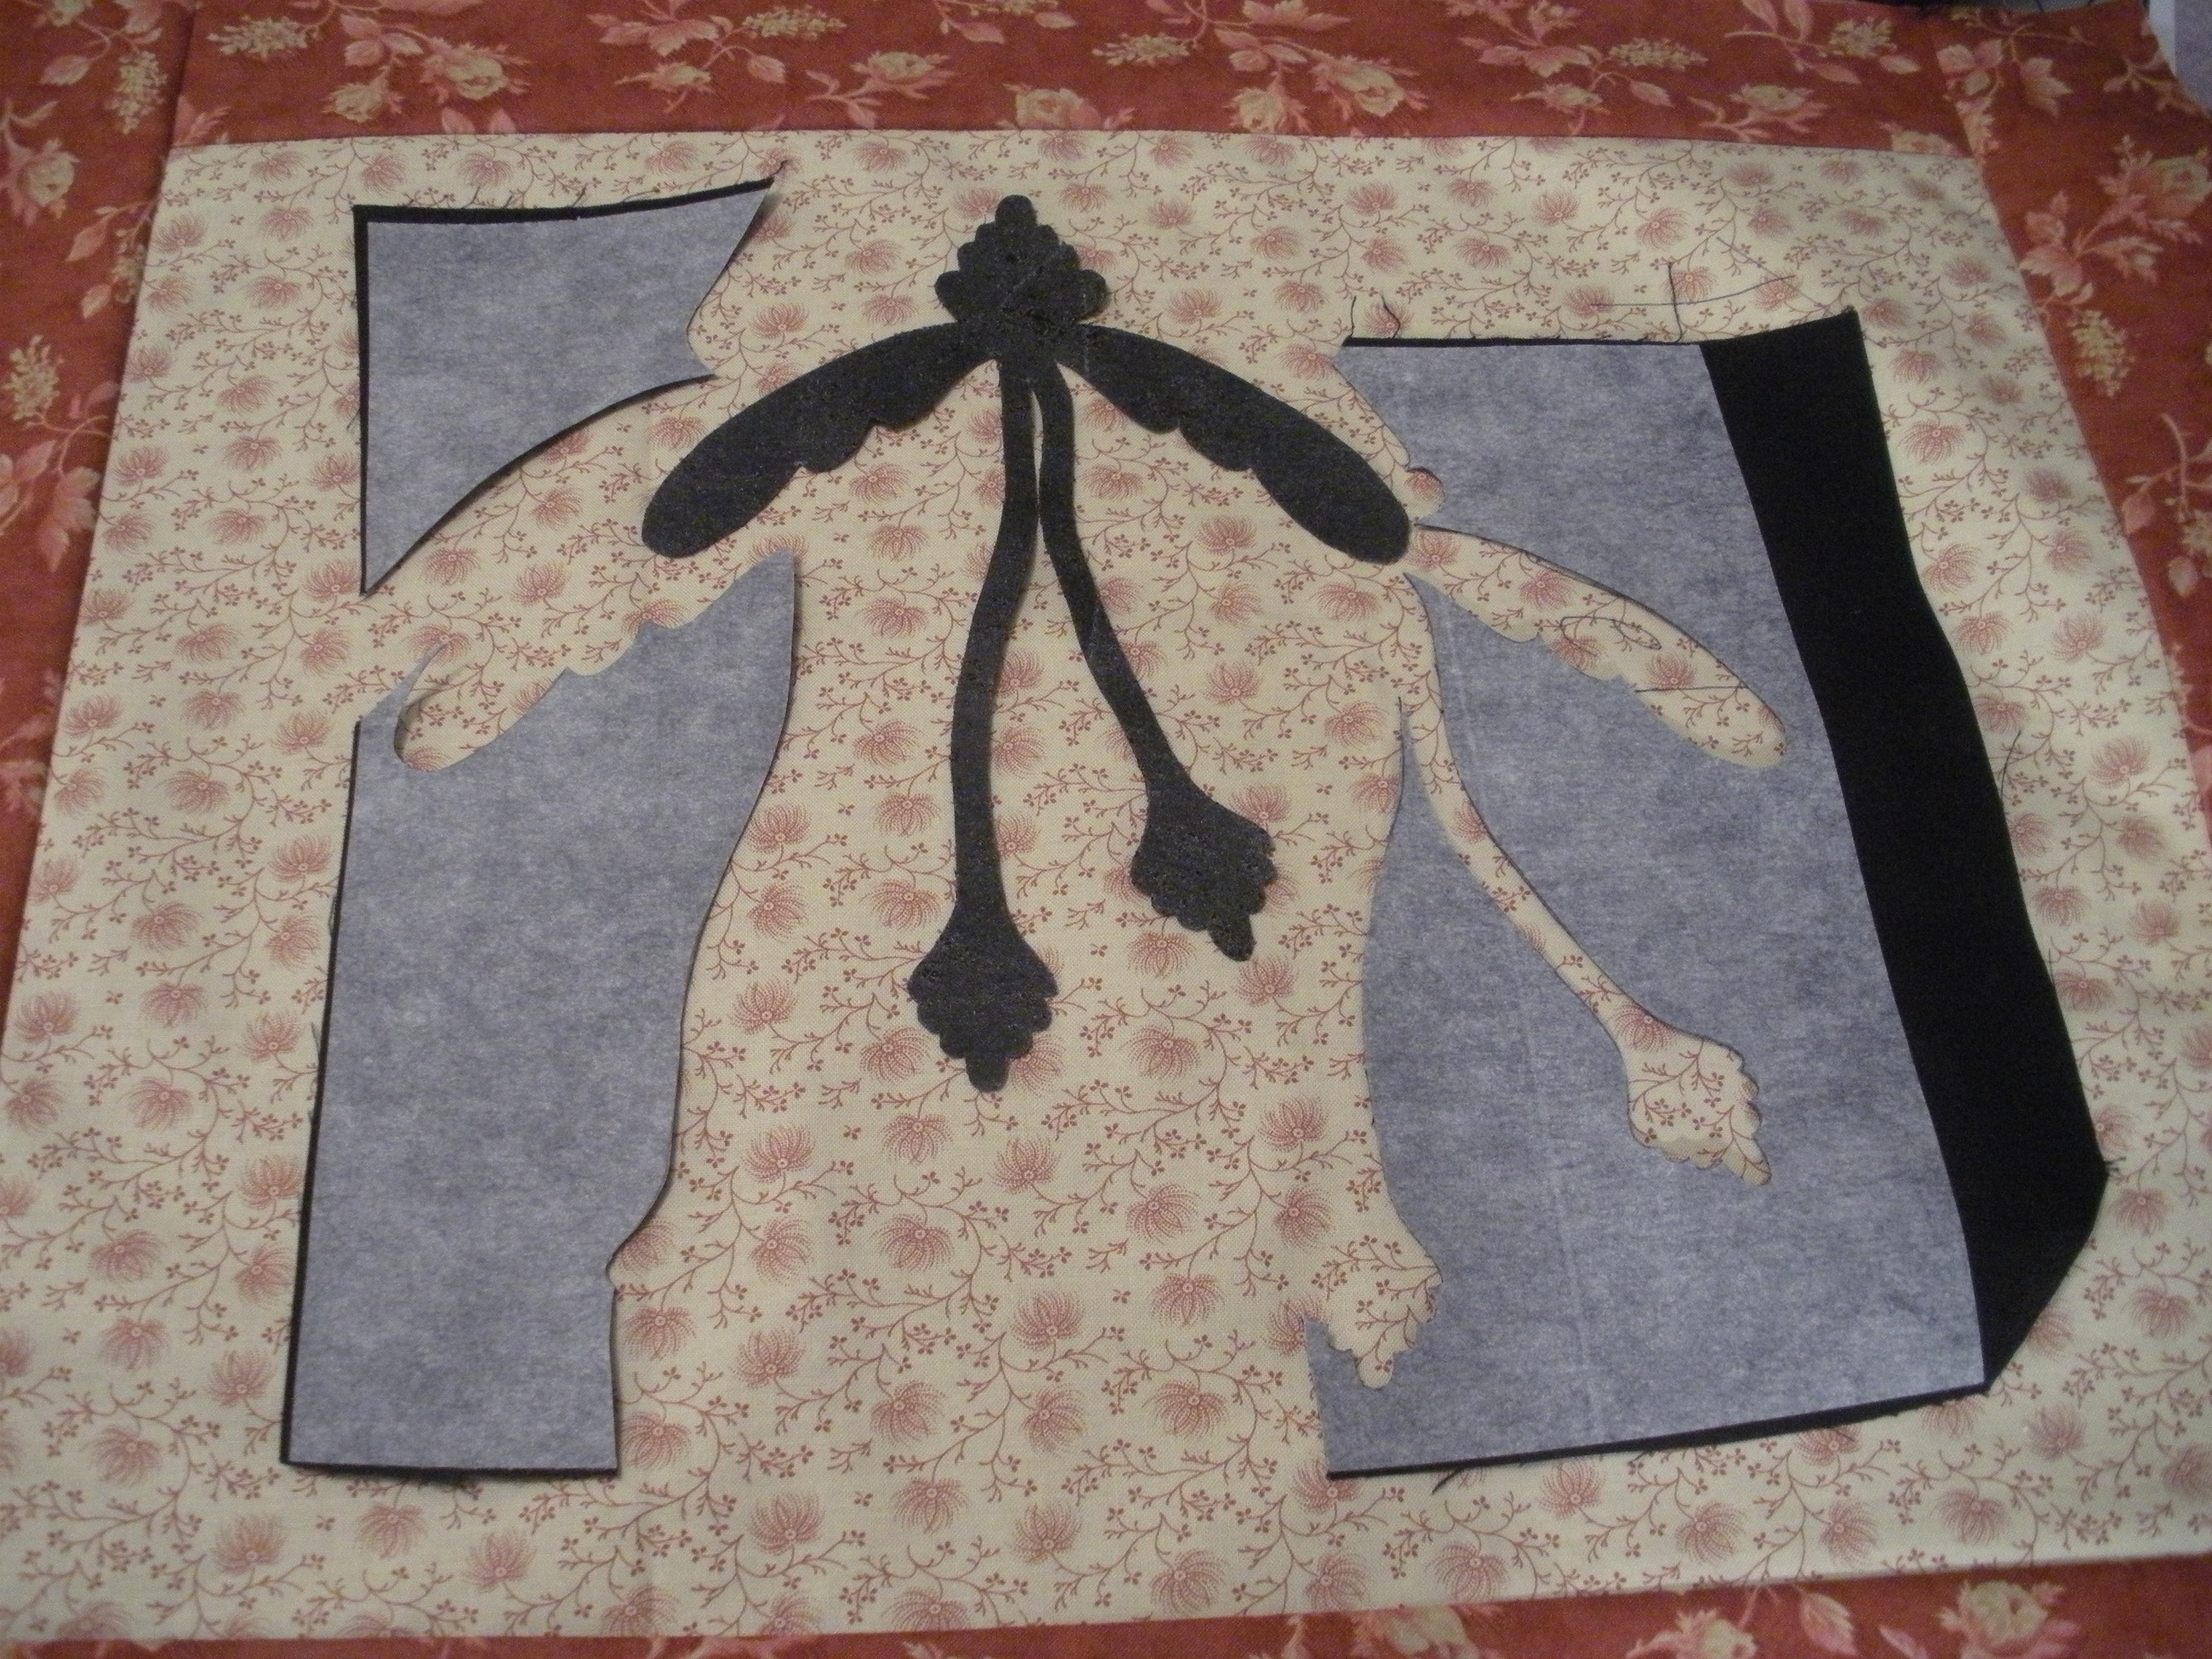
The tip I’d like to share with you today has to do with my love of fusible applique.  It’s one of my favorite quilting techniques to perform and with it I get lots of scraps.  Being the frugal/creative quilter that I am, I hate to throw away the negative shapes that are left when I cut out the shapes I need for a project.  I’ve even used some of these negative shapes to start a new project before.


Look at all this beatuiful black fused fabric that is left after cutting my new cool shape out!  I removed the paper from my fused design so you can see the scraps better.

 Many years ago I started saving these fused scraps in a big Longaberger basket that was sitting in my sewing room without a purpose.

Not only have I saved fabric, it comes in handy if I need a scrap of green or black or red…  I don’t have to go to the effort of fusing a piece of fabric just for a small piece I want to add to a project.

What’s also nice is I’m putting a big basket to work, yet it looks nice nestled under a table in my living room that is adjacent to my sewing room.

 Perhaps this will spark an idea of creativity in your sewing room.

Until next time,

Susan

Hot Tips

Hot Tip Tuesday #4, Sewing Buttons on by Machine

Quilters are constantly commenting on how I get so much done.  Or they see my samples and are blown away by the details and precision and think that the miles of buttonhole stitch on my applique (my very favorite of stitches) is done by hand.  Well, as most of you know, it’s hard to take such a compliment without telling on ourselves.  It seems my standard issue reply is always “Oh no, it’s all by machine.  I even sew on my buttons by machine.”  To which the reply is mostly, “No way!”  Well, yes way, and today I’ve decided to illustrate just how easy this is.

You’ll need a button and some Scotch tape and whatever you want to sew the button to.

Position the button where you want it sewn, and apply a piece of tape to amply cover the button and secure it on both sides to the fabric.

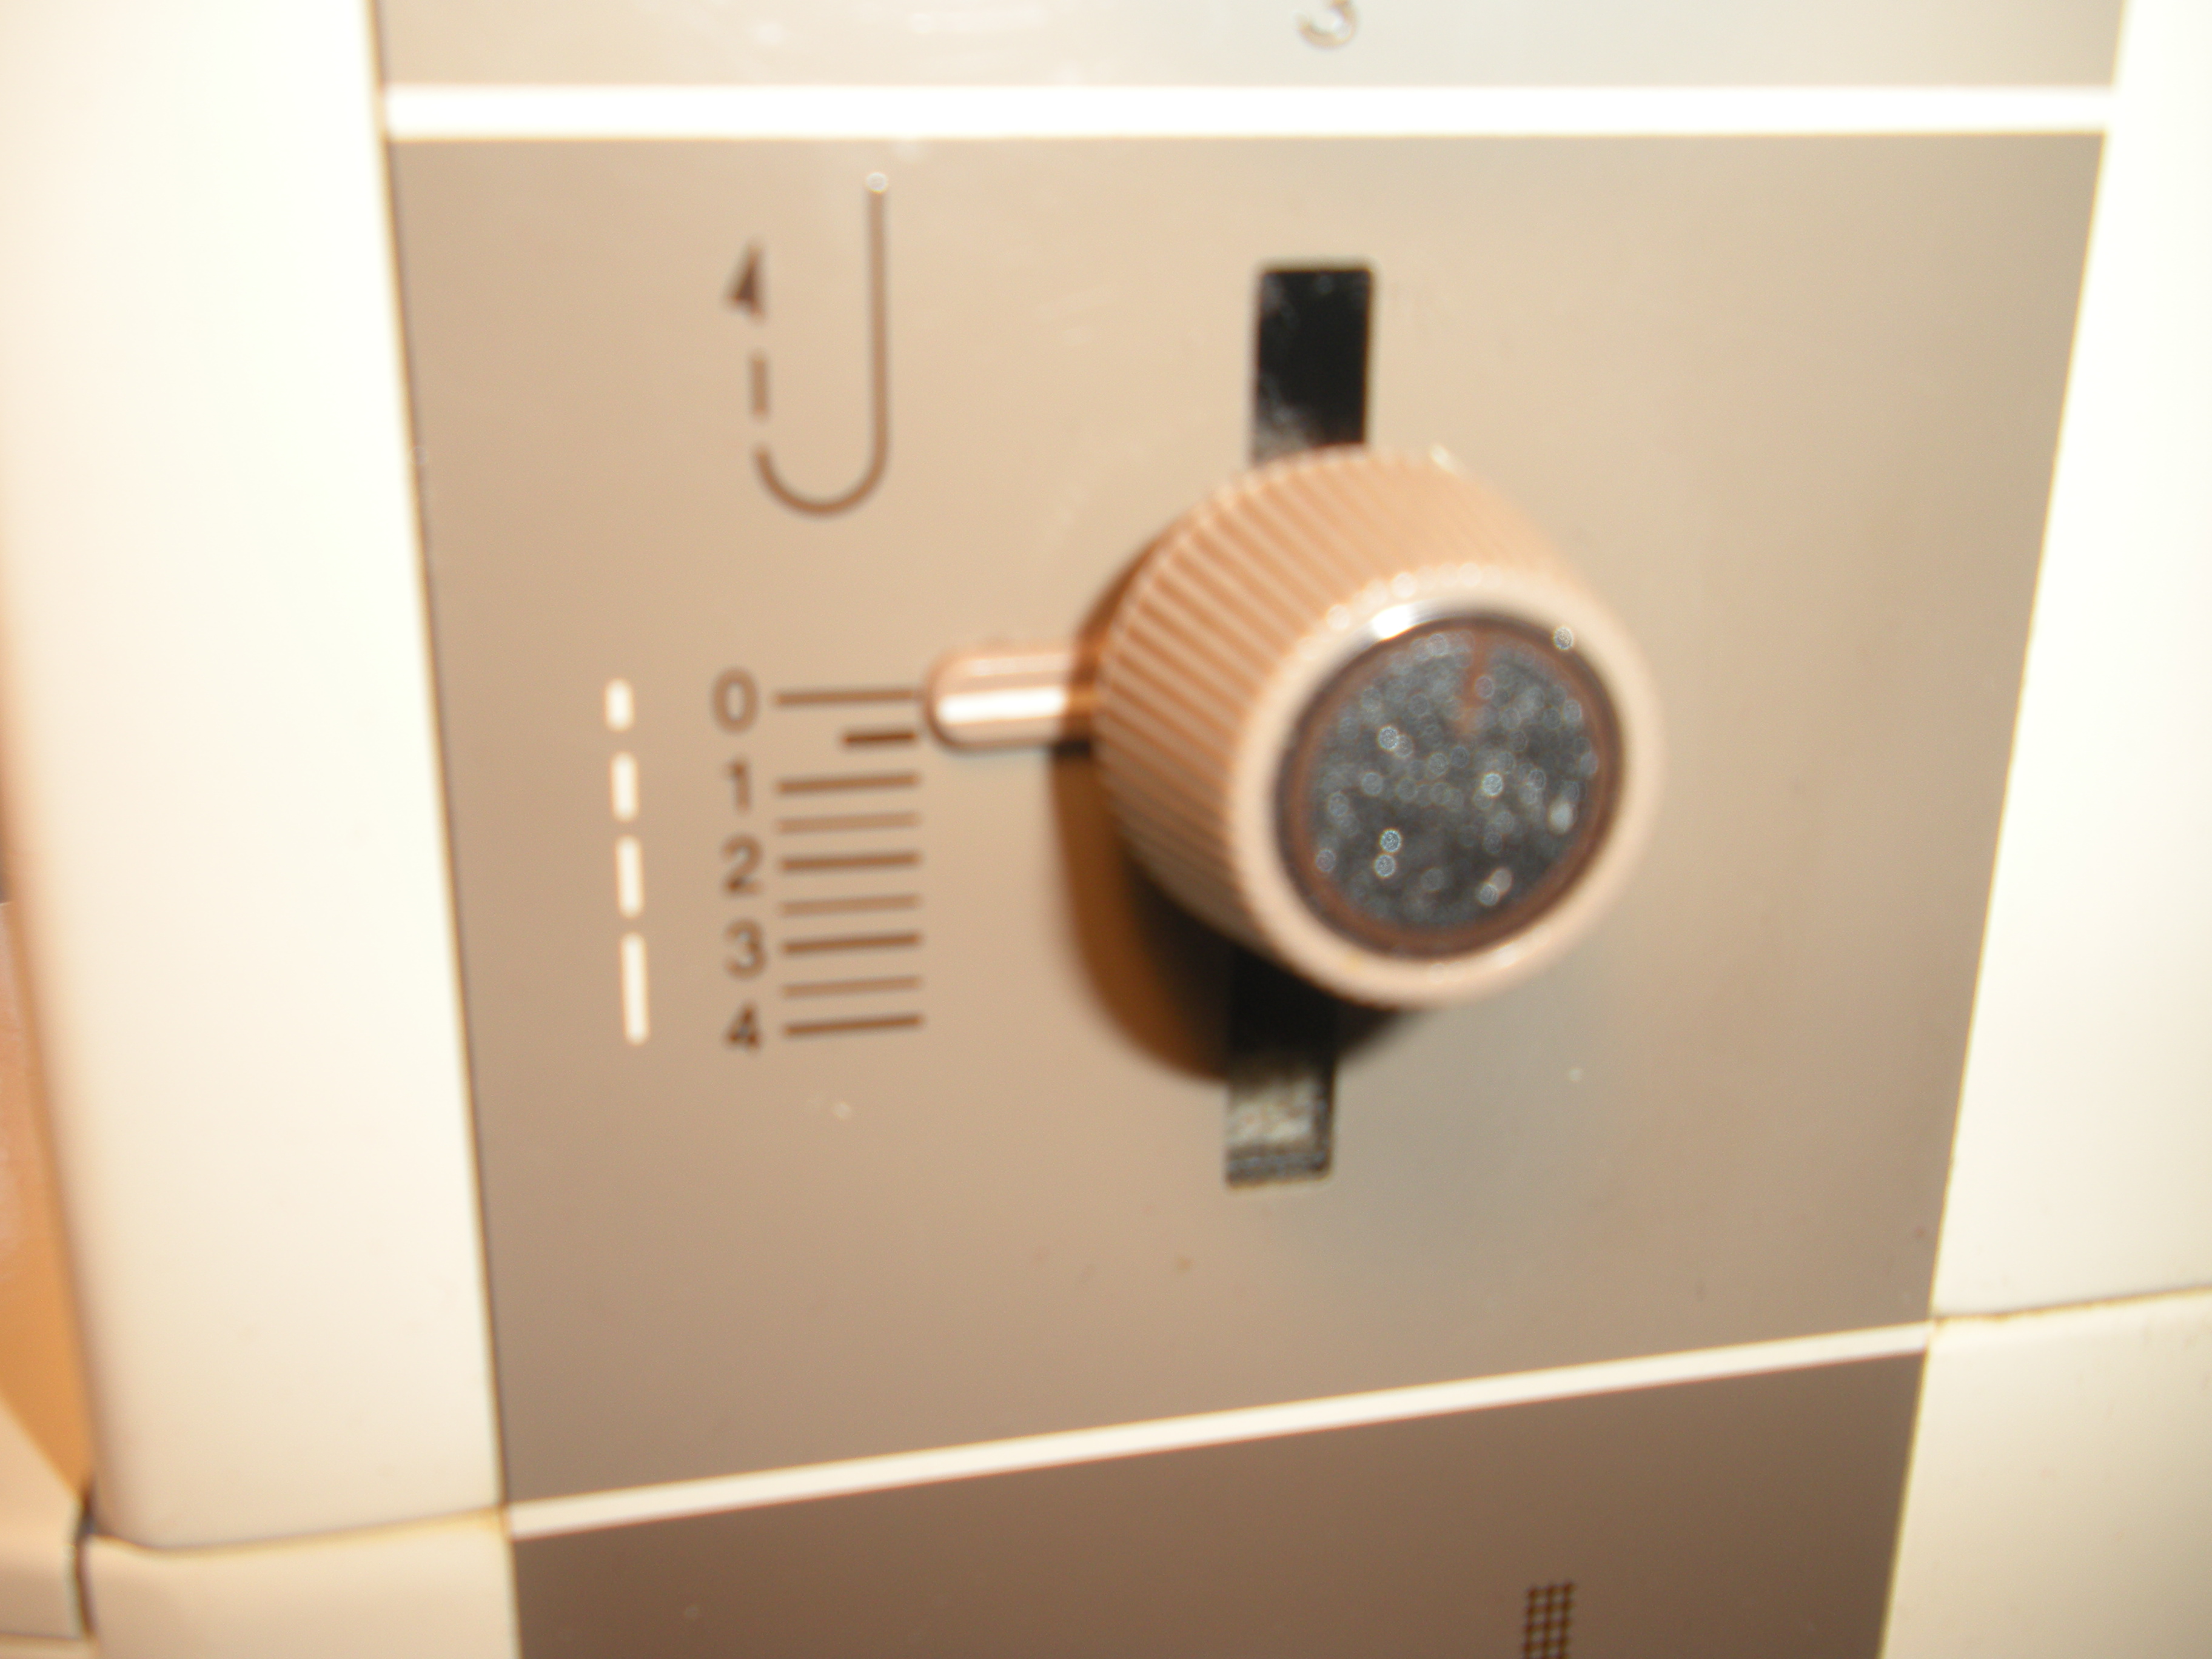
Set sewing machine’s stitch length to “0”.

Set stitch width, this will be different with different machines.  I set my Bernina 930 (best machine the whole wide world) to “3”.  I’ve found over the years that most buttons have this as standard.  Unless the button is very tiny or very large this setting is exactly what it needs.  You’ll want to verify this for your machine in the next step.

I like to use my open toe applique foot. Probably the most important point in this process (and the blurriest of my photos) is to hold down the thread as you start to sew.  First with hand on the fly-wheel turn it toward you getting the setting for the stitch width set.  After you’ve gone back and forth into both holes twice, use the foot pedal and sew 8-9 times total.  Yes, I usually grimace as I’m doing this although is just a reflex from breaking so many needles in my sewing history!

Leave a long thread tail and cut threads and remove tape.


 Tie a square knot on top the button and then on the back to secure it.  Trim all the threads.

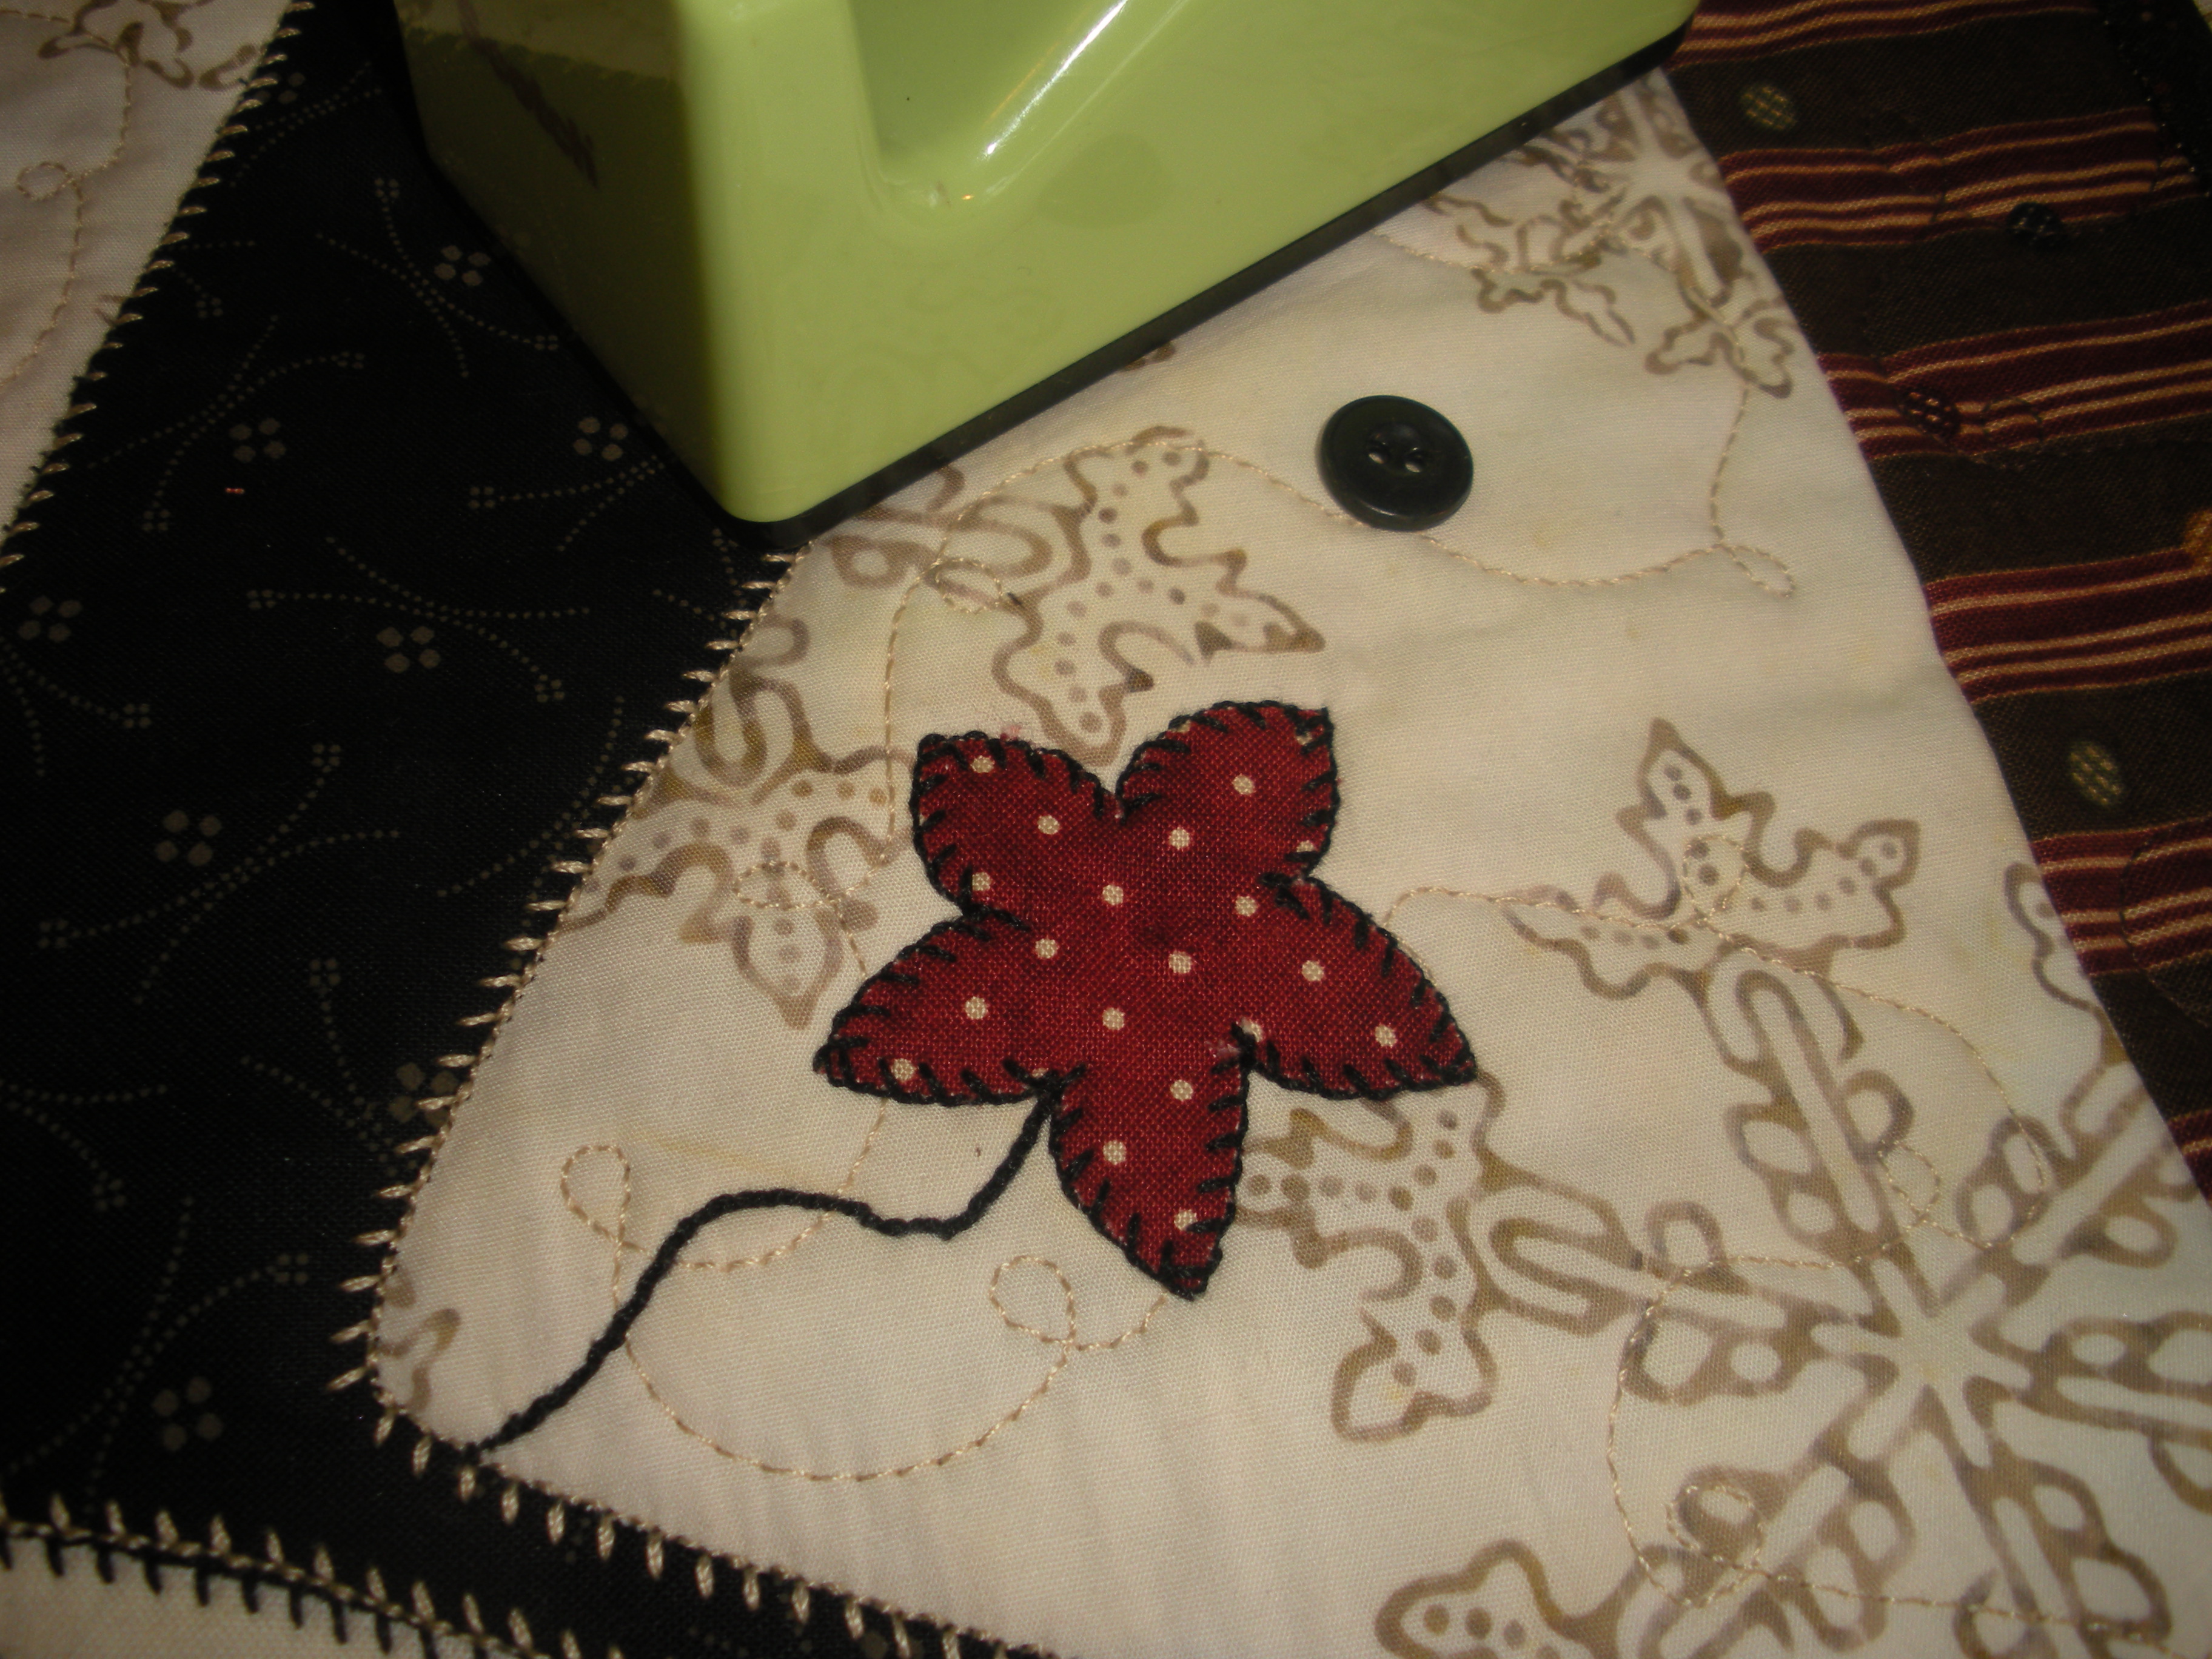
Here’s the finished button.  This is the snowman from one of my latest patterns.  You can see the whole cute little guy here and purchase the pattern too!

See all the buttonhole stitches here?  I love the way my machine applies them so evenly.  And the Sulky 12 wt. cotton thread is my absolute favorite!

I hope you give this time-saving technique a try.

Until next time,

Susan