Hot Tips

Hot Tip Tuesday #16, Filling bobbins before starting a project

There are lots of things to like about sewing, but on my mind right now is something that isn’t fun.  I don’t like running out of bobbin thread when I’m in the middle of a project and then have to stop and wind a new one.  It’s especially bad when I’m using a different color of thread in the bobbin than I’m using on the top of my machine, ugh!  I have to unthread the machine and thread it with the bobbin thread, then unthread it again… When I’m machine quilting is when I find this most annoying. I’m moving at a fast pace and want to just get done. 

To make this not quite as annoying, I try to wind enough bobbins to complete my project before I even start.
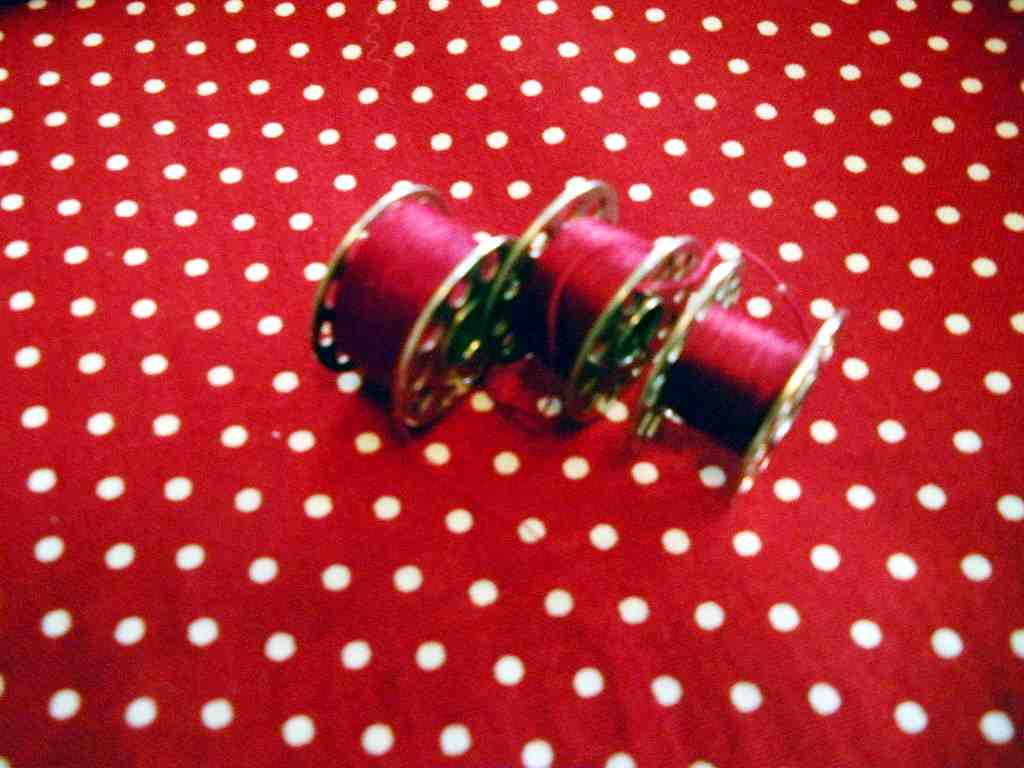
And where have I found to best keep all my bobbins? 
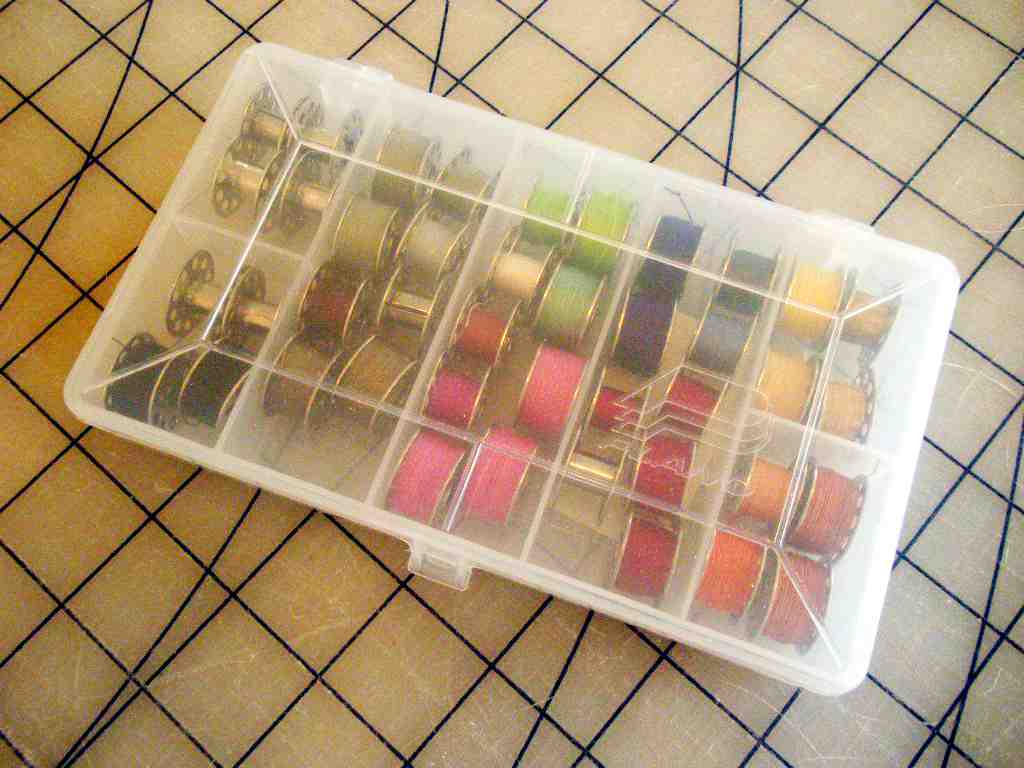
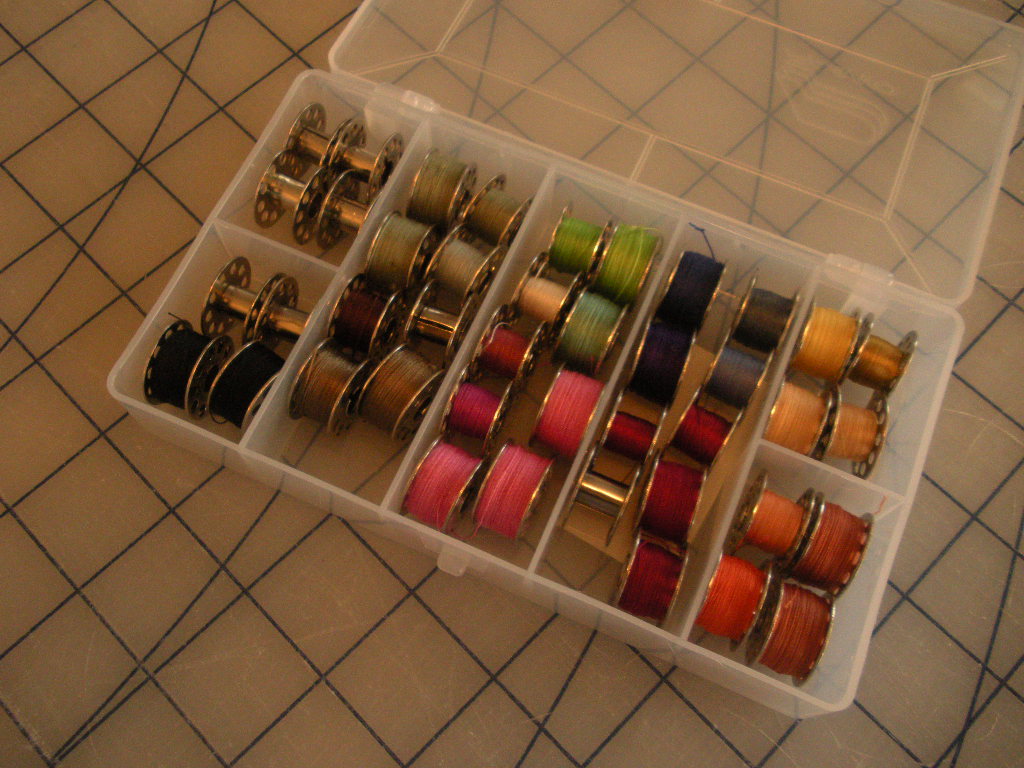
 My favorite is a small Plano plastic box. It’s actually a fishing notion from my husband’s den.  He had an extra when I was looking for a change in my bobbbin storage. It’s see-through, durable (it’s bound to get dropped at least a few times), and it keeps the dust out since I keep it handy right next to my machine and not in a drawer.

I actually have a few more bobbins than will fit into just one box…  I’ve found that bobbins are relatively inexpensive and prefer to have full or partly full bobbins of lots of colors ready to sew.  Again, nothing more annoying that needing to rewind bobbins in the midddle of a project!

Until next time,

Susan

Hot Tips, new fabric collection, Quick Little Projects, Quilt Market

Hot Tip Tuesday #15, Civil War Block of the Week- quick little project

At my guild meeting this morning a group of us were chatting about Barbara Brackman and how I’ve been following her Civil War Quilts blog this year.  This being the 150 anniversary of the start of the Civil War, Barbara has started a special blog to showcase an 8″ block each week.  The pattern is on the blog as well as links to some of its history. 

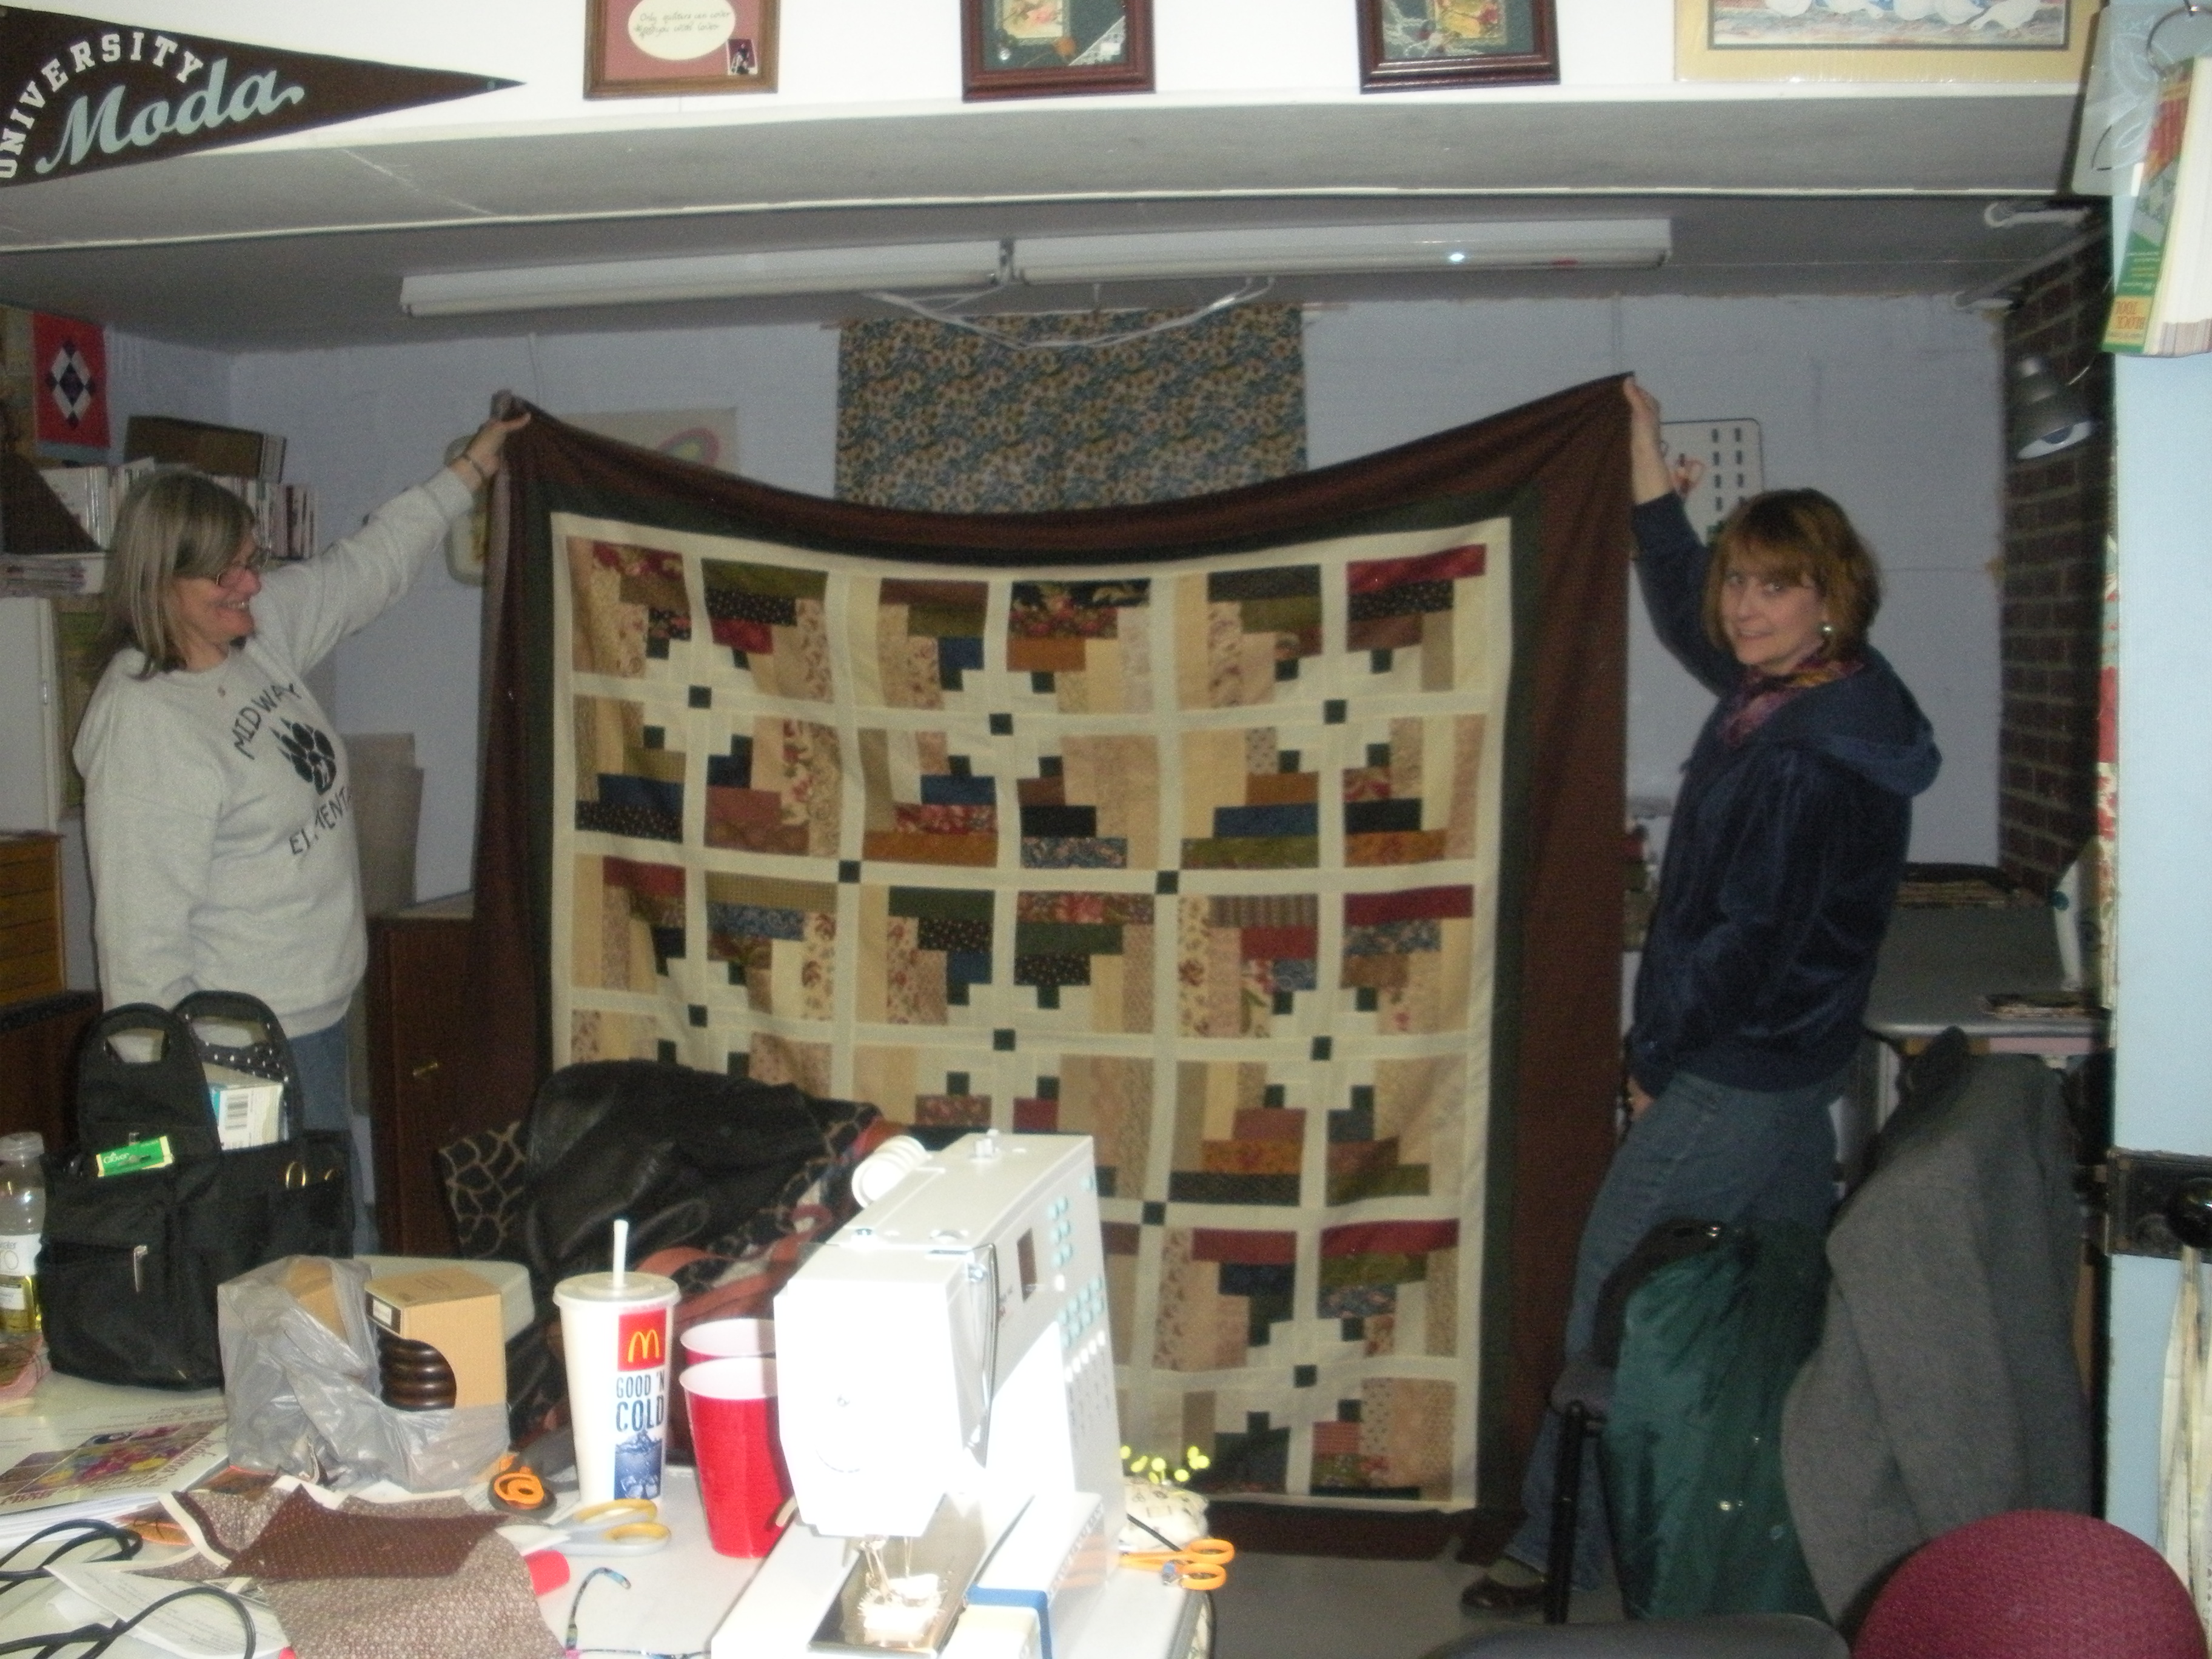
By clicking this photo you too can be drawn into her love of history,and FABRIC!  I own several of Barbara’s fabric collections and books. As a matter of fact I have a new quilt being quilted right now that will hang in my booth at Salt Lake City in May at Spring International Quilt Market made from one of her fabric collections!  Come to think of it, I have a second quilt in progress with another of her collections.

I’d be the first one to tell you I never did like history, but with the introduction of all of the lovely civil war era reproduction fabrics and all the quilting books being written I’m hooked!

No, I’ve not started the blocks. With all the sewing I’m doing to get ready for market I don’t feel I have the time, but I’ve sure been tempted many times. 

Perhaps it’s a quick little weekly project that you would be interested in?

Until next time,

Susan


Hot Tips

Hot Tip Tuesday #14, Pre-cuts are our Friends…

The more I use them, the more I like them, pre-cuts that is.  Do you all know what pre-cuts are?  They are a way that fabric manufacturers are selling quilting fabrics that are ready to sew when you buy them.  It seems every time I go to market they’ve come up with another term for yet another size or shape of pre-cuts!

I first became aware of them being produced by Moda Fabrics.  I’m not sure if they started them, or if because they are the most popular fabric company selling in my local quilt shops that we saw their’s first.  I’ve always been intrigued with buying a bit of each fabric in a collection (collecting) so when the fat quarter bundles came out I was very excited. 

Fat Quarter Bundle: a Fat Quarter of each fabric in a collection

Then you could buy smaller quantities of each of the fabrics in a collection and hence all these:

Jelly Roll: 40, 2-1/2″ strips

Layer Cake: 42, 10″ squares of a collection


Charm Pack: 42, 5″ squares of a collection

Then there are Turnovers, 80, 6″ Triangles of a collection, Honey Buns, 40, 1-1/2″ strips of a collections, and then Dessert Rolls, 10, 5″ strips of a collection.  The best part of using these,aside from being fun to buy, is that the cutting is done for you.  I have a couple of lap quilt patterns designed especially for a jelly rolls and charm squares.

I also have plans for a Christmas lap quilt using the jelly roll above plus yardage, so stay tuned!

You can also find all kinds of FREE patterns to use these here  http://www.modabakeshop.com/p/bakery.html. 

Until next time,

Susan


new fabric collection, New ideas, New quilt pattern, restocking stash

Moda, another word for love!

I’m not much of an on-line or over-the -phone shopper.  I like to go, see, feel and then make my decisions. So, hardly ever does the UPS guy show up with something for me.  No, it’s usually something from a hunting or fishing catalog that I retrieve when Brown shows up, but today the package looked like this:

That Moda tape was a dead giveaway that today the package was for me!  Not only that, it was going to be good!  Last week I requested not-yet-released Christmas fabrics for some new ideas that I’m working on for Spring Quilt Market in Salt Lake City, Utah. Moda and other fabric companies generously send us pattern designers fabric to make samples to show off their new collections.  This way, when shops are walking the show, they can see new ways to use the fabrics and hopefully buy more fabric and my patterns too.  Thanks Moda!!!

 Sweetwater had the perfect collection for a new quilt design that I dreamed up.

“Countdown to Christmas” is due out May, 2011. You can see the whole collection here.

It looks even better in person than it did on-line, and it feels great. That’s one of the reasons that I like to buy in person instead of on-line. I know, sometimes it can’t be helped, just sayin’…

Now I need to stop drooling and get back to what I was doing before I was interrupted by that knock on my door!  May will be here before I’m even ready.

I’ll keep you posted to this newest design as I get to working on it.

Until next time,

Susan

Hot Tips

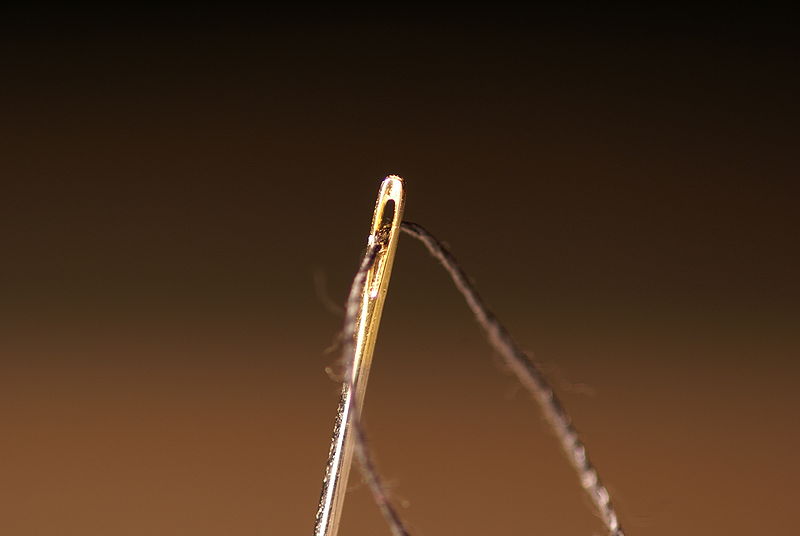
Hot Tip Tuesday #13, Threading a needle

Ever have trouble threading a needle?

I always lick the end of the thread to get it to go into the eye of the needle easier, but I learned recently that if you lick the eye of the needle instead it actually works better!  Try it, it works!

I learned another trick a few years ago and that is the eye of the needle is punch from one side, so one side of the eye is easier to thread through.  If you try and try and can’t get the thread to go through the eye, rotate the needle and thread through the other side of the eye.  This is also true, try it!

I hope this alleviates a bit of frustration for you as it has for me.

Until next time,

Susan

Hot Tips

Hot Tip Tuesday #12, Beat the winter blues with a Quilter’s Retreat

It’s that time of year when winter really sets in.  The days are short and I can’t turn on enough lights to brighten my sewing room.  It’s so cold outside that I don’t want to go out.  We’ve already had enough snow days that the kids no longer have to make any more of them up.

There is a cure and it’s spelled   Q – U – I – L – T    R – E – T – R – E – A – T!!! 

We’re fortunate enough that a local quilt shop, Rosemary’s, housed in an older home with living quarters upstairs, is available for retreats.  The last several years, Kathy & I have planned a January retreat. Rosemary will teach classes if you want, but our group goes to work on our own projects.

Secure a date, round-up some friends…and SEW, SEW, SEW!!!

This year Robin was able to join us from North Carolina, along with Kathy & Susan.

Beth completed a top she worked on during our last retreat, Chris is helping show it off.

Loraine, gets more done than anyone, and always with a smile.

I finished two samples of my new “In Season for Patriotism” pattern.  (Coming soon to a quilt shop near you, as soon as I get the instructions written, tested and quilt photographed.)

I also made a bunch of mini Dresden plate blocks.  I LOVE these.  They’re so much fun to assemble!  I have 24 made now. I’ll keep you posted as to their progress.

We had a lot of fun.  The biggest decisions were where to eat.  Mexican, Italian, Chinese, American, they’re all there in the small town and most of them within walking distance.  Since it was so cold, we didn’t waste too much time doing that! 

Perhaps you could organize a retreat for you and your sewing friends.

Until next time,

Susan 


My Life

How I get so much quilting done…

I finally realized today how I’m able to get so much quilting done. I’m sure you’re all thinking rotary cutter, but no!   It hit me like a lightning bolt as I was starting dinner at 2 p.m. as opposed to 3:30 p.m. for our 4:30 p.m. dinner time.  It’s all due to this wonderful man,

Do you know him?  You should, because we all are very blessed with his invention of the micorwave oven!  I know I use ours a lot, but you just take it for granted until it’s gone.  Ask me how I know…

Ours was working just fine, then one day the week after Christmas, the kitchen receptacle breaker started blowing. It did this perhaps 3-4 times since that time. So, last week with out of town company visiting, we went to the hardware store to pick up a new breaker. Sure I chose the $5.00 fix, who wants to think otherwise?

Well, yesterday morning the breaker blew several times while my DH was home.  The second time it went off, he installed the new breaker.  Then this morning our youngest daughter warmed her coffee cake and the microwave went off.  Unfortunately the breaker hadn’t blown.  Ugh, it’s not the $5.00 fix after all.  It’s the microwave!  Have any of you heard about the winter weather we’re having her in the midwest?  Well, I can do without milk and I can do without bread, (we won’t) but I cannot do without my microwave! 

So lickity split, out the door I went this morning to our local mom & pop appliance store to fetch a new one. 

Here it sits in all its glory, awaiting Mr. Tinker to slide it into its new home.  Want to know the best part, aside from the fact that my husband is handy enough to put it into our kitchen tonight?  The existing microwave was bought in 1996 for $388.00, and today’s model to replace it was just $200.00!  I’ll be pleased if it lasts just half as long as the original.

So this is why I started thawing hamburger on the stove at 2 p.m. today.  It’s a very slow process without a microwave.  Thank you Mr. Spencer, I’ll never take my microwave for granted again!

Until next time,

Susan

Hot Tips

Hot Tip Tuesday #11, Batting Behind your Stitching to Hide Thread Tails

Have you ever done hand embroidery work and been disappointed that the tails of your threads show through the fabric?  There’s an easy fix to this, and I’ve been using it on all of my “In Season” patterns. Check them all out on my website.

They each have a bit of hand embroidery on them, and I have a tendency to stitch in black.  This really plays havoc with a light background fabric, and obviously every color is lighter than black!

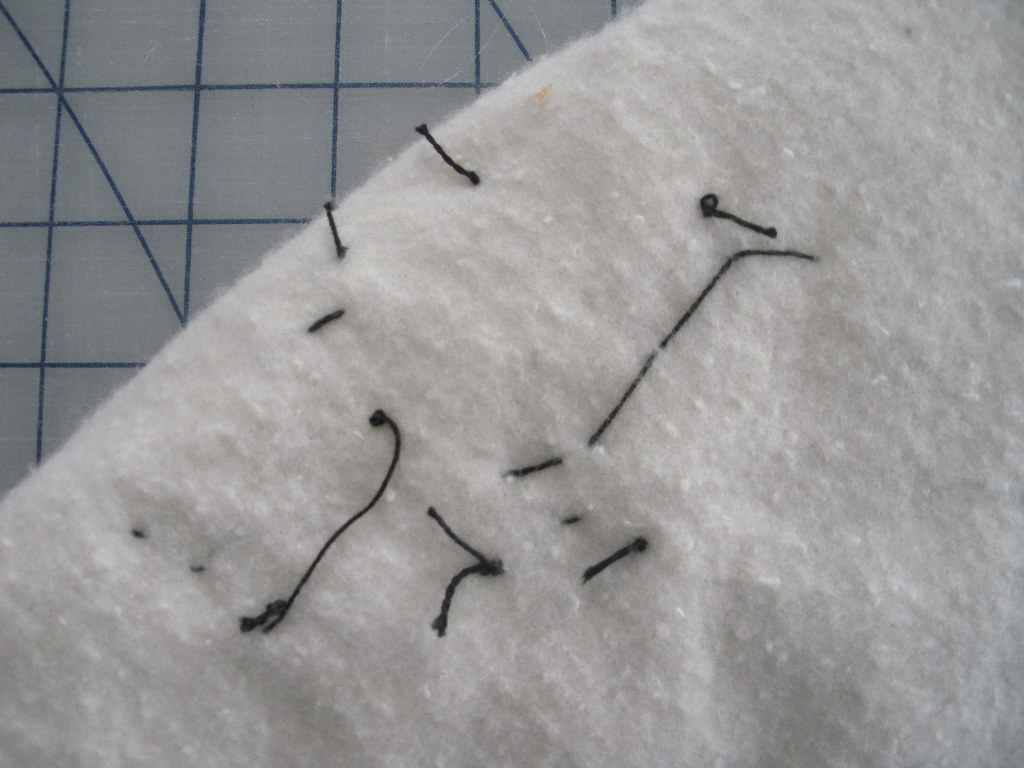
As described in each pattern, to alleviate this problem, just cut a piece of batting a bit larger than your background fabric. Baste this batting to the fabric. I use straight pins. It takes very little time to do this stitching, so I don’t want to take more time than necessary to baste. For bigger projects I would use safety pins.

Stitch as usual, securing your thread behind the batting.  This is a peek at my latest creation, “In Season for patriotism”.  Coming soon to a quilt shop near you!

Even trailing letter to letter doesn’t show, and I’m using #8 (thick) perle cotton black thread!!!

I hope you’re getting lots of quilting done during this cold, snowy winter!

Until next time,

Susan

New quilt pattern

New Pattern, In Season for Spring

As promised, I have another new pattern to show you today! 

It’s fun to make these small projects. I’m even making two sets, so I’ll have a spare set for trunk shows to go out to quilt shops.  That goes to show you just how fast these little projects are to make.  Translated, you can buy the pattern this year and hang it or give as a gift this year too!

This is the 5th pattern of my “In Season” series.  You can see all 5 of them on my website.

Tomorrow you’ll see a sneak peek at my next “In Season” quilt that’s now on my drawing board.  I’m telling you, they’re fast & fun to make!

Until next time,

Susan

Hot Tips

Hot Tip Tuesday #10, Chaco Liner Marking Tool

Call me lazy.  Call me gotta do it fast.  Call me whatever you want, but if I can do something quick, I can get more done.  That’s exactly why I like the Chako Liners.  Do you know about them?

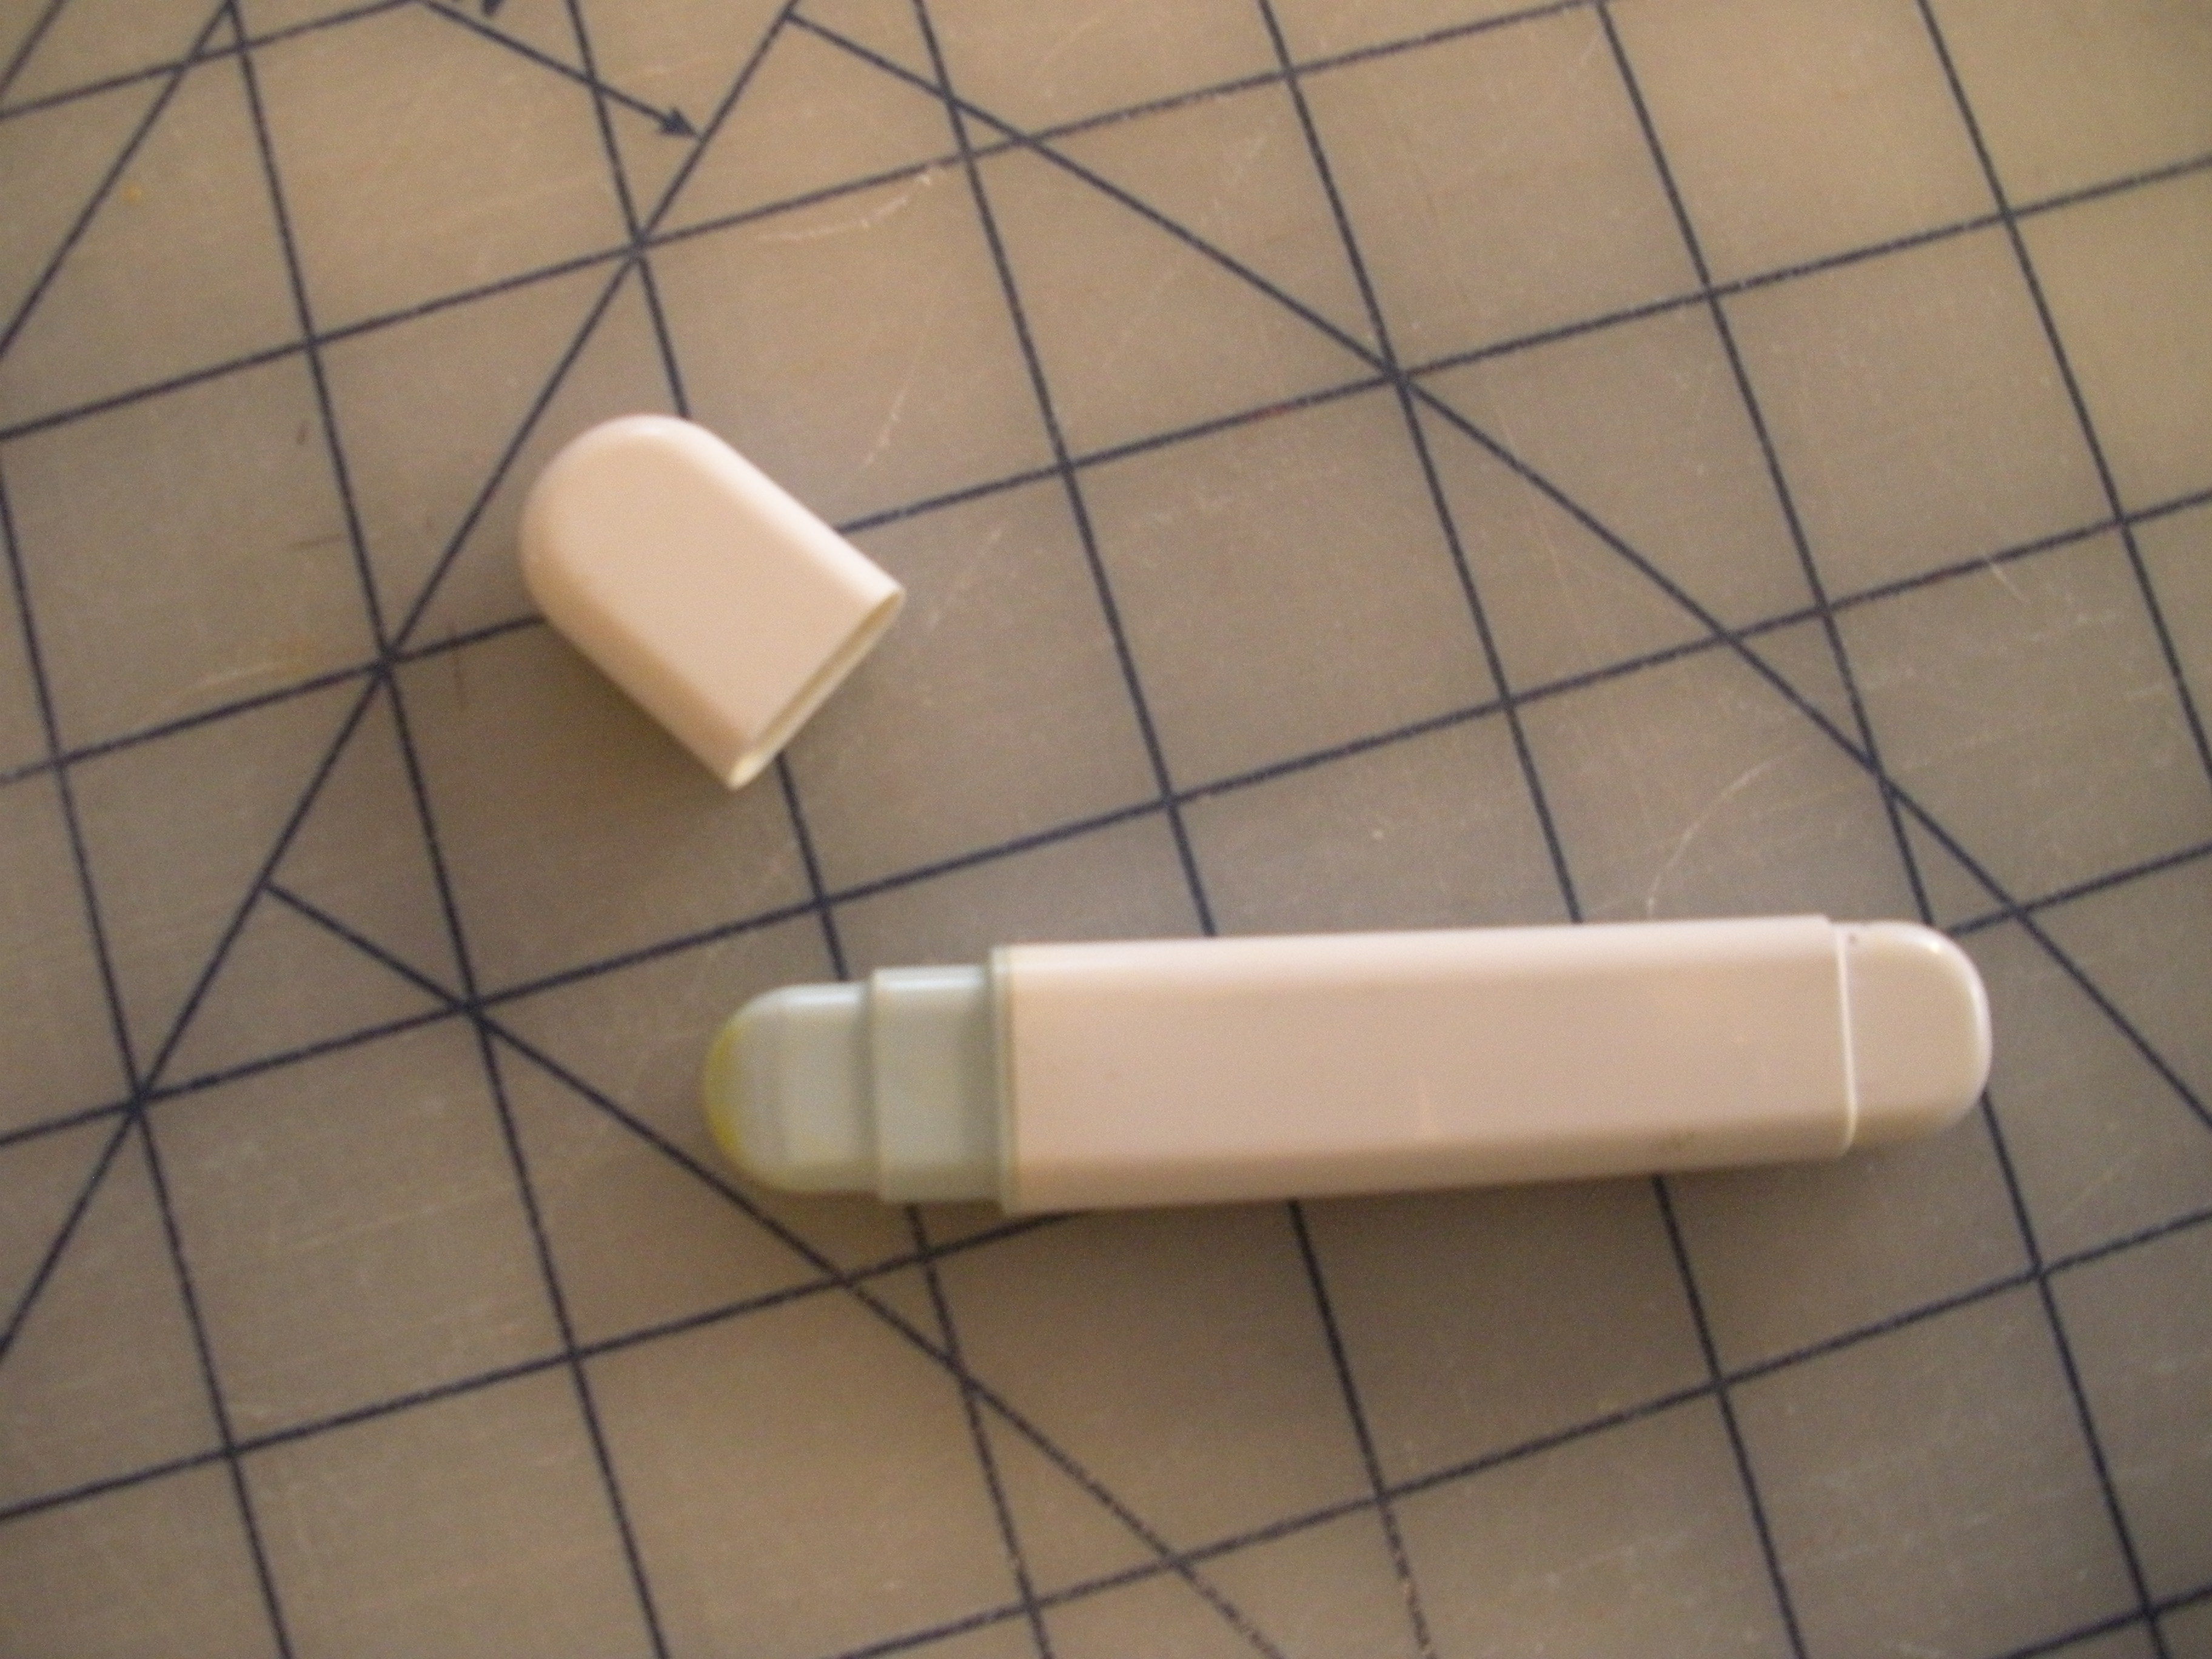
There are several styles, but this is the one I use.  It has a VERY tiny wheel at the top that allows a powdered chalk to flow out in a very fine line for marking.  Did your mom ever use a tracing wheel?  Mine did and this is what my Chako Liner reminds me of except instead of using a piece of colored paper to make the mark with, it drops fine chalk dust!

Although I would probably not mark a whole quilt with this, it’s great for small projects.  You can mark straight lines quickly using a ruler. 

It’s great for cross hatching.  I used this on my “Best Friends” samples.

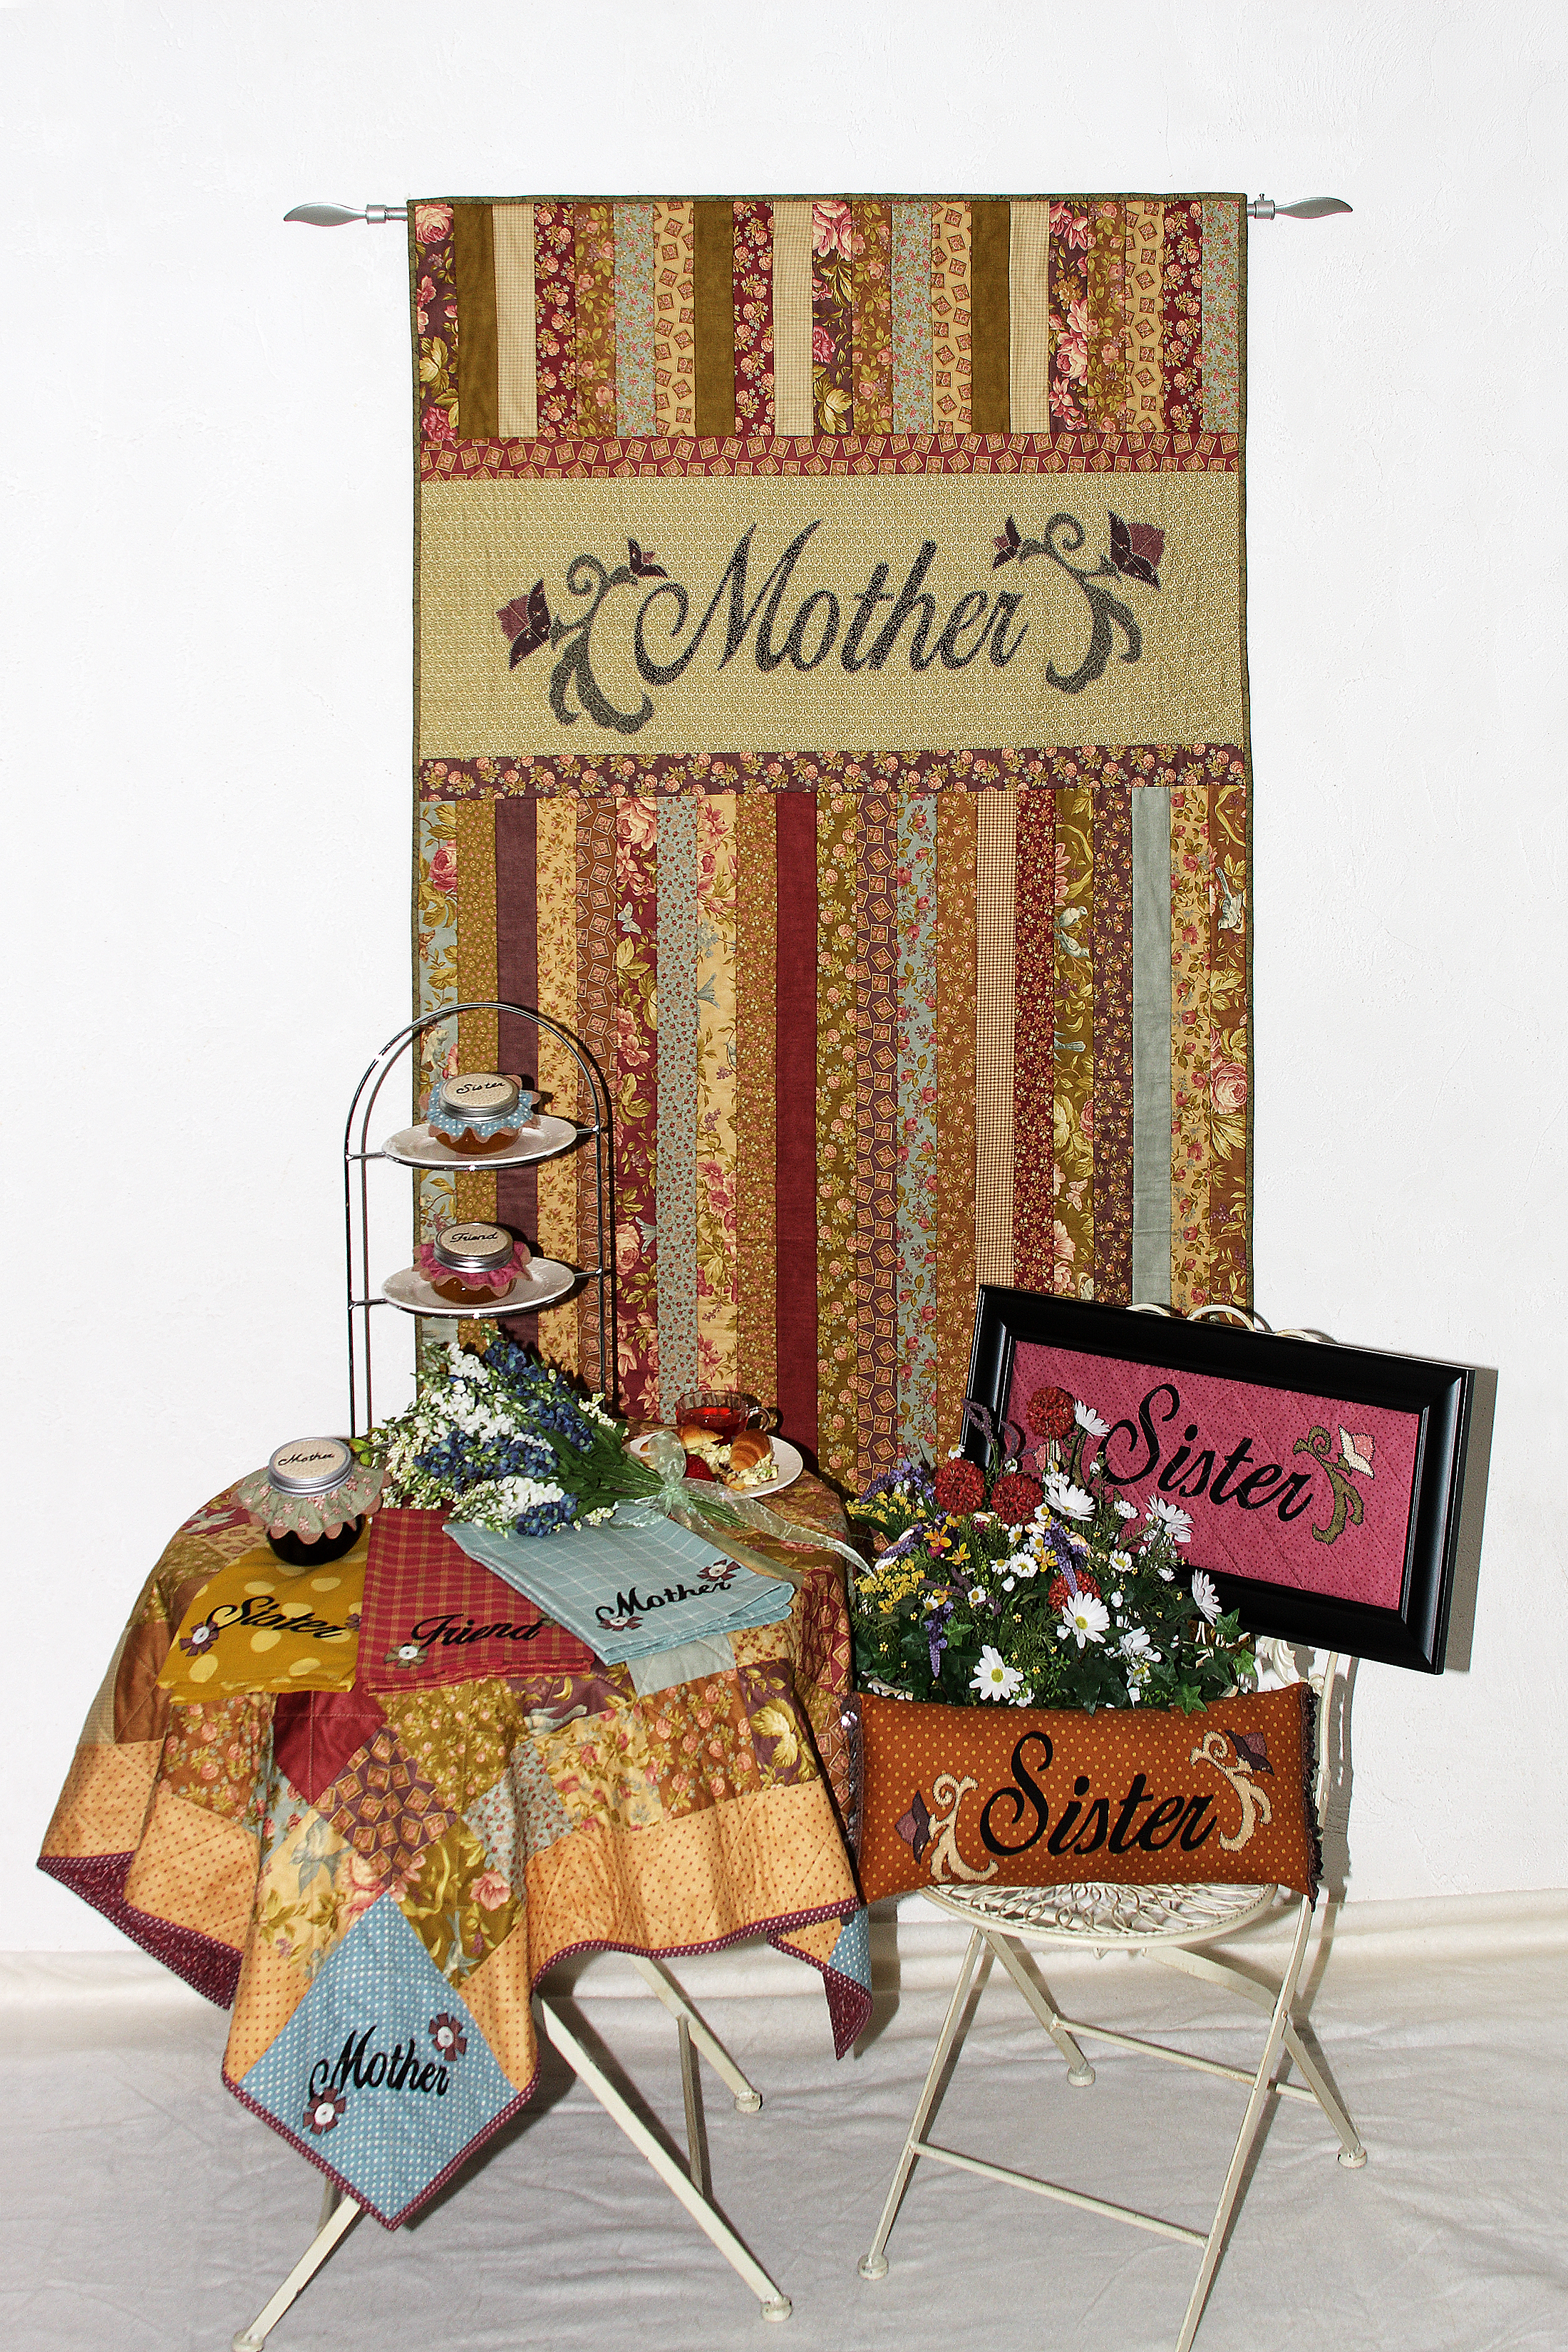
If you look closely at “Mother” on the hanging quilt you’ll see cross hatch quilting.  I marked that with the Chako Liner.  Also “Sister” on the framed piece has cross hatching.  That too was marked this way.  They are both small areas, so it’s a quick way to mark, plus the lines literally brush away when you’re finished with them. 

They’re made by Clover, they come in several colors and you can buy refills.

Next time you have a small area that needs some straight line quilting, think of the Chako Liner and how much time you’ll save.

Until next time,

Susan